Nowadays, the speed of technological development is getting faster and faster, and the speed at which electronic products such as mobile phones and computers are updated is truly amazing. According to the survey, due to the rapid update speed of mobile phones, the current trend-seeking masses are changing their mobile phones more and more rapidly. It is nothing new to change mobile phones every year. Mobile phones have become fast-moving products. But the old mobile phones that have been replaced are often ignored by people. Some people will use them as backup devices, while others will sell them second-hand; but most people leave them in the cabinet and never care about them. So I was thinking that it would be a good thing to use them again. However, their performance has been unable to keep up with the times, and some are even unusable. I thought that it would be a good choice to frame them as a display…
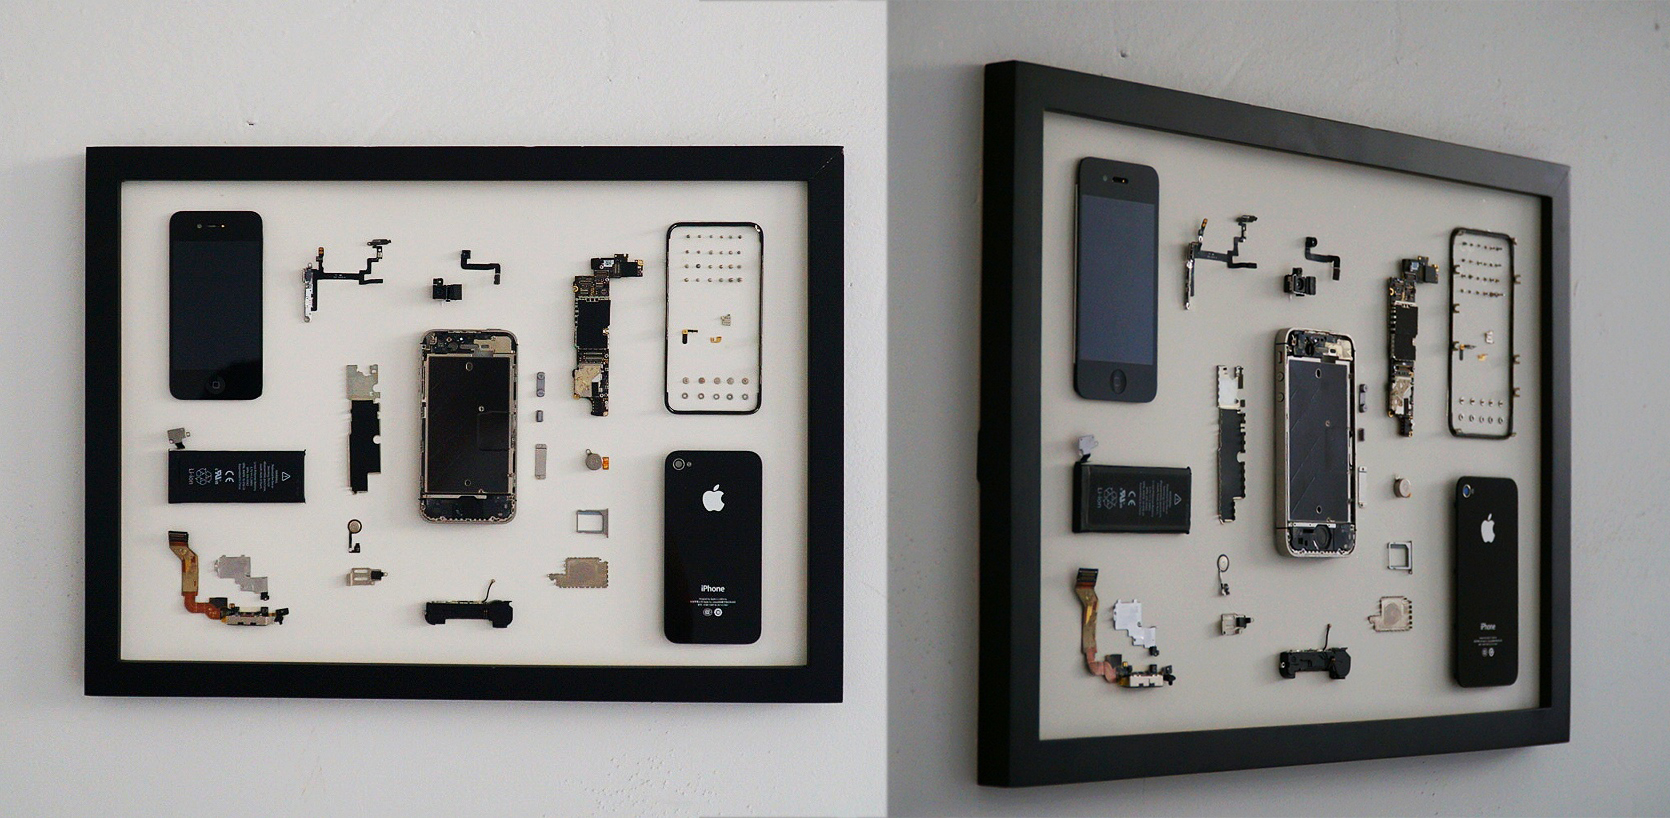
I selected a 16G iPhone4s (as presented in front view 1-1 and back view 1-2), for which was introduced by Apple in 2011, about seven years ago from now. At that time I kept it in a good condition, especially hardly scratches on the positive screen and this cellphone had already expired; thus I decided to have it dismantled.
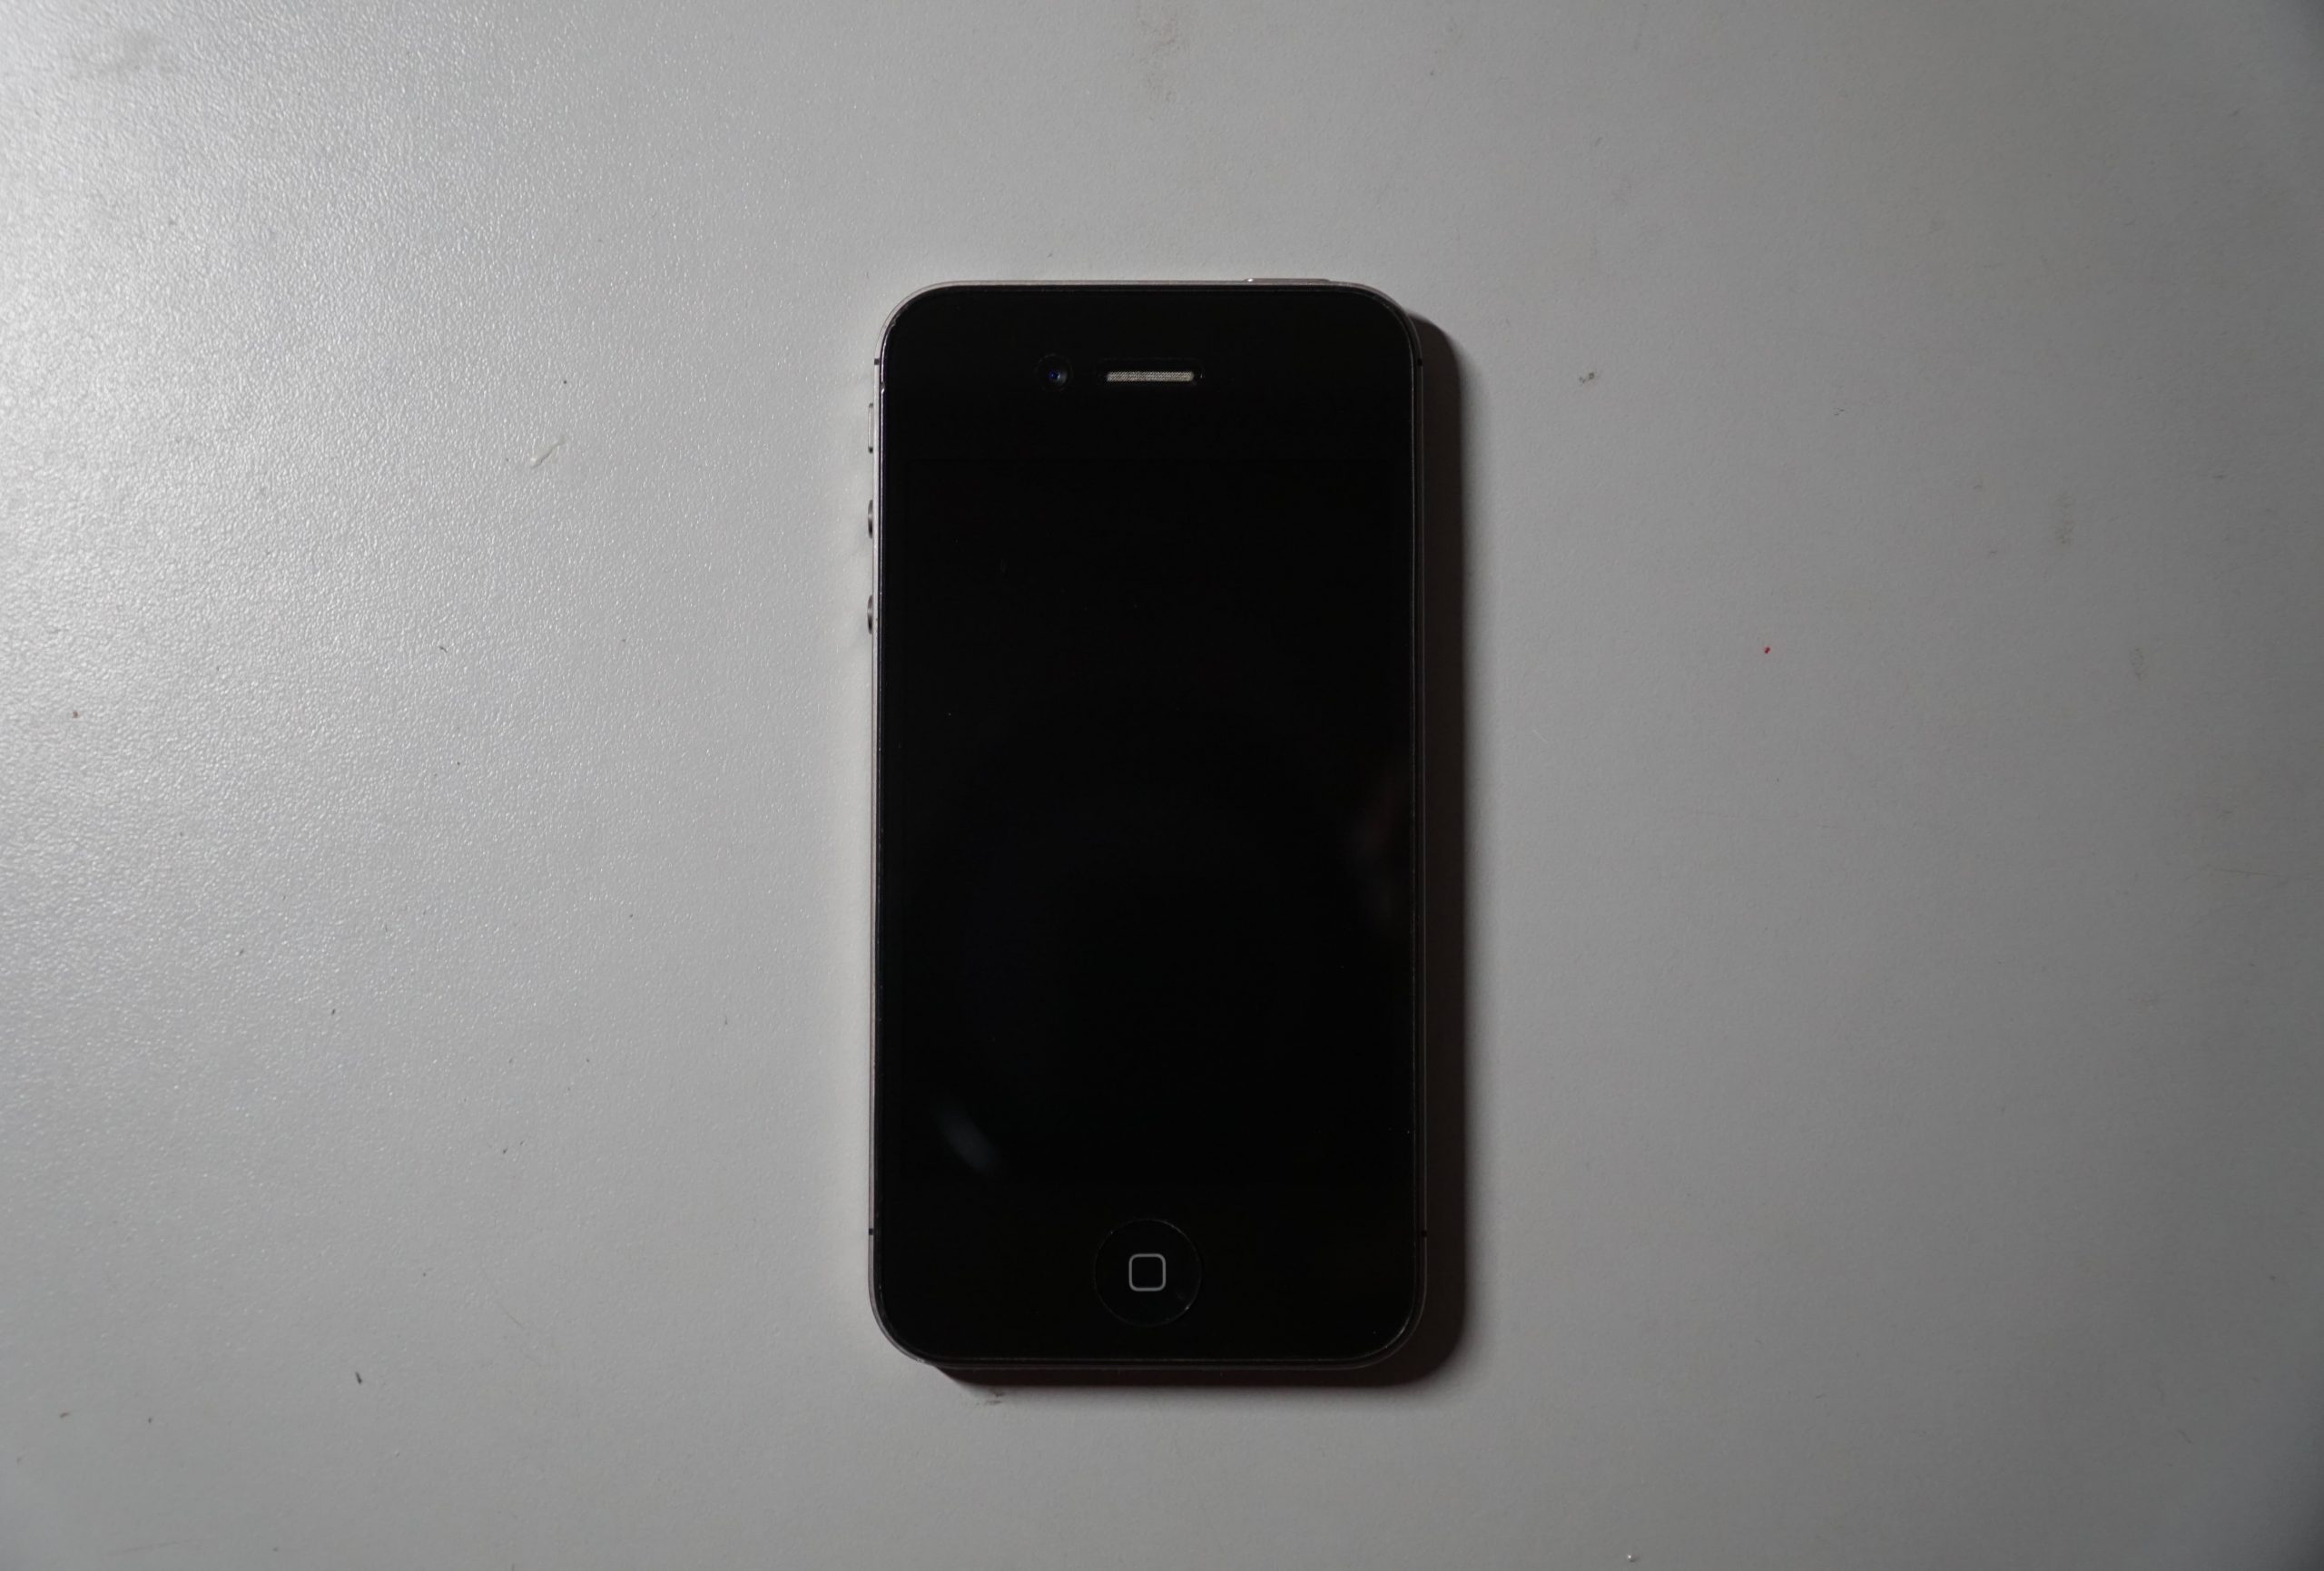
Front View 1-1
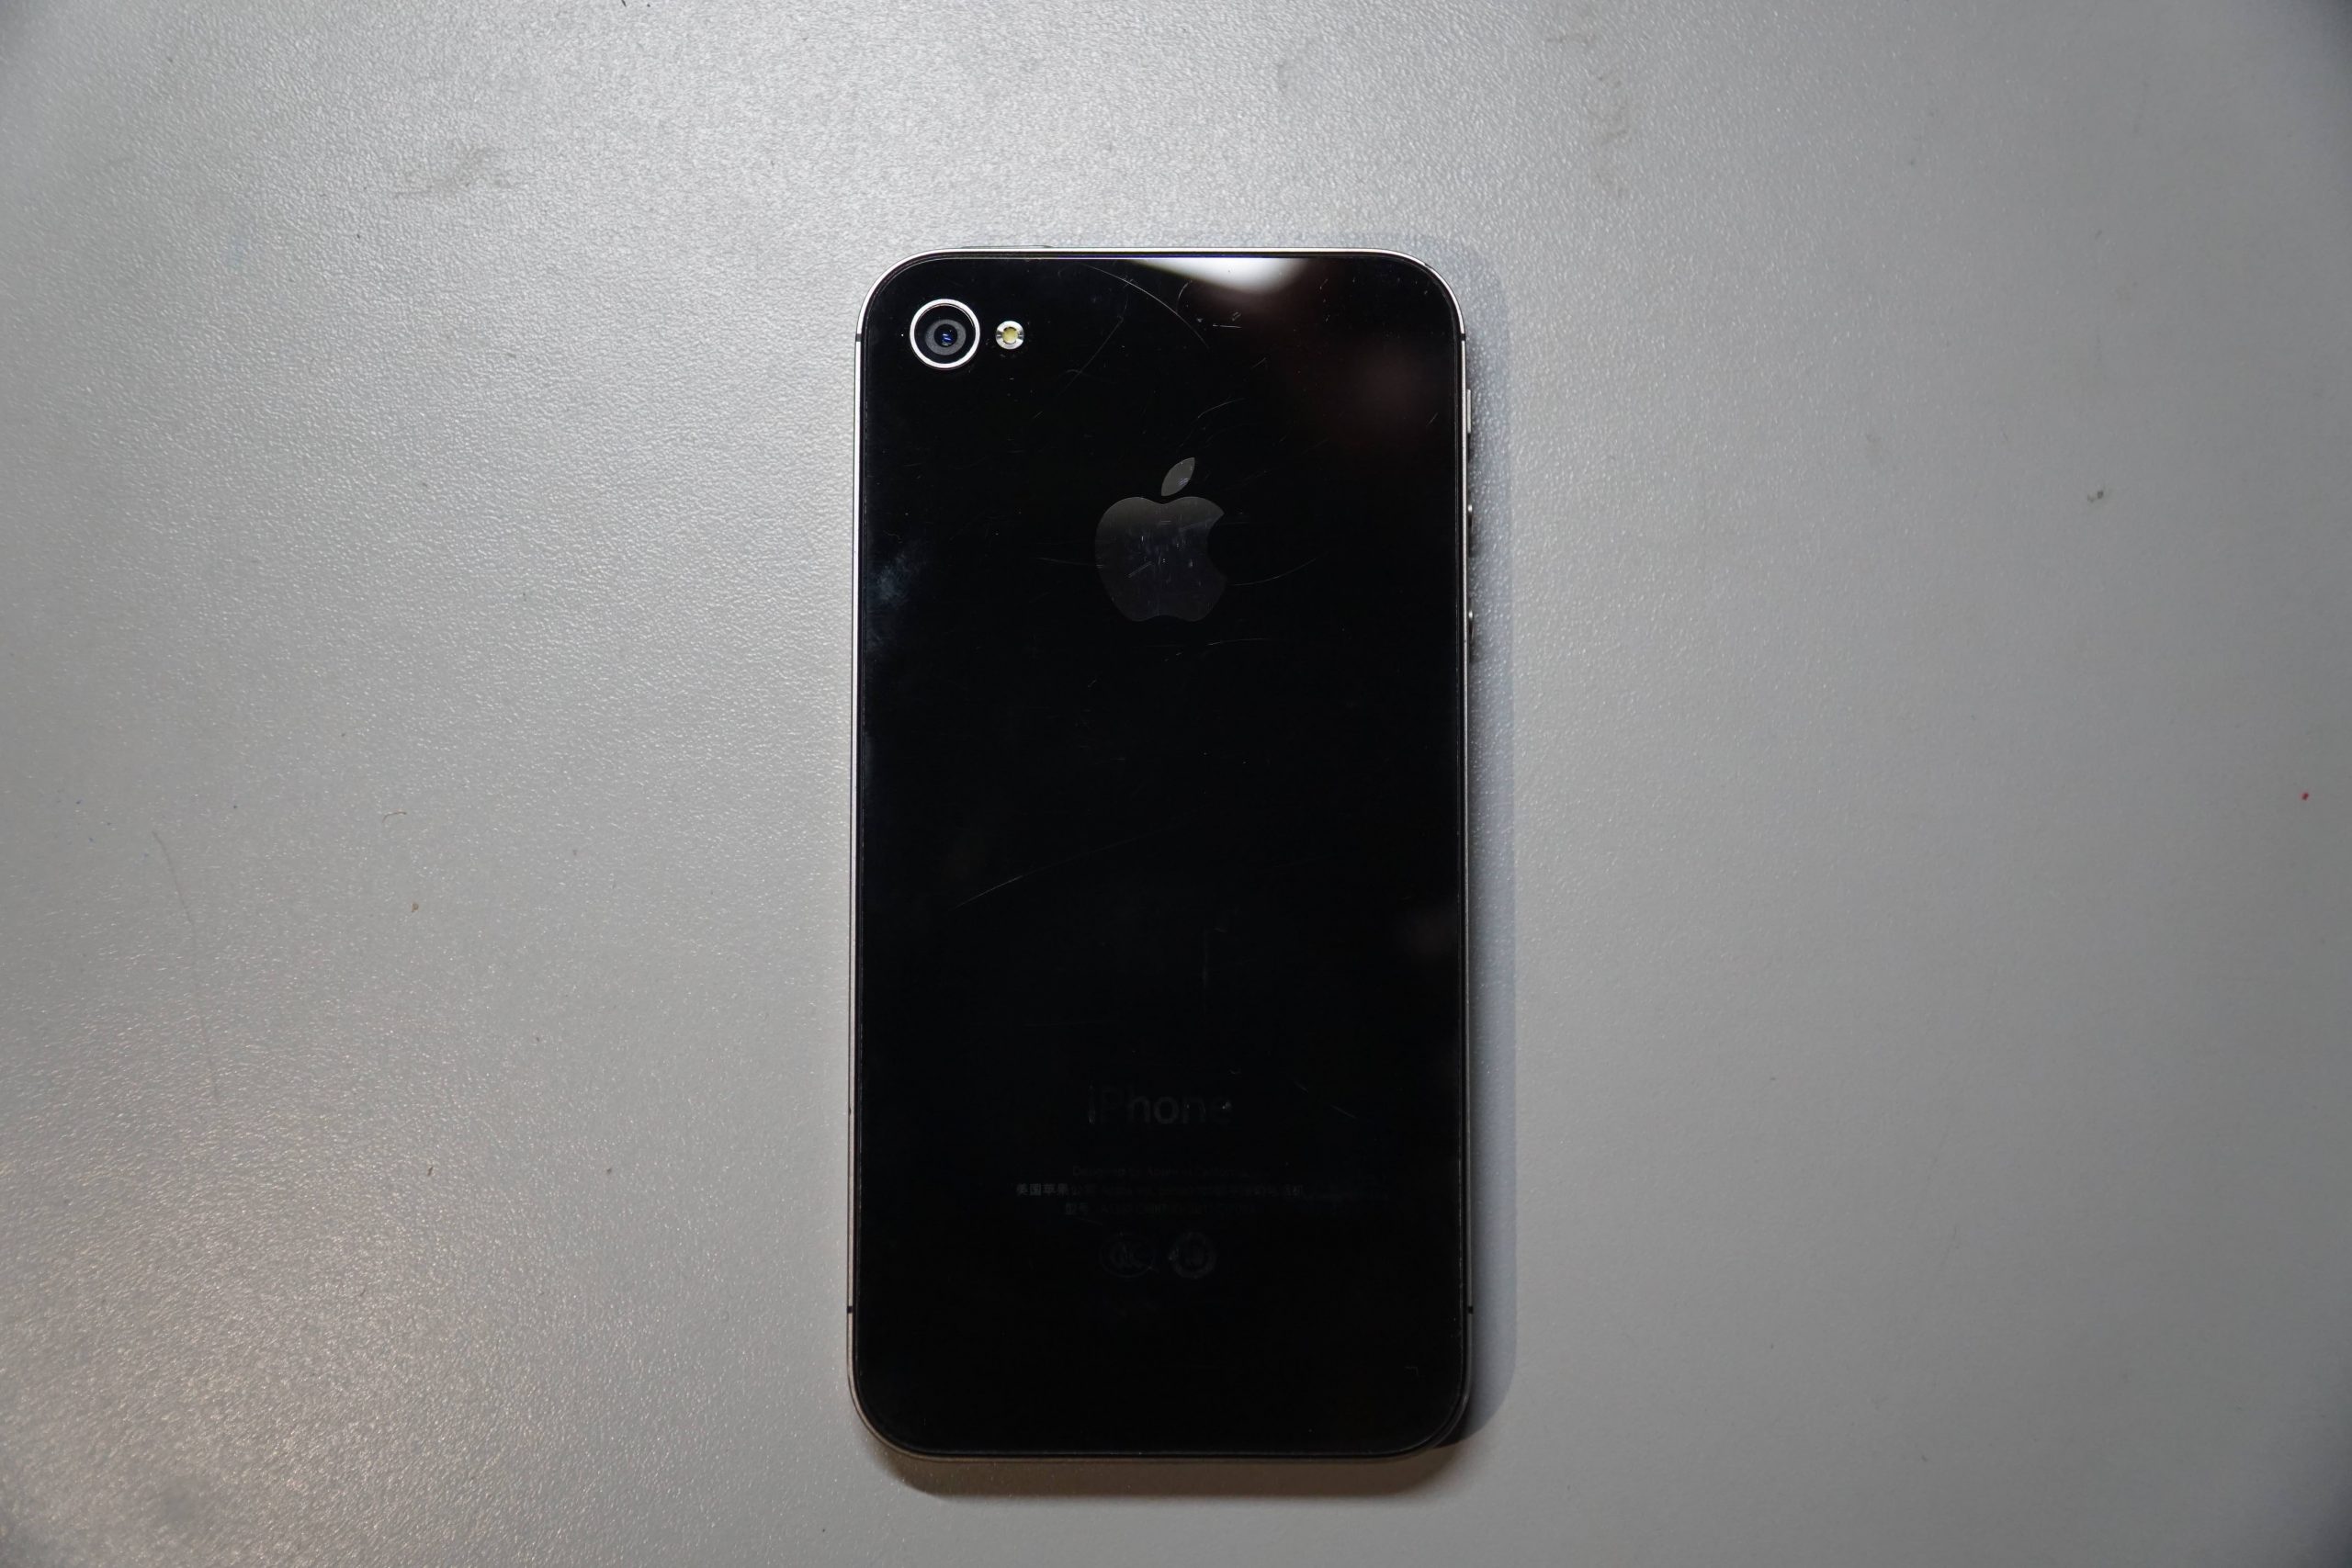
Back View 1-2
I chose the A3 size, as shown in photo frame 1-3, and cut out the same size white paperboard as the background.
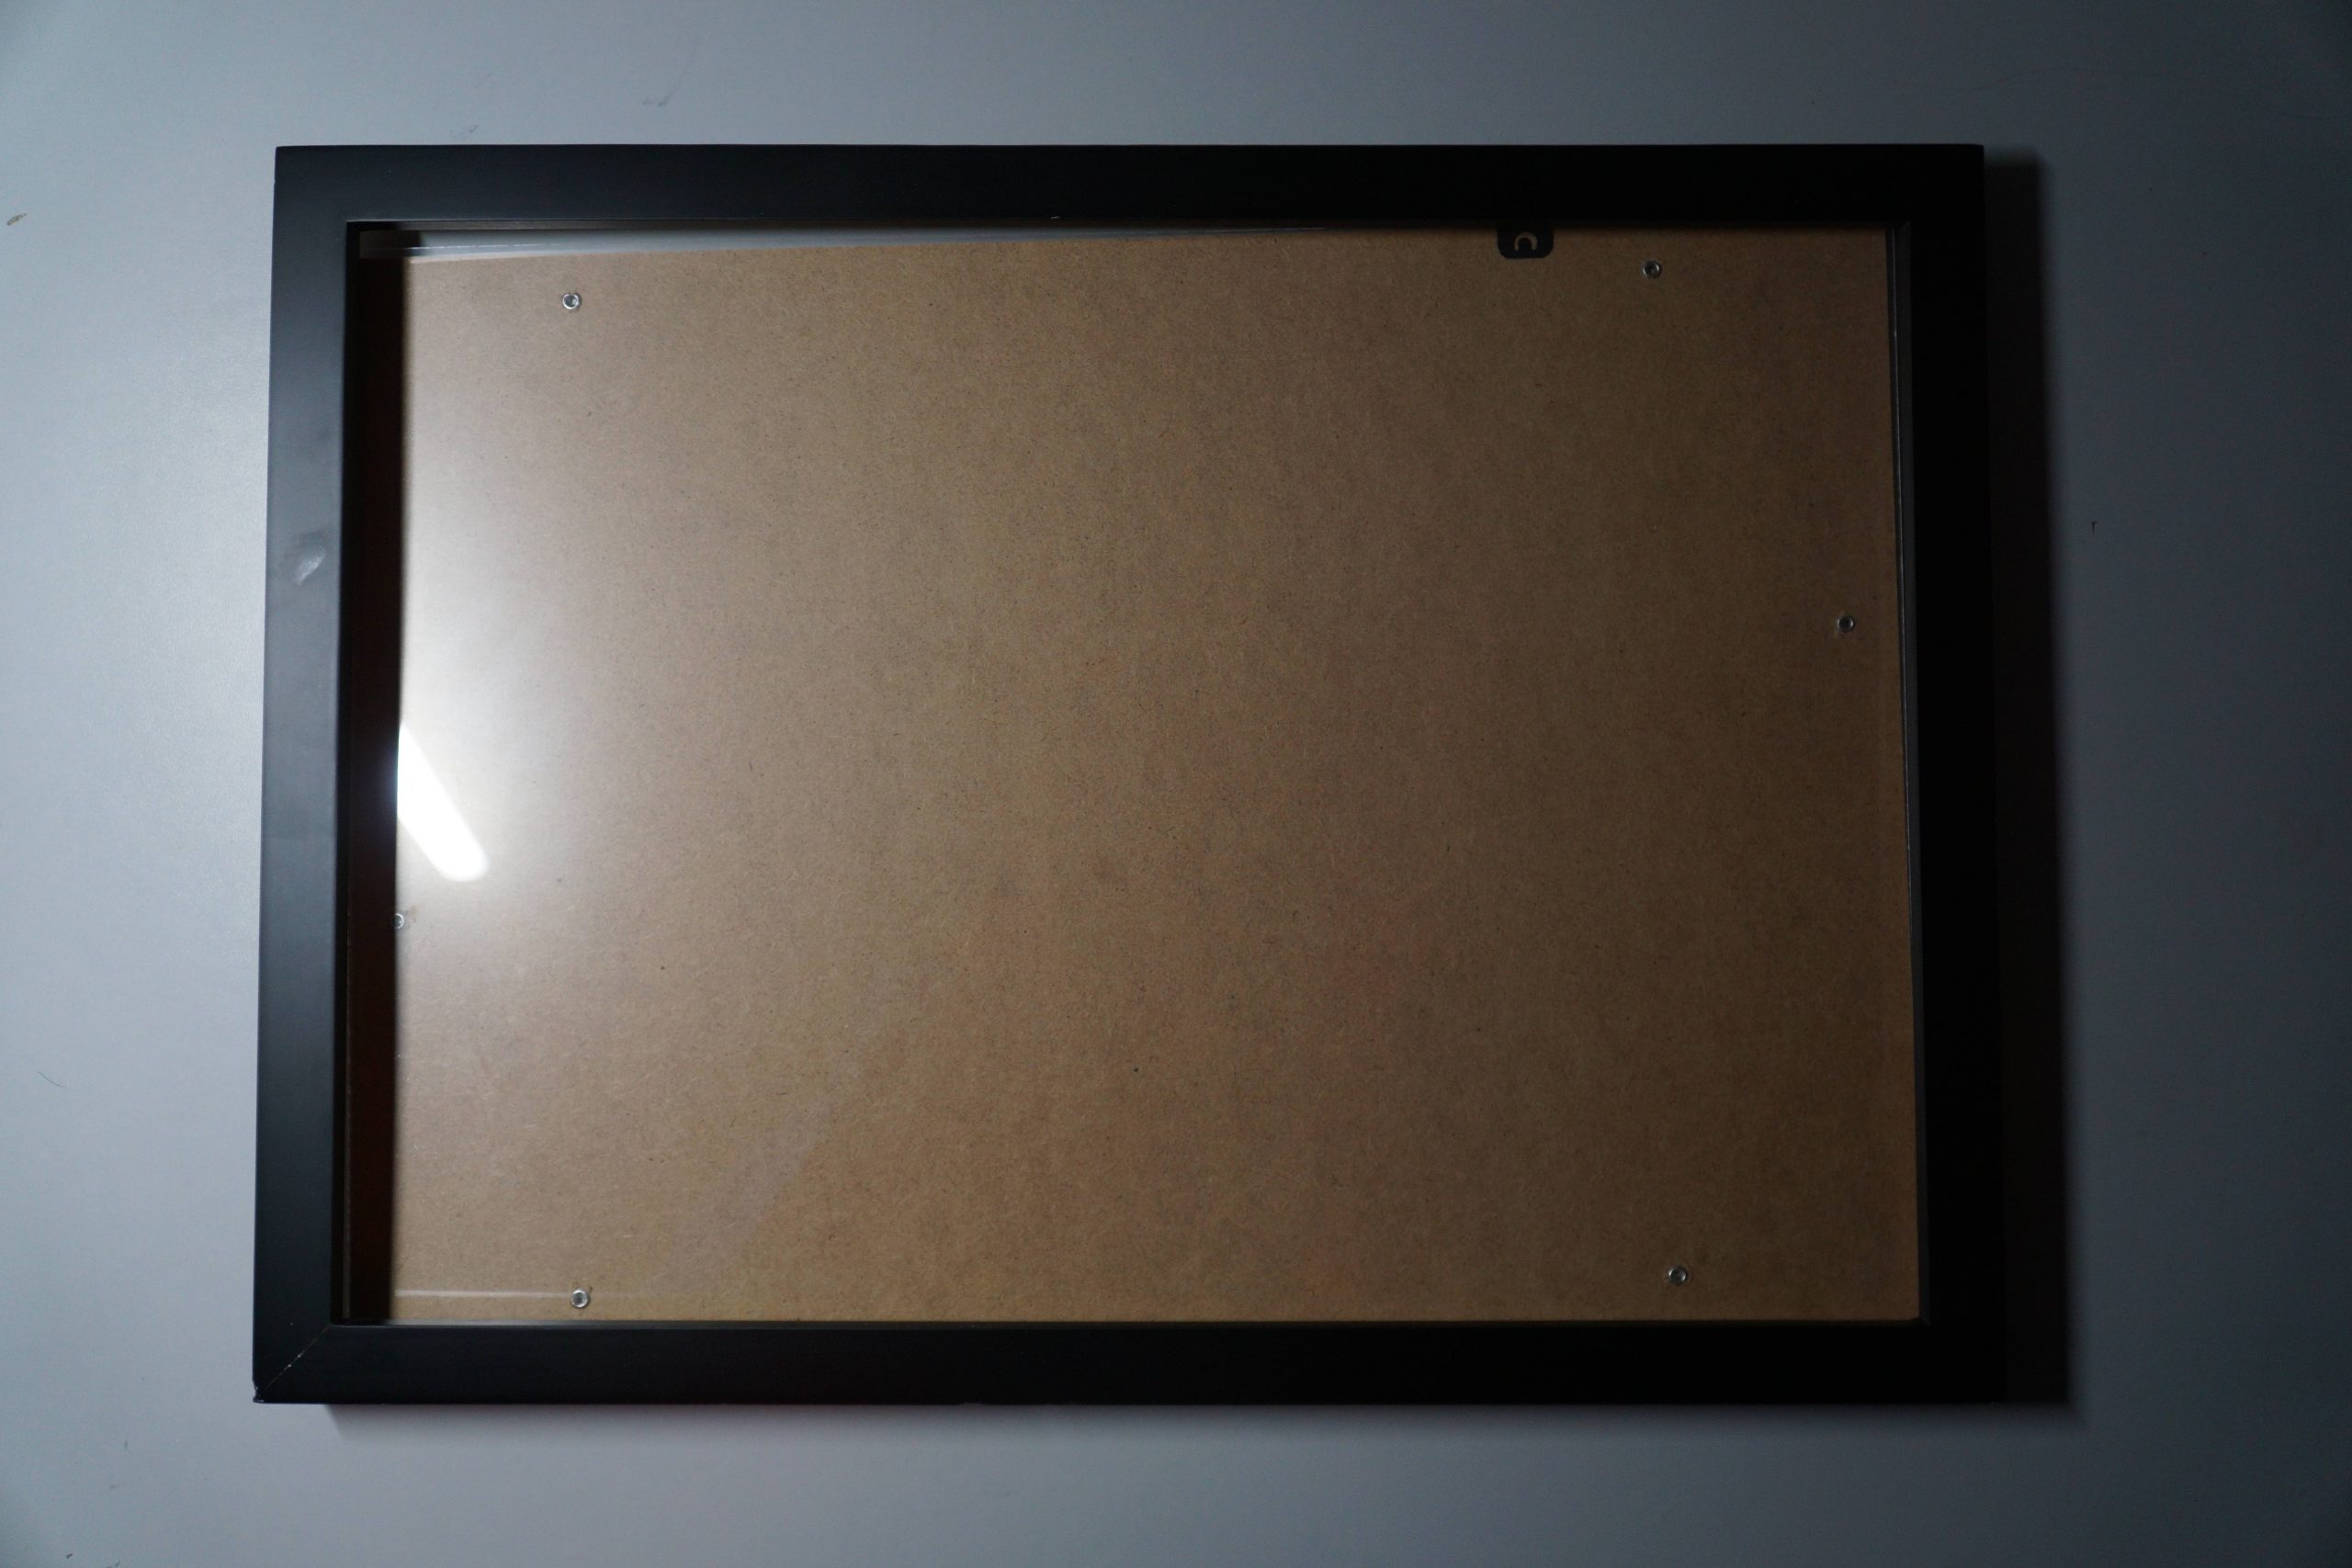
Photo Frame 1-3
I bought some black, brown, and white A3 paperboard but eventually decided to use the white one. The reason is that the picture frame is black and the interior of the phone is mostly black, white and gray, other chromatic paperboard cannot bring a favorable visual result, as cut-out 1-4.
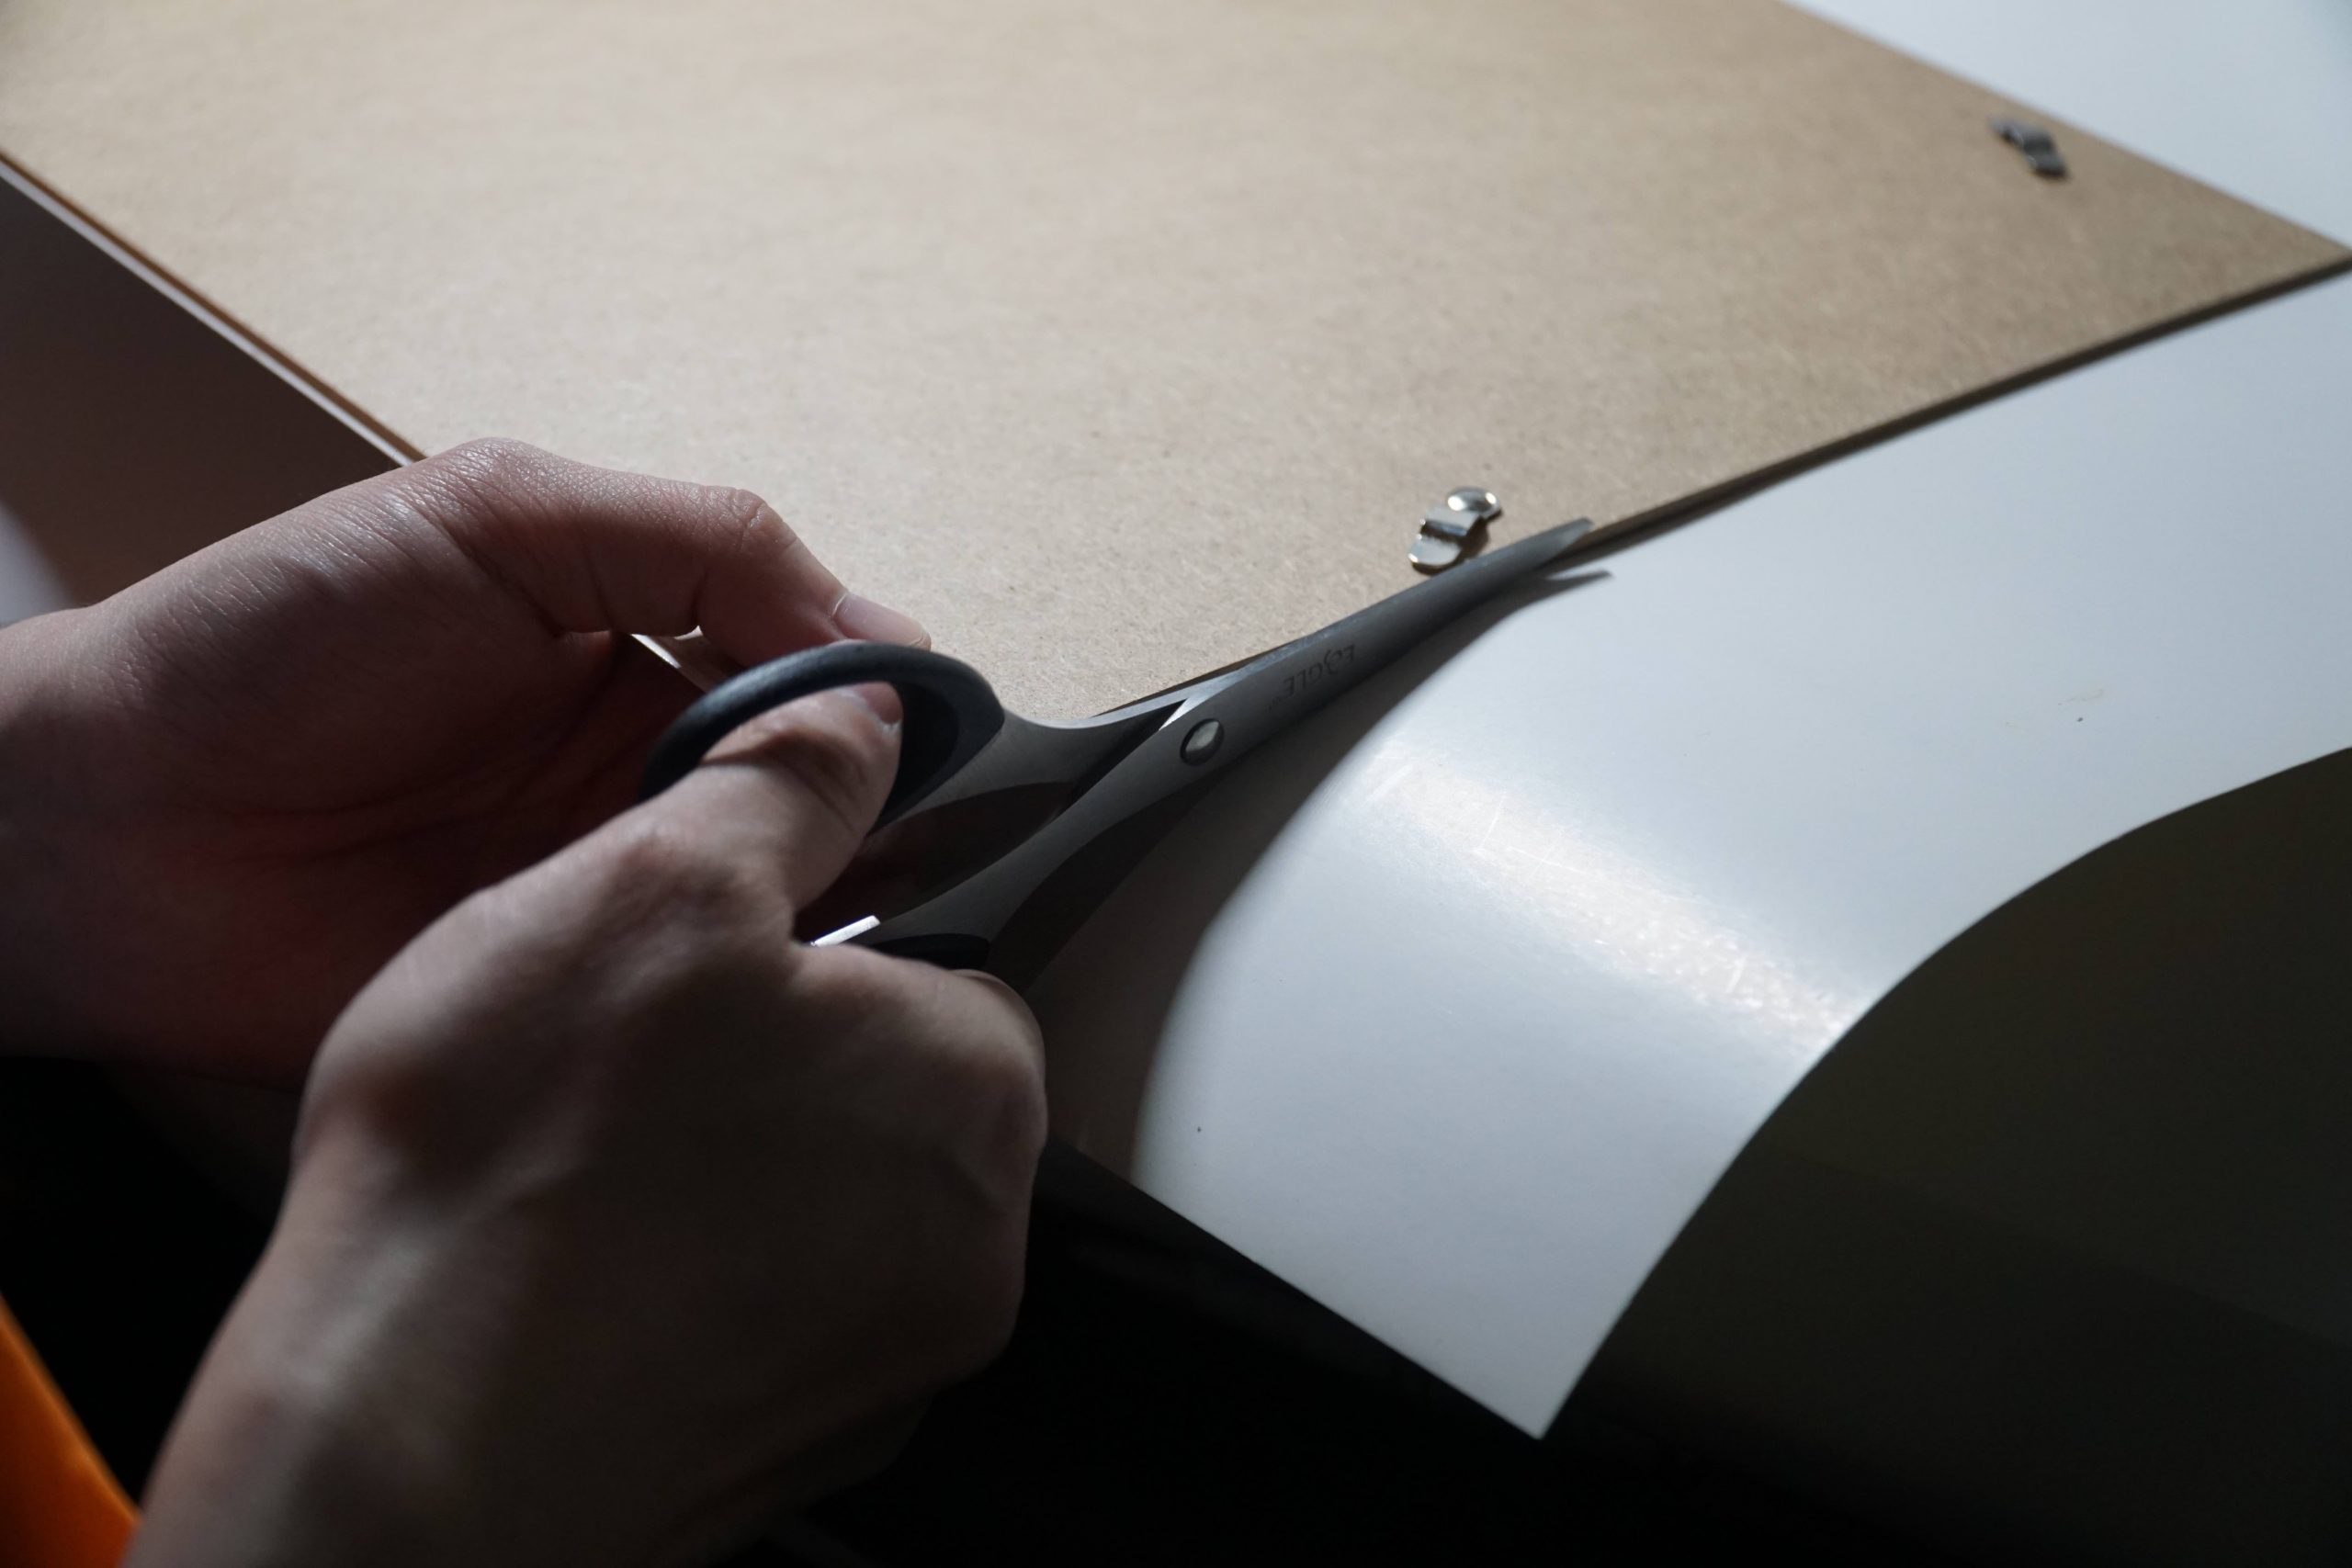
Cut-out 1-4
I had double-sided adhesive tape pasted on the background board for it is more pleasing to the eye than glue502, which will instead penetrate into the surface of the paperboard and become very ugly. However, double-sided adhesive tape is not stable. Therefore I employed plenty of it to paste and keep paper off falling down.
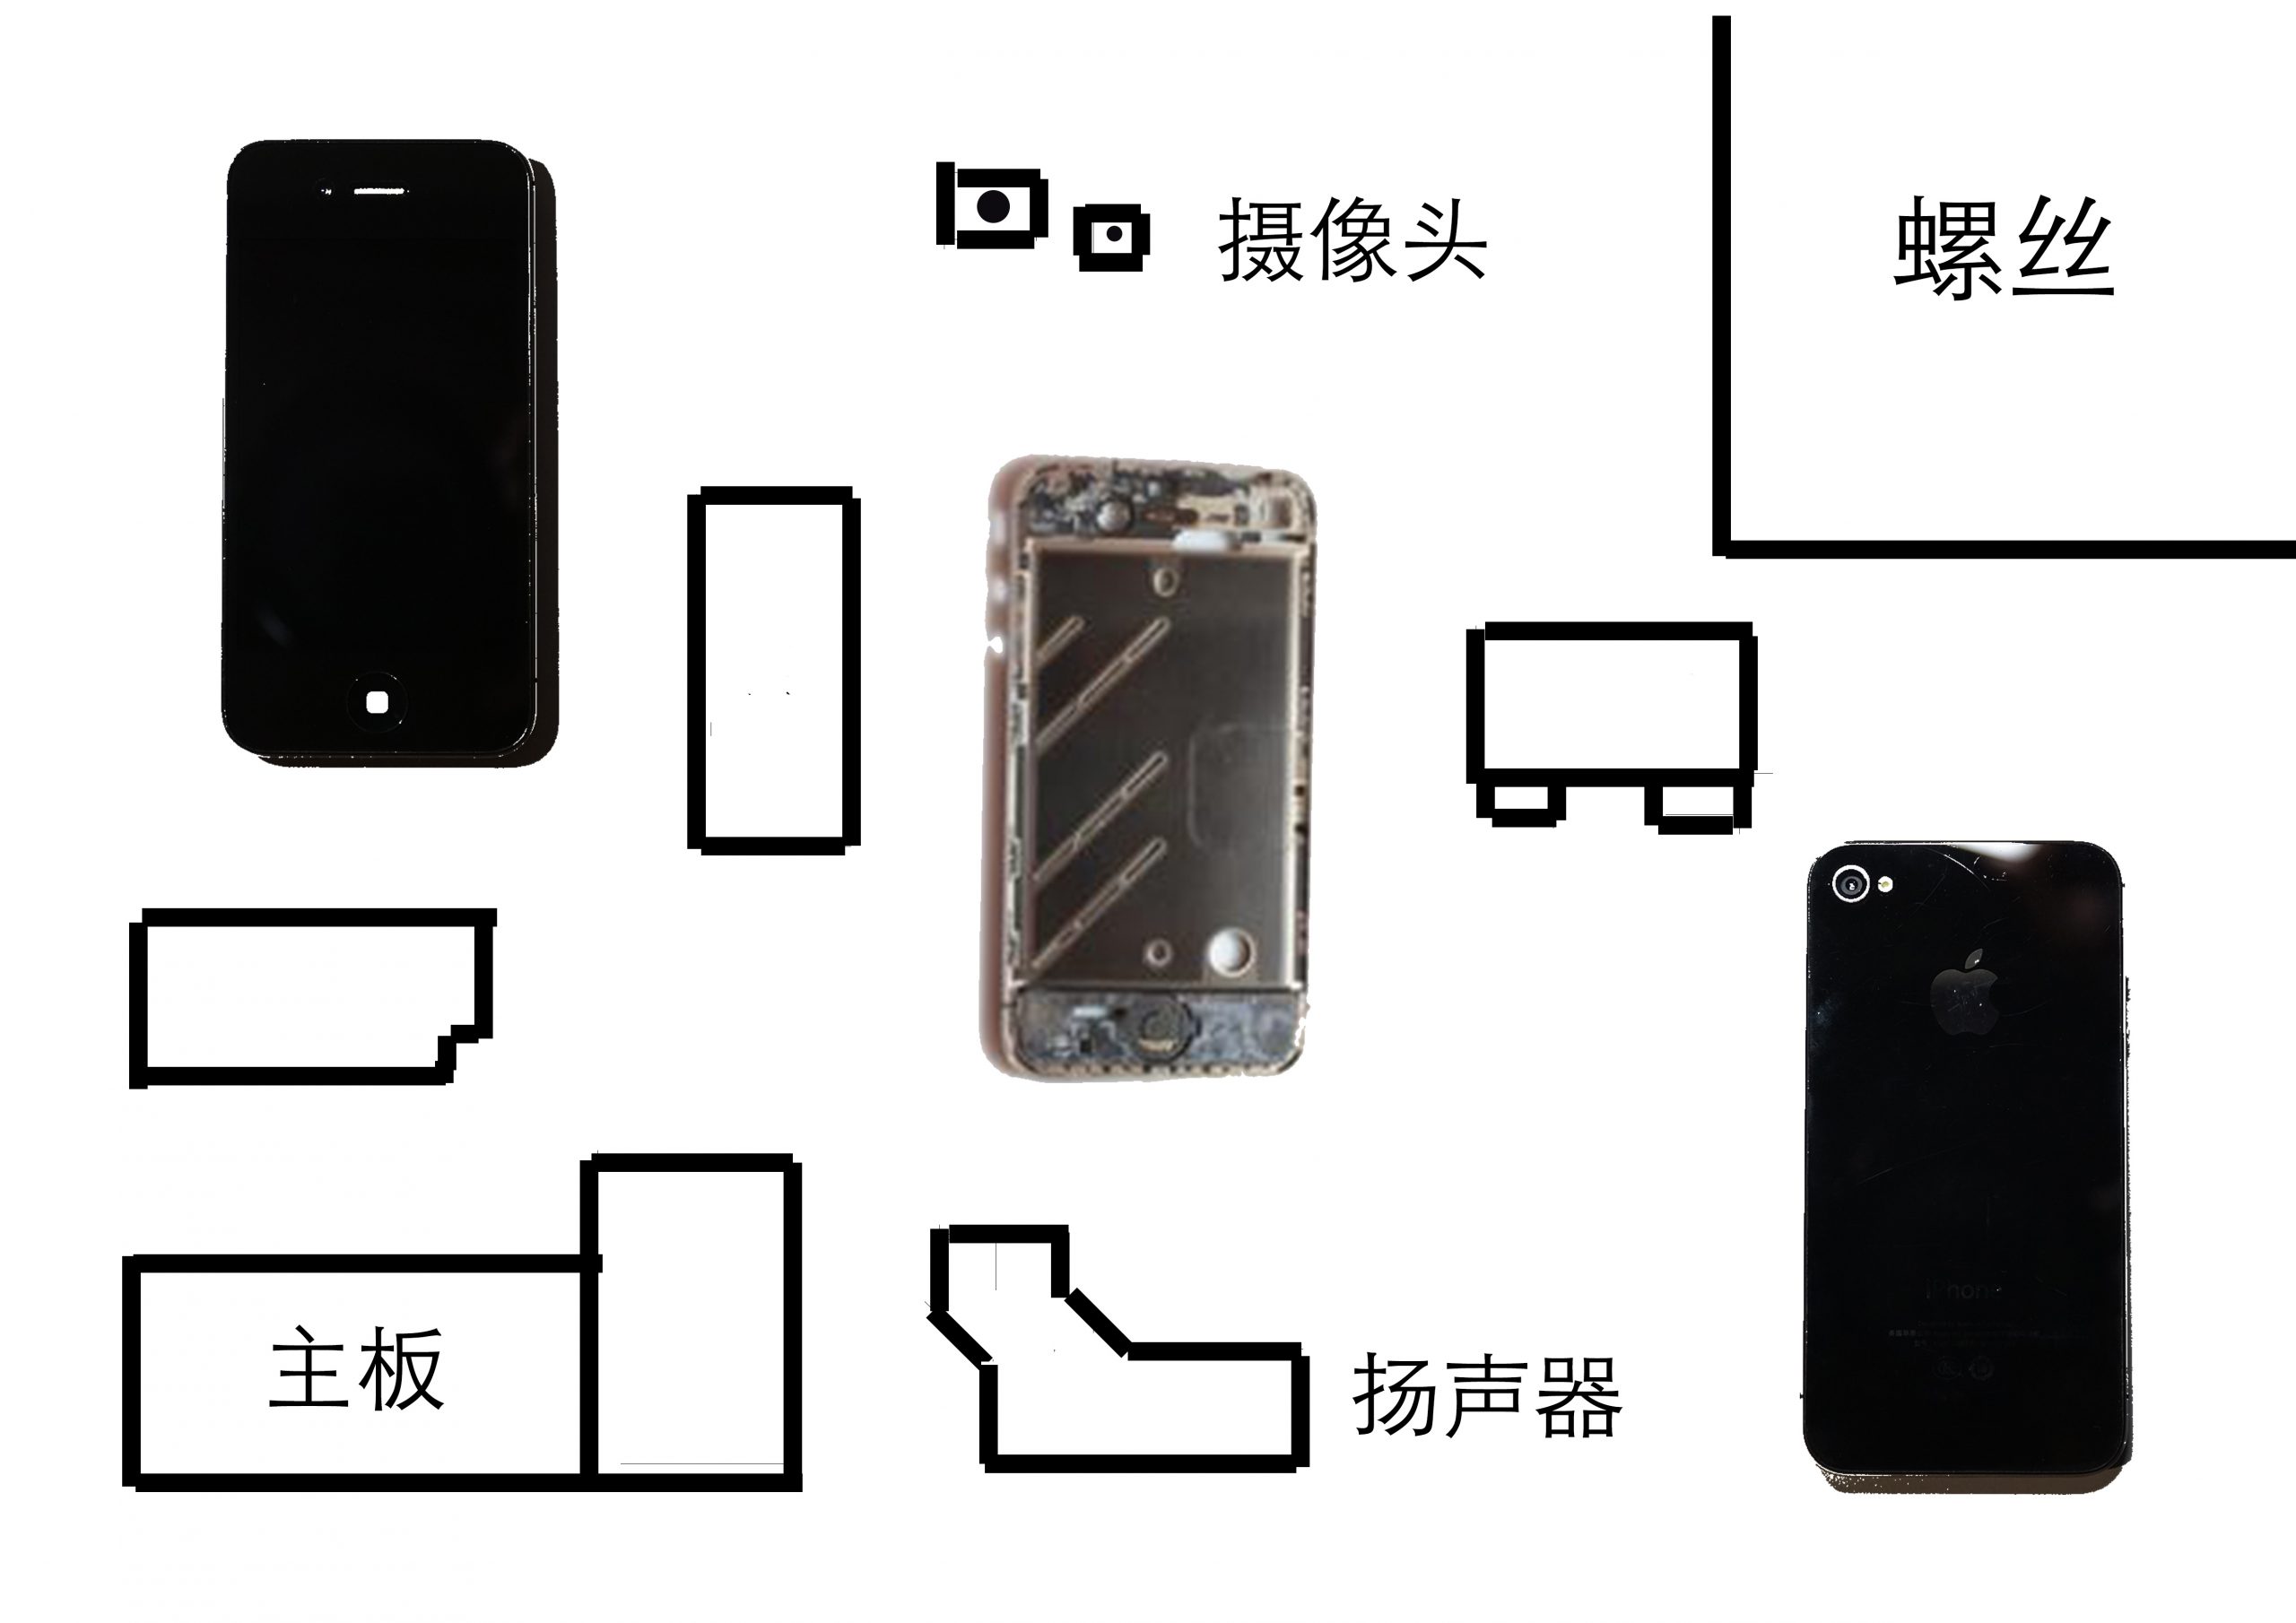
With respect to the part layout, I have turned reference to lots of documents and other works about interior decoration, which directly determines whether my design work is beautiful or not. Therefore, I collected the pictures of mobile phone parts before I have it dismantled and set about to draw a rough layout in Photoshop. My idea in general is that all the parts should be put in and tight relatively close but will not bring people a sense of crowd.
First, I made sure the approximate position of the screen, the back cover and the middle frame. Due to these three parts are the largest parts of the phone, their position determines the position of other small parts, so I chose the horizontal one, as shown in picture 1-5.
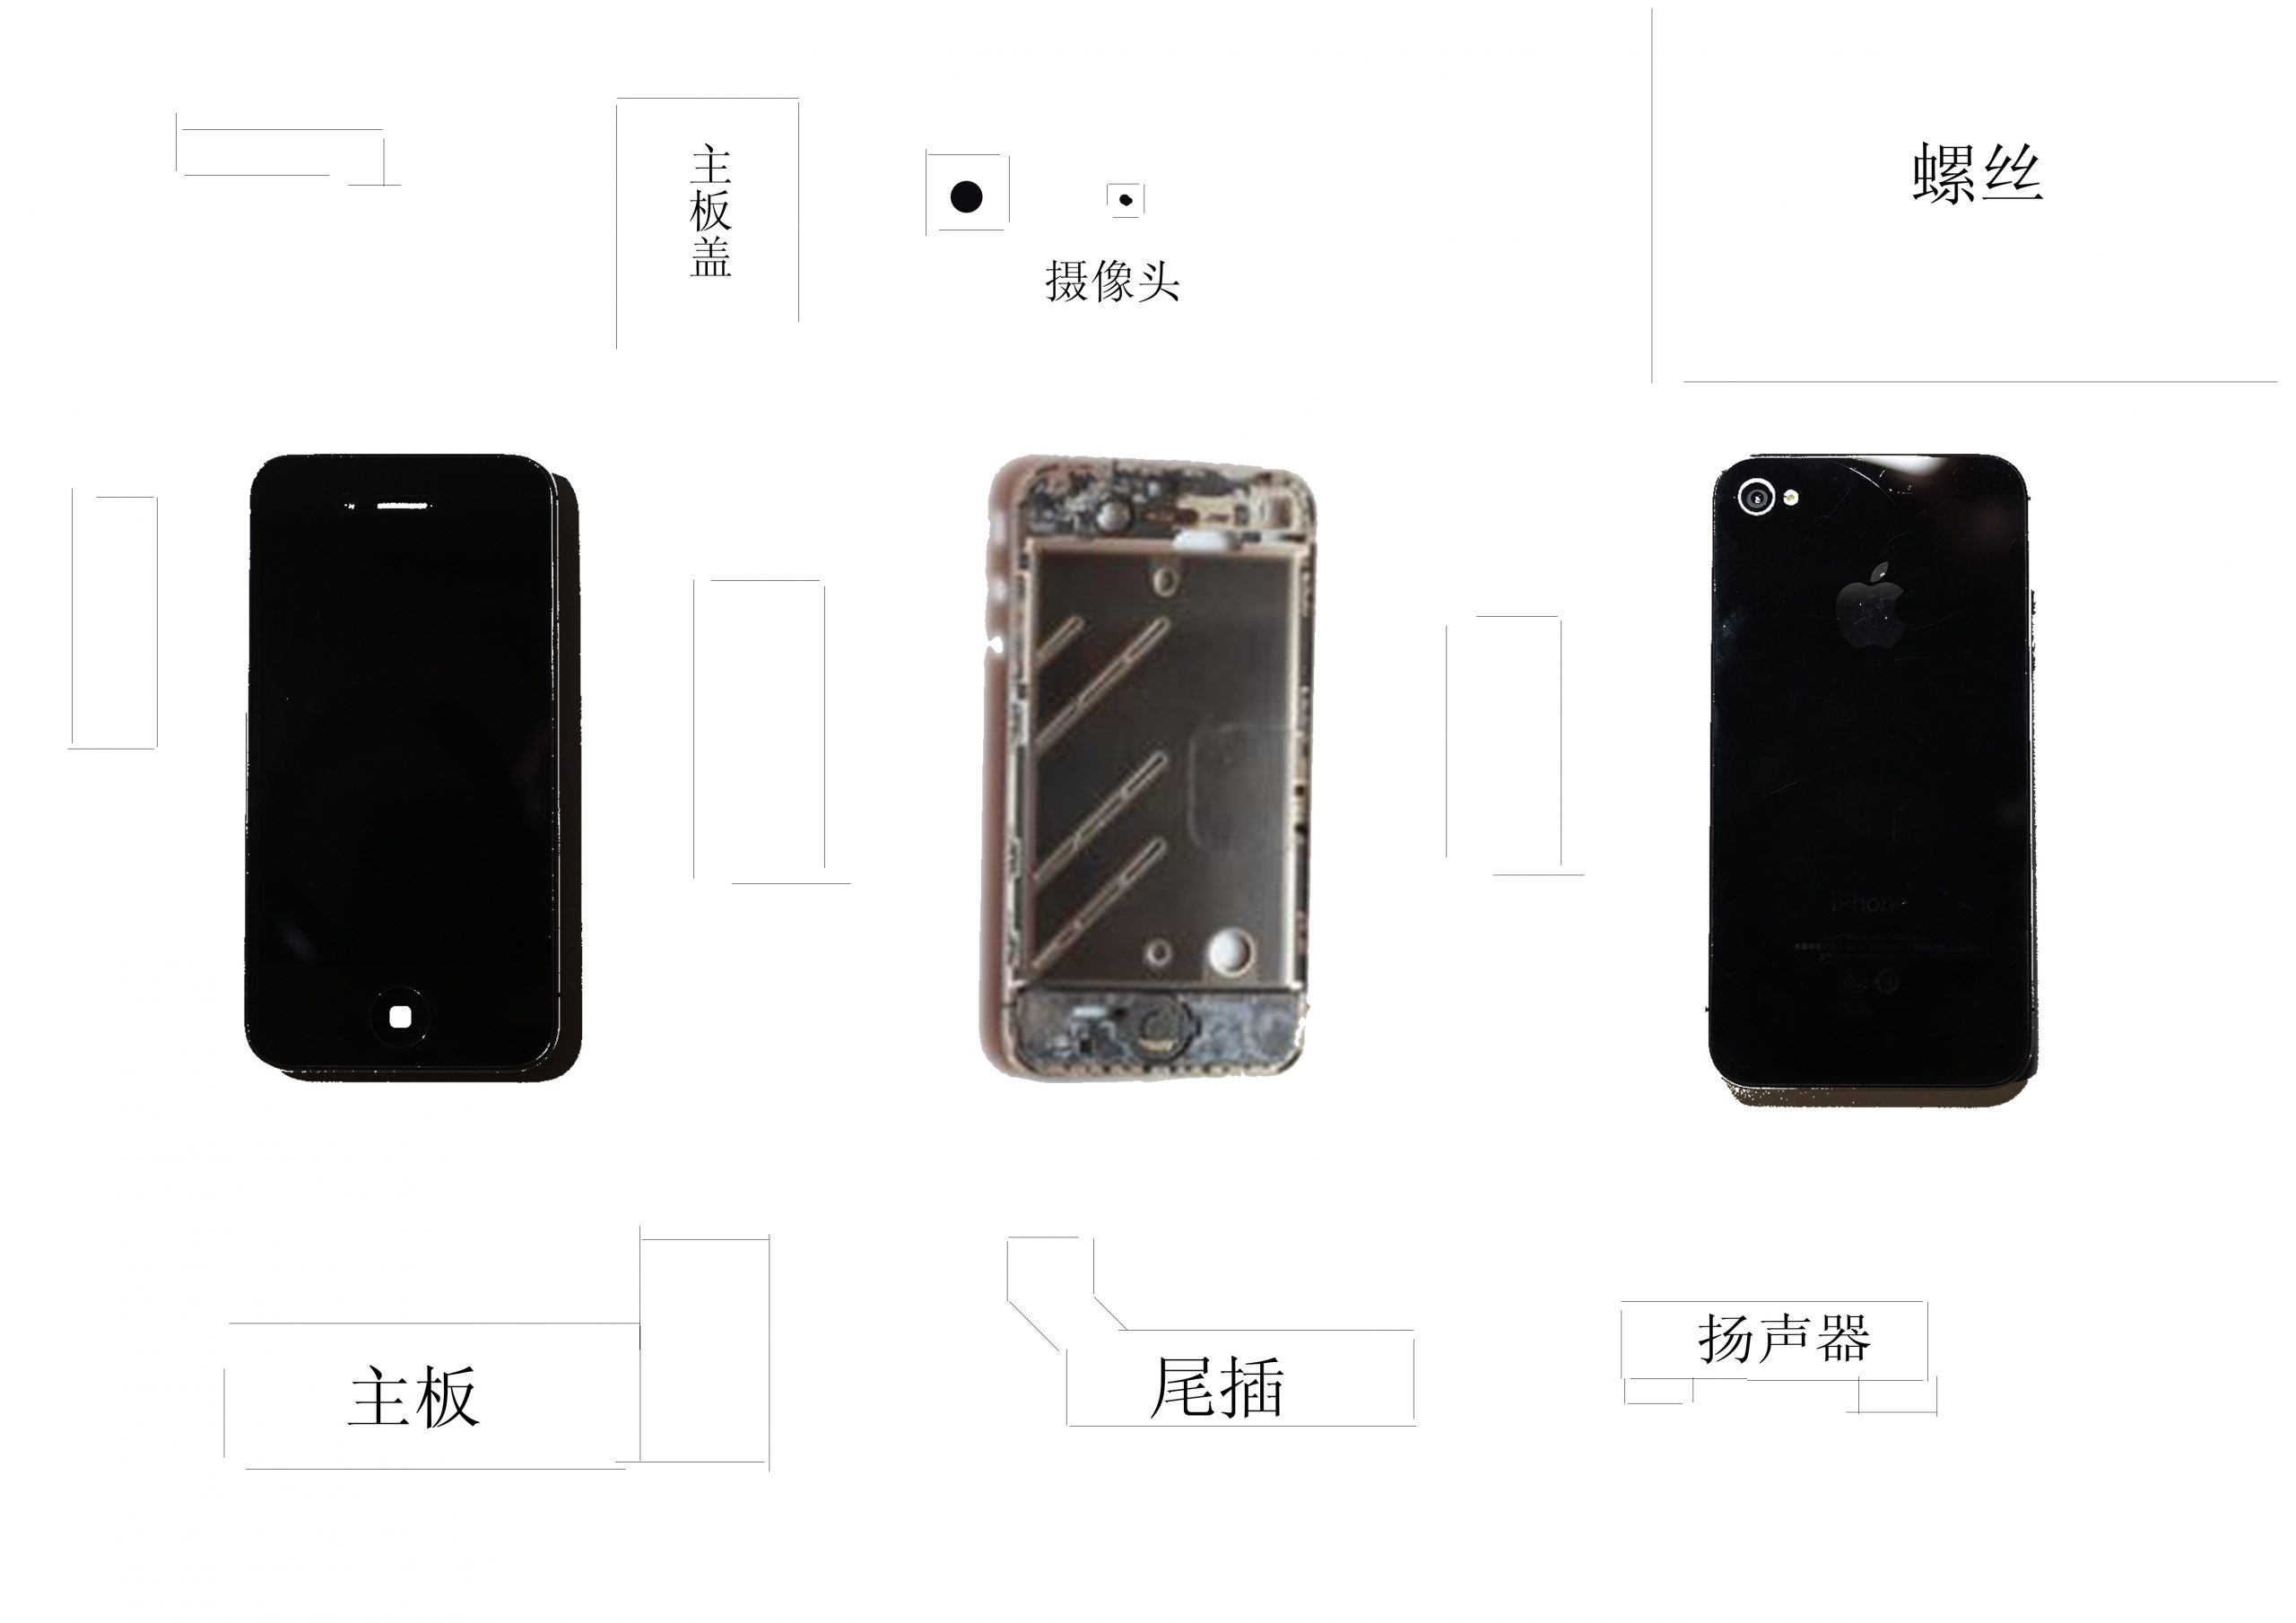
Picture 1-5 Part Layout1
I found that this kind of arrangement position was too inflexible. Although the medium size parts could be put in, there was still not enough room for numerous small one. Even if the small one is stuffed in, it seems the environment is over-crowed. So I made adjustment over the positions of the screen, the back cover and the middle frame, as presented in picture 1-6.
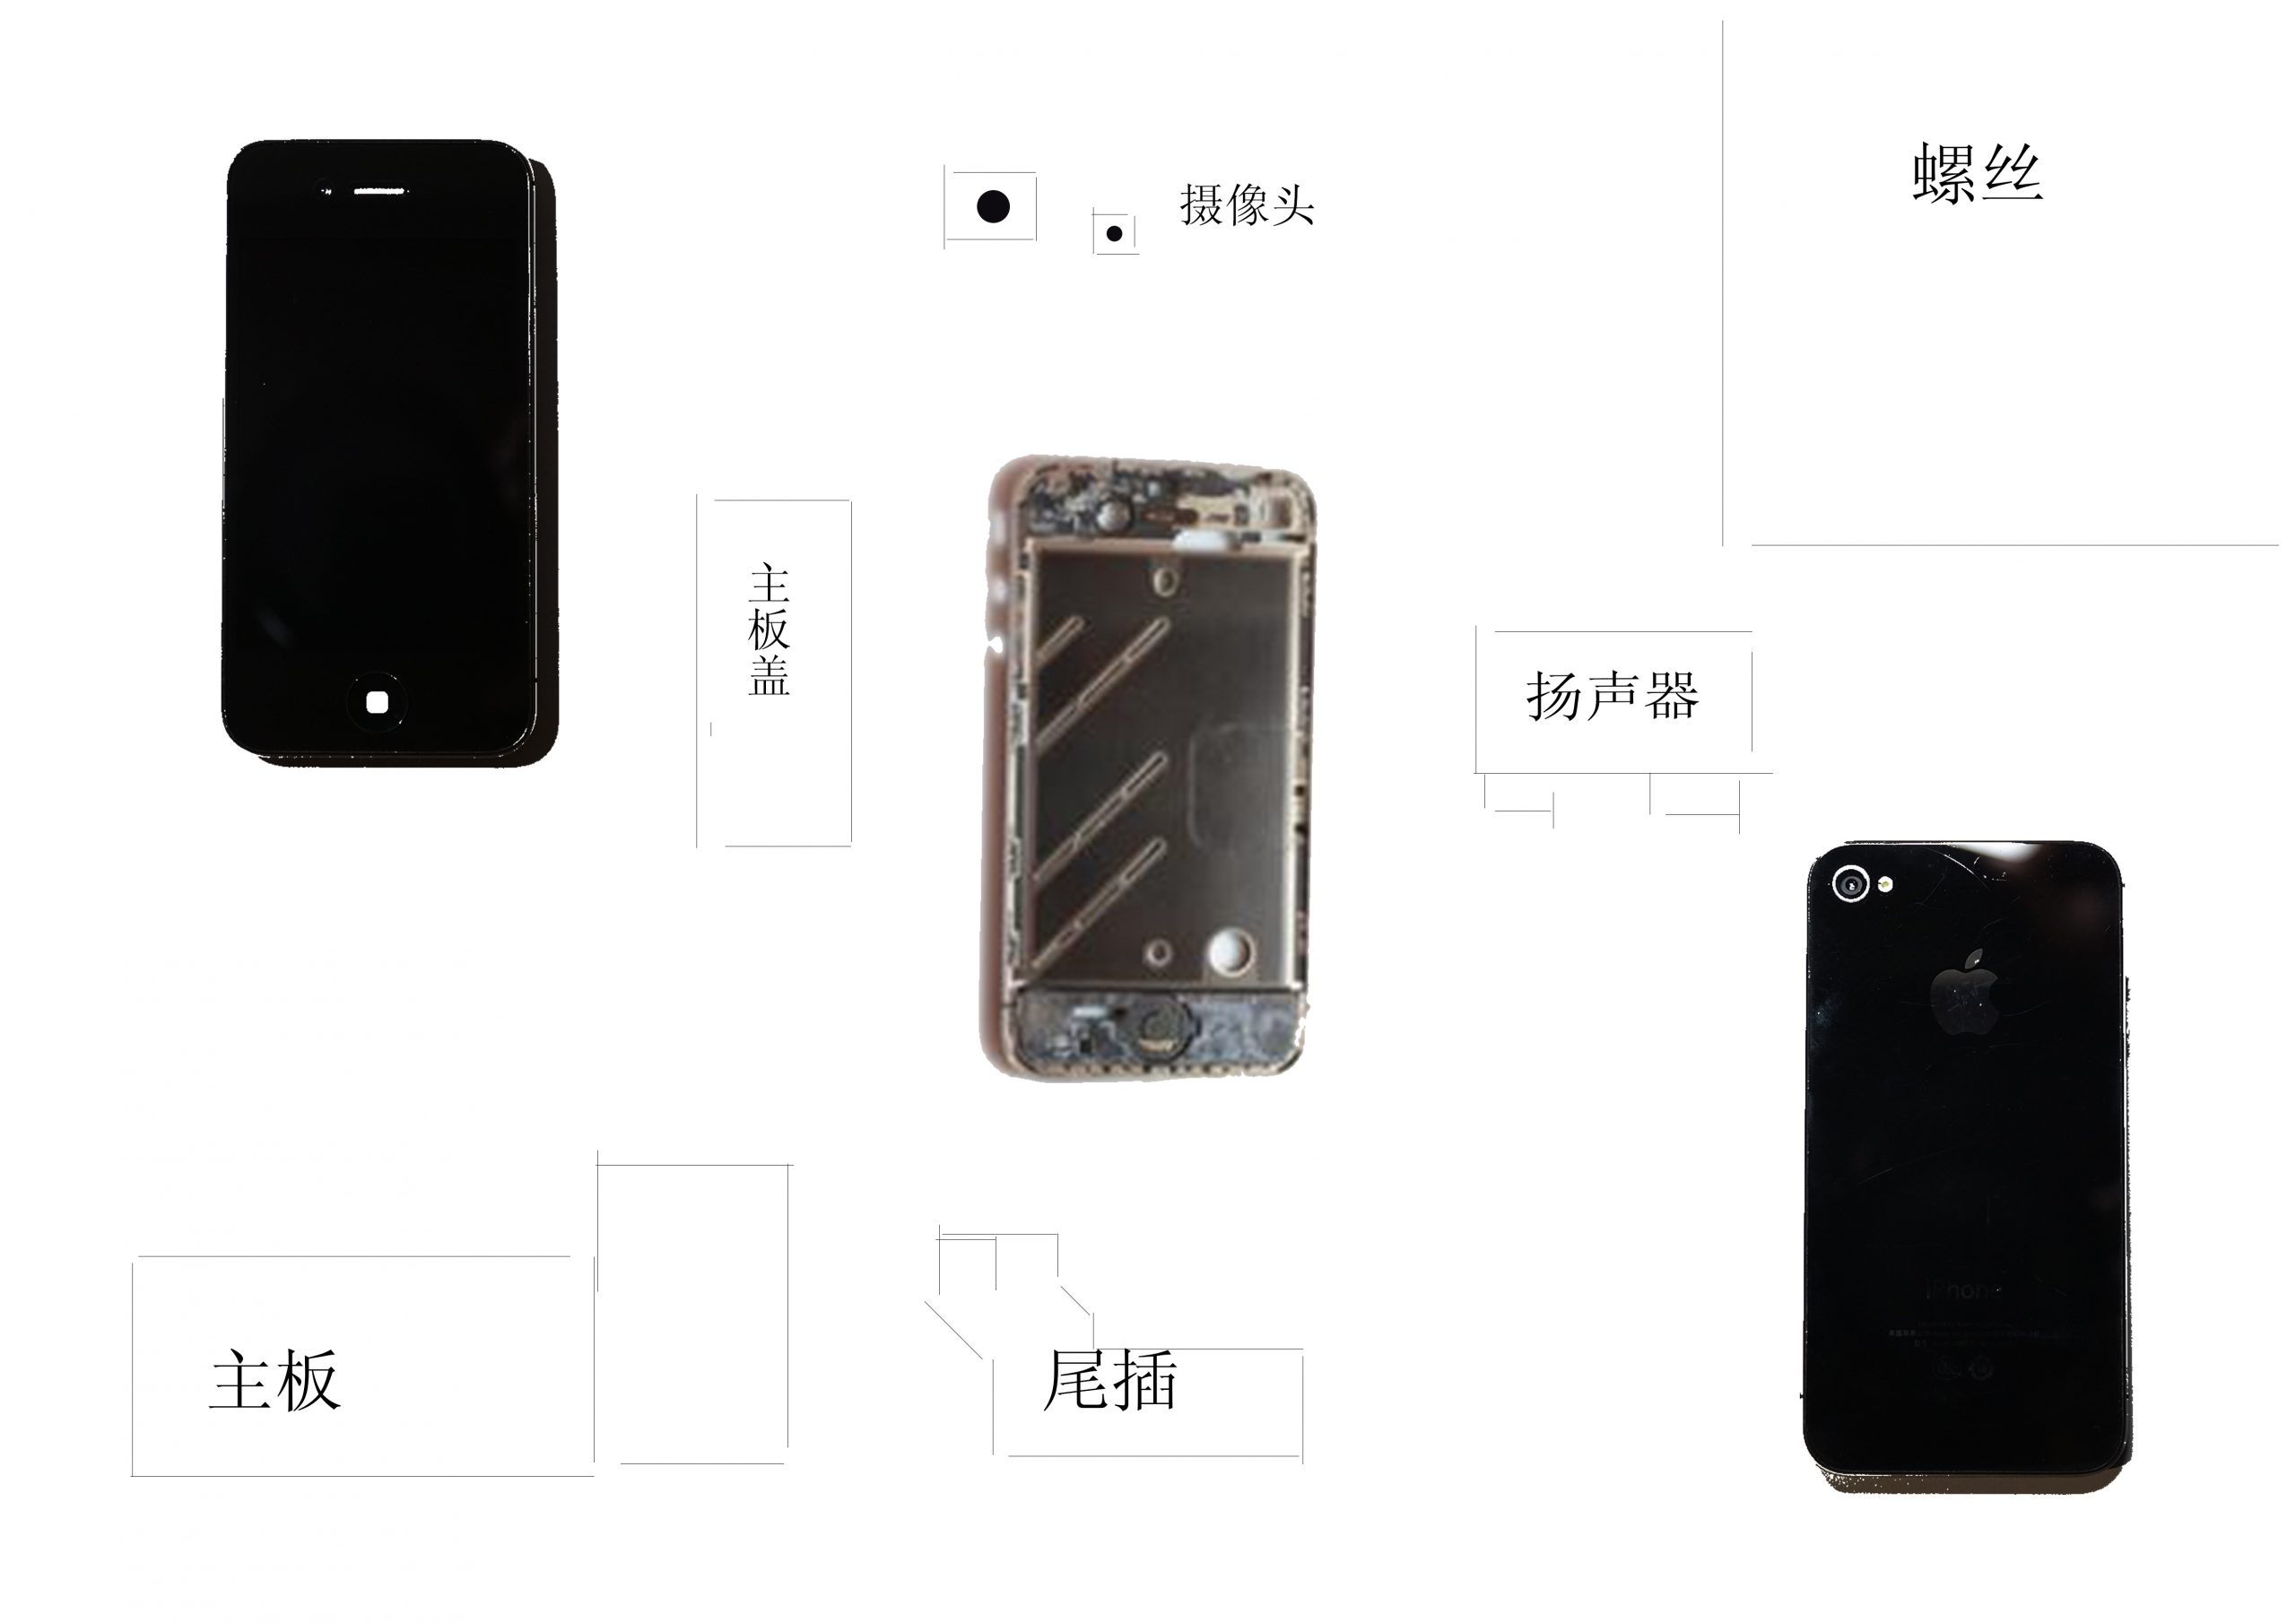
Picture 1-6 Part Layout2
This arrangement made by screen, medium frame and back cover from top to bottom is not only not so inflexible, but also reflects an effect of transition; Not merely does it make other medium size parts look less crowded, but makes many small one have a place to stuff. Finally I defined the position and drew a more detailed layout on the paper, as shown in picture 1-7.
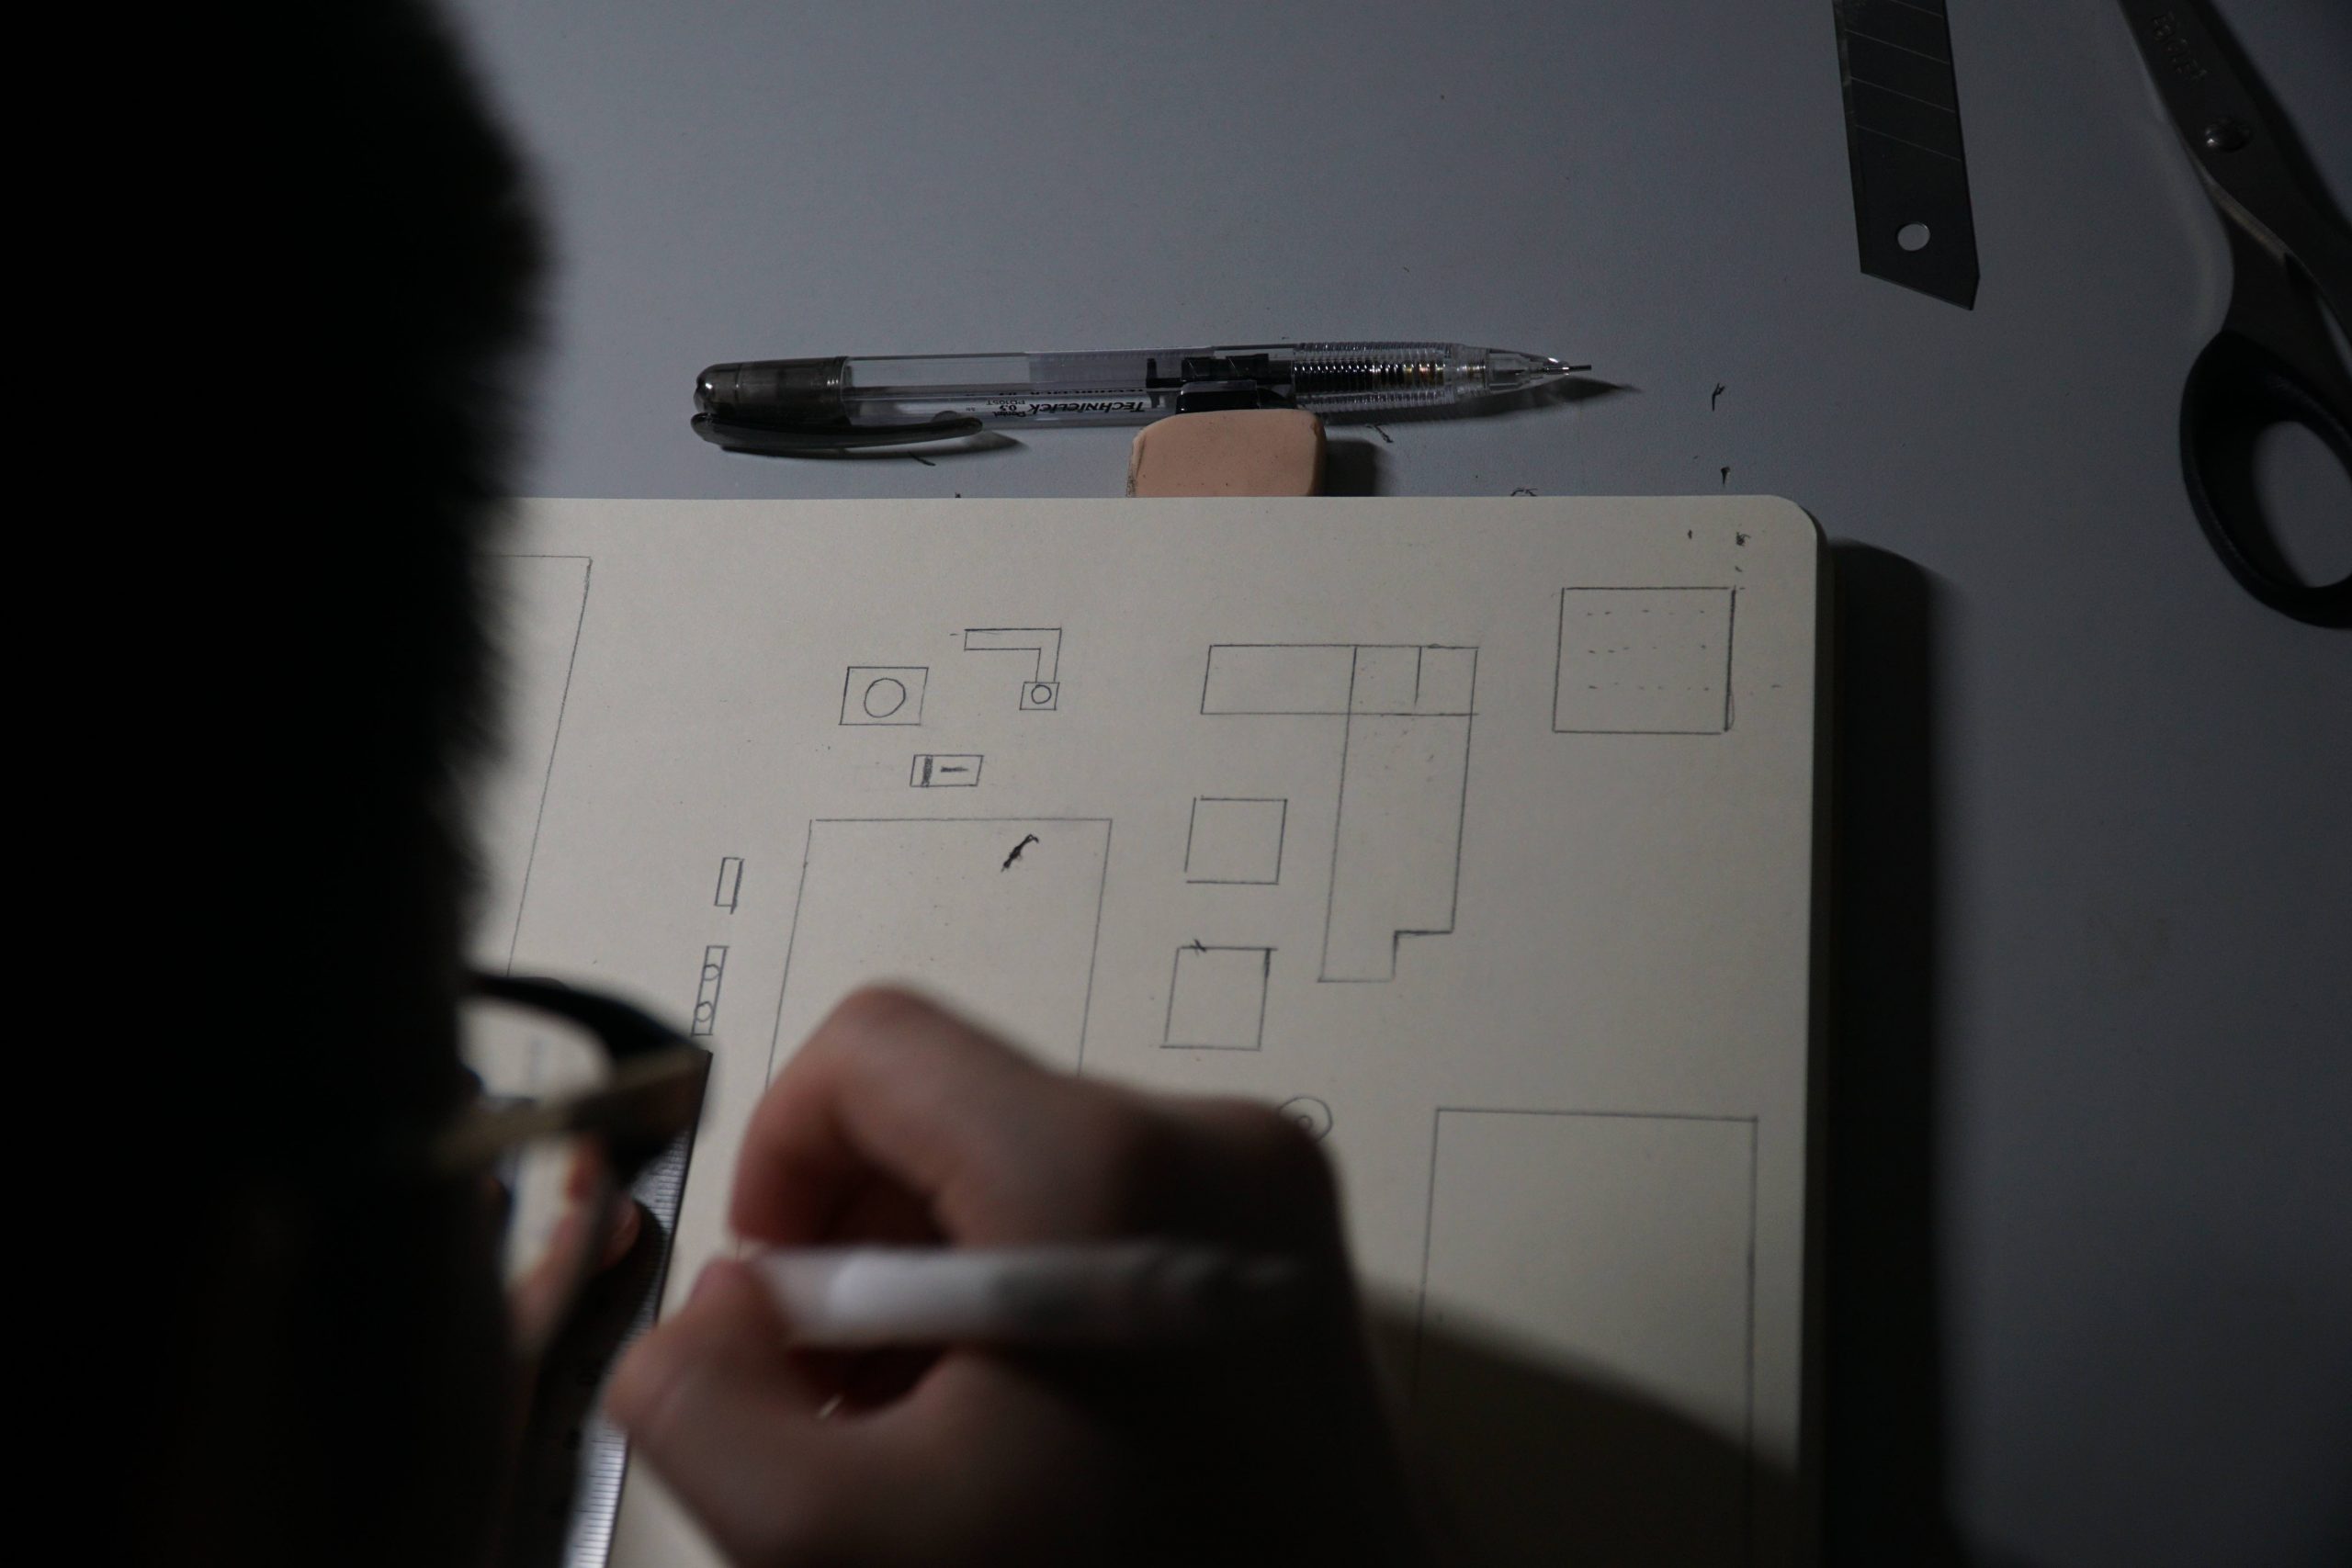
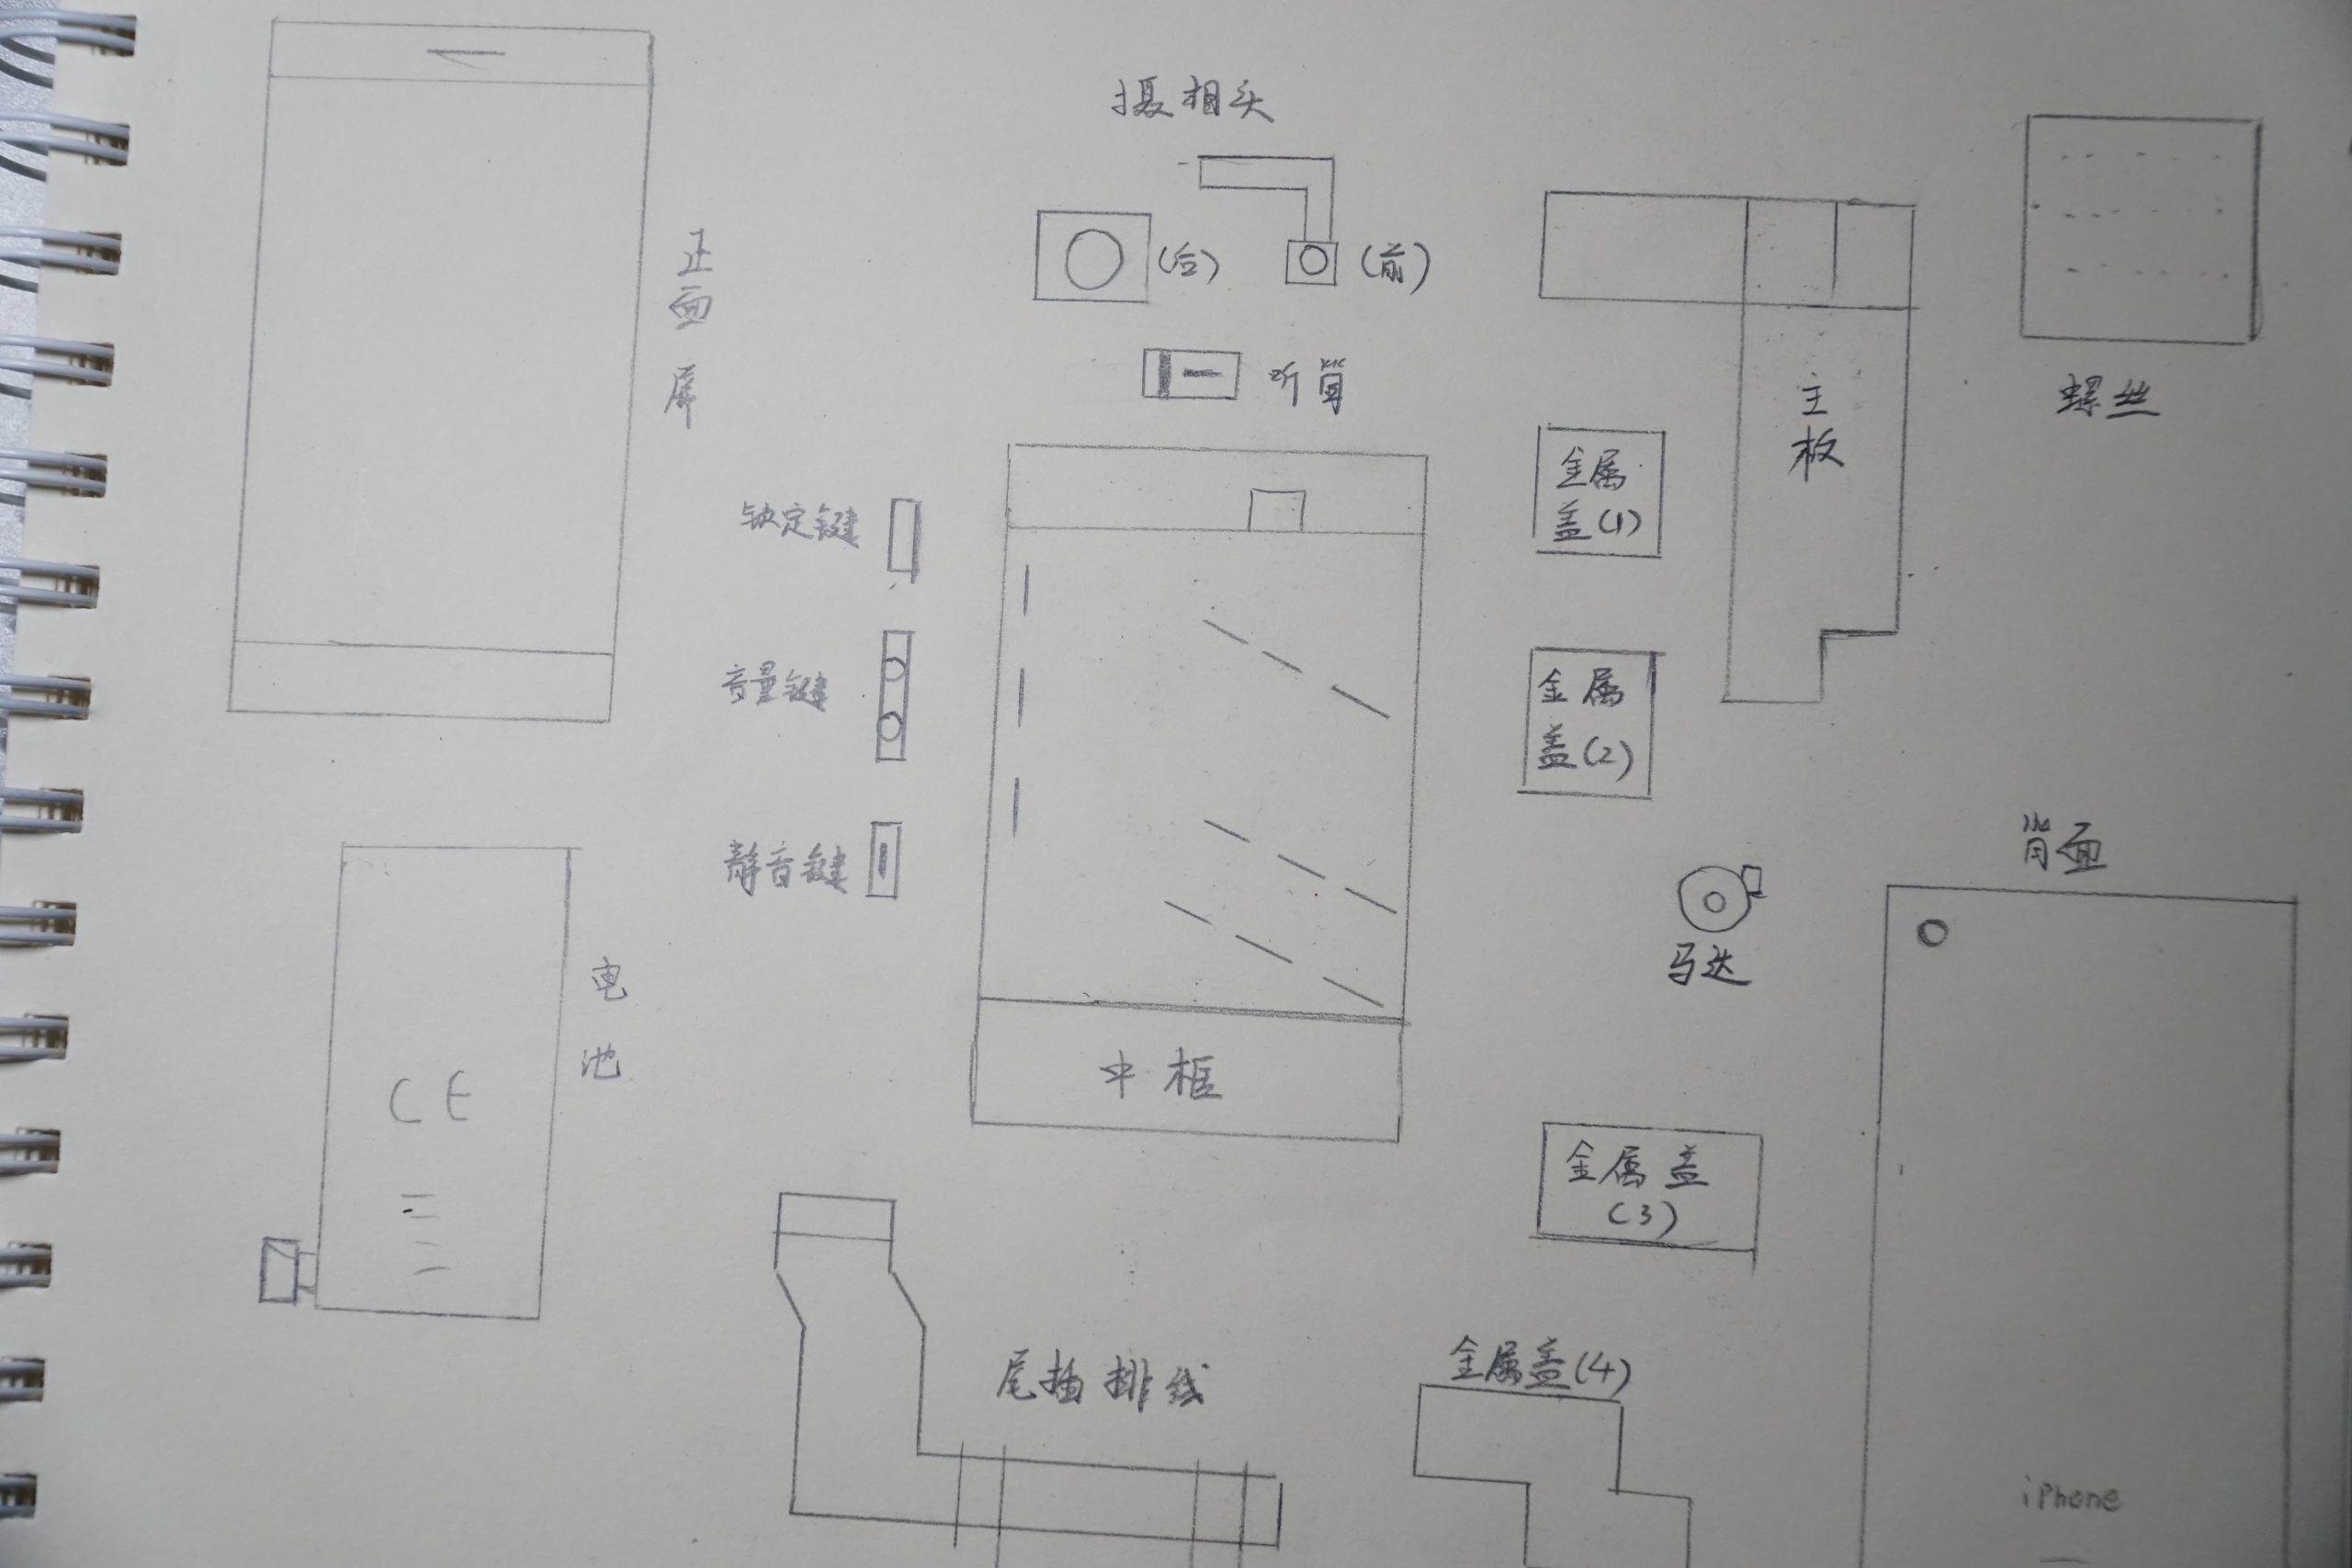
Picture 1-7 Part Layout3
(1)Empty Battery: I run out of all the power of the mobile phone to minimize the pollution of the battery before disassembling it.
Selection of Dismantling Tools: I bought a set of dismantling tools, as shown in picture 2-1.
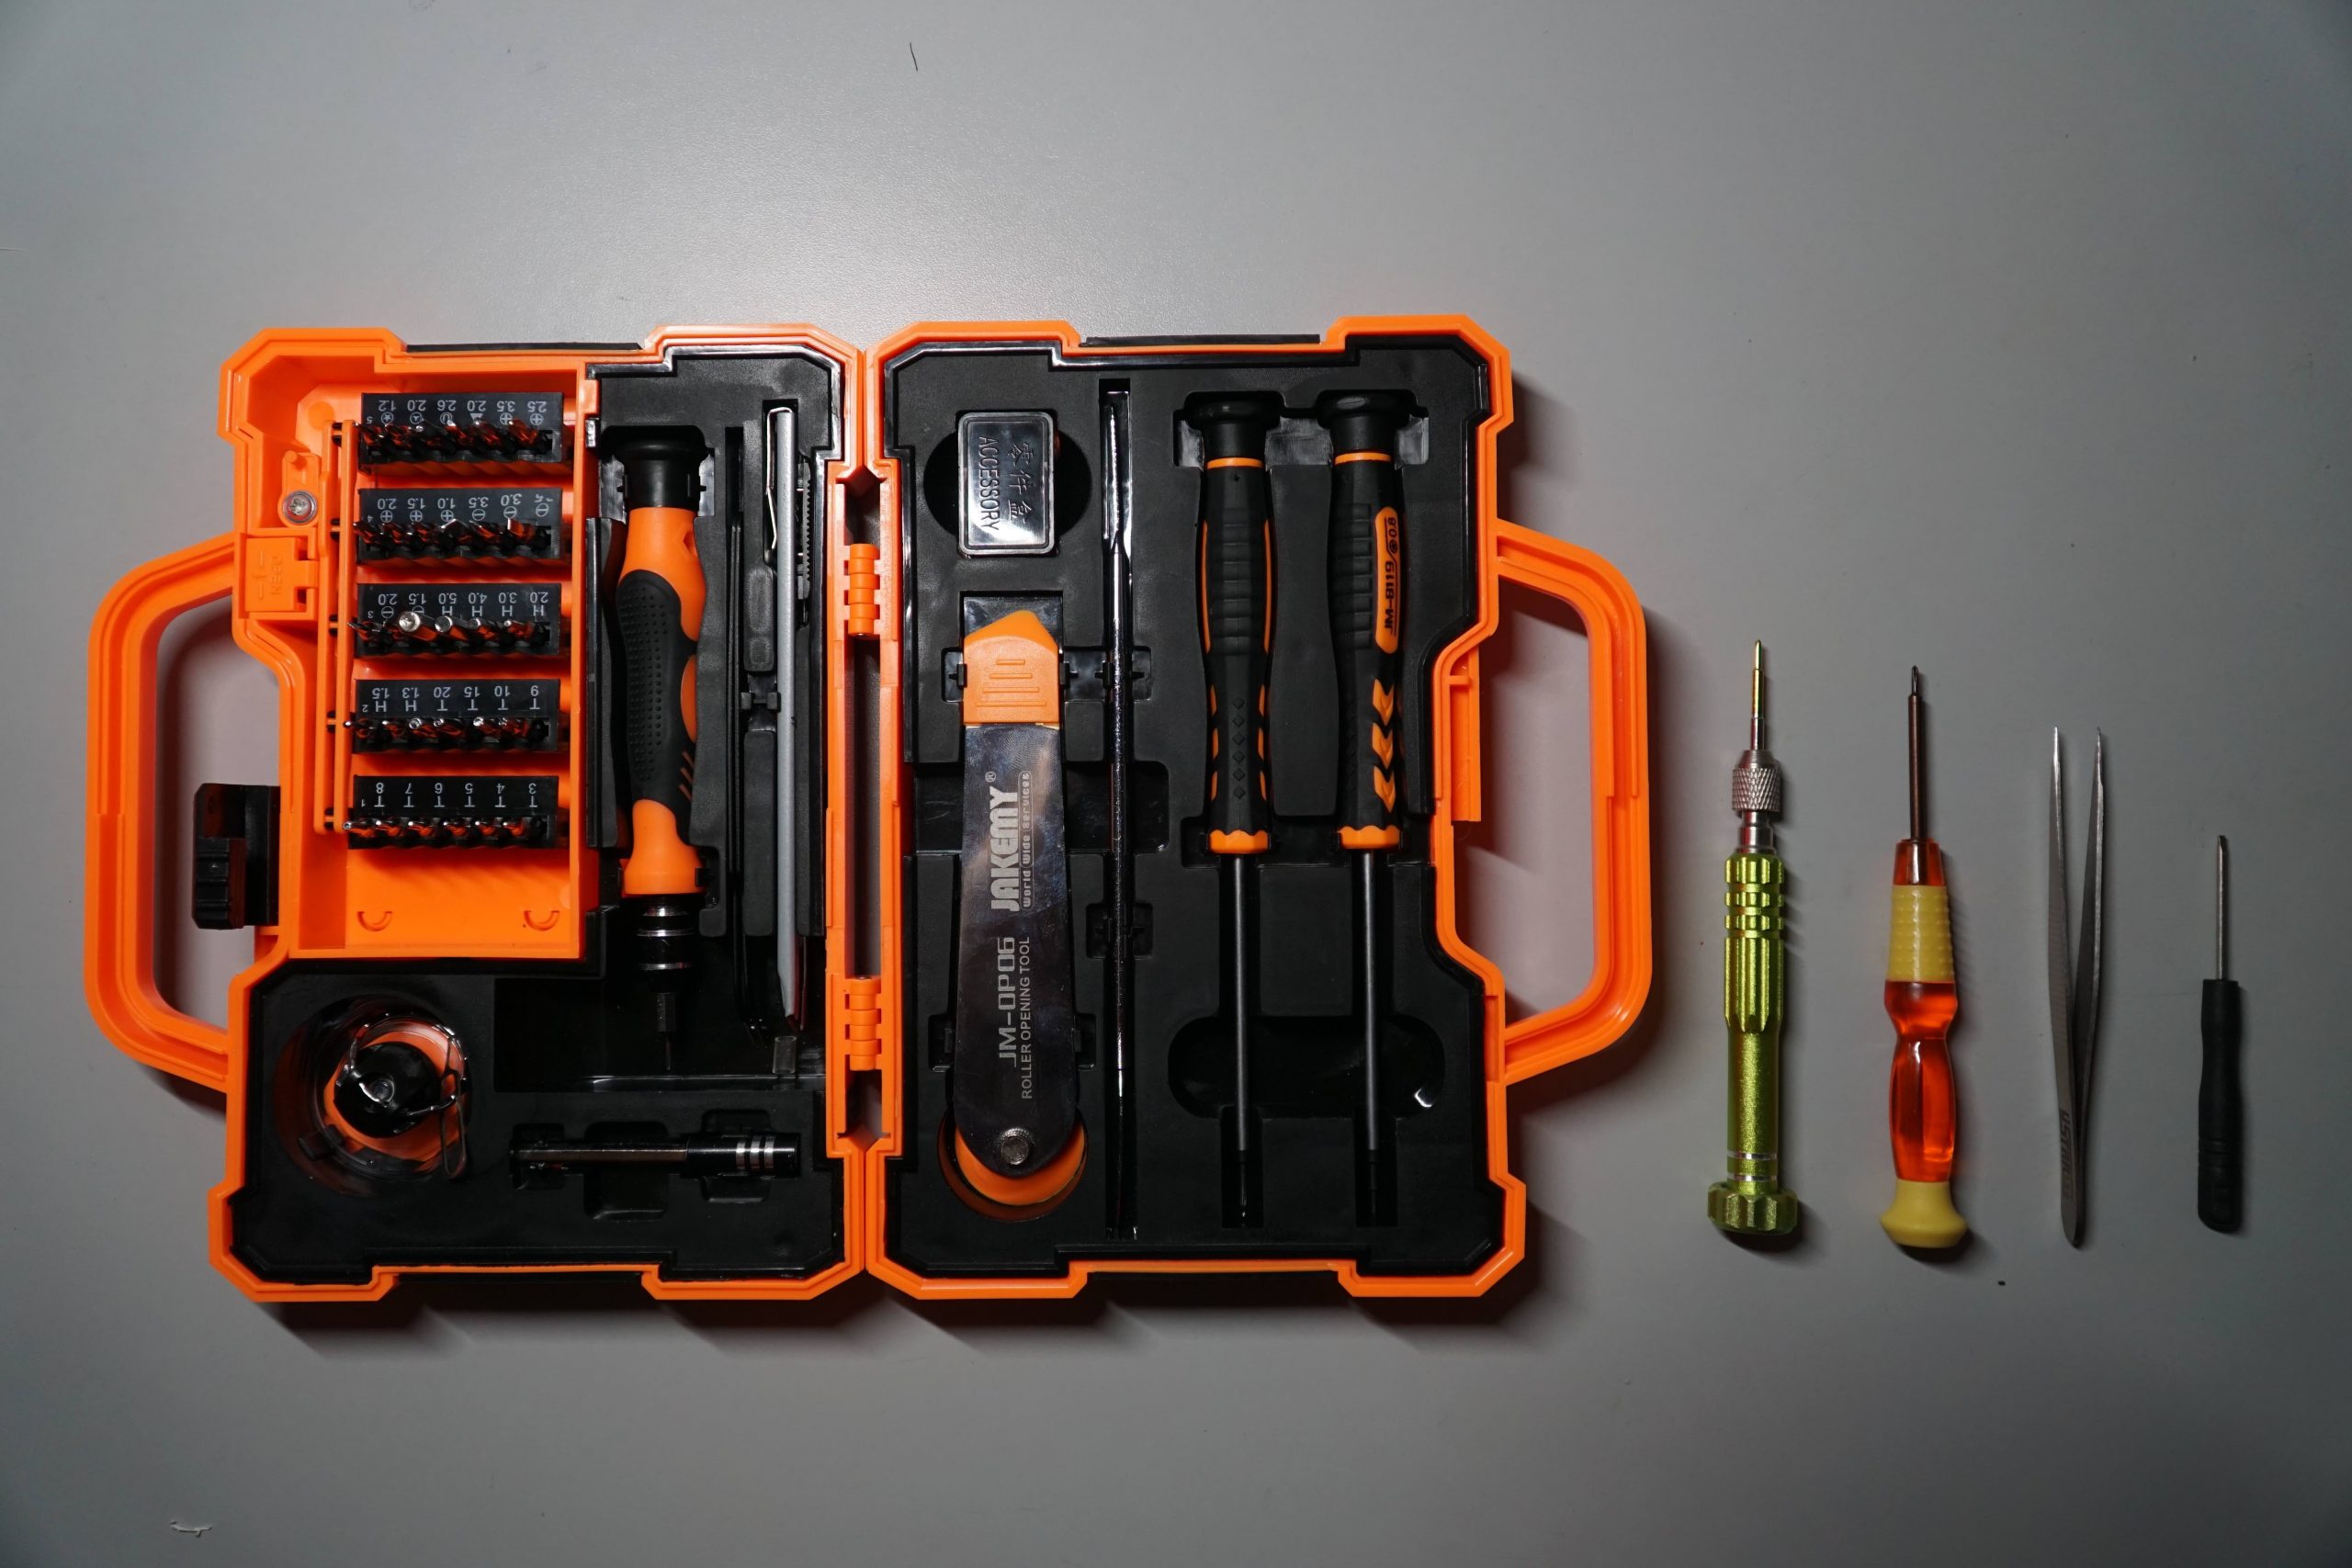
Picture 2-1 Dismantling Tools
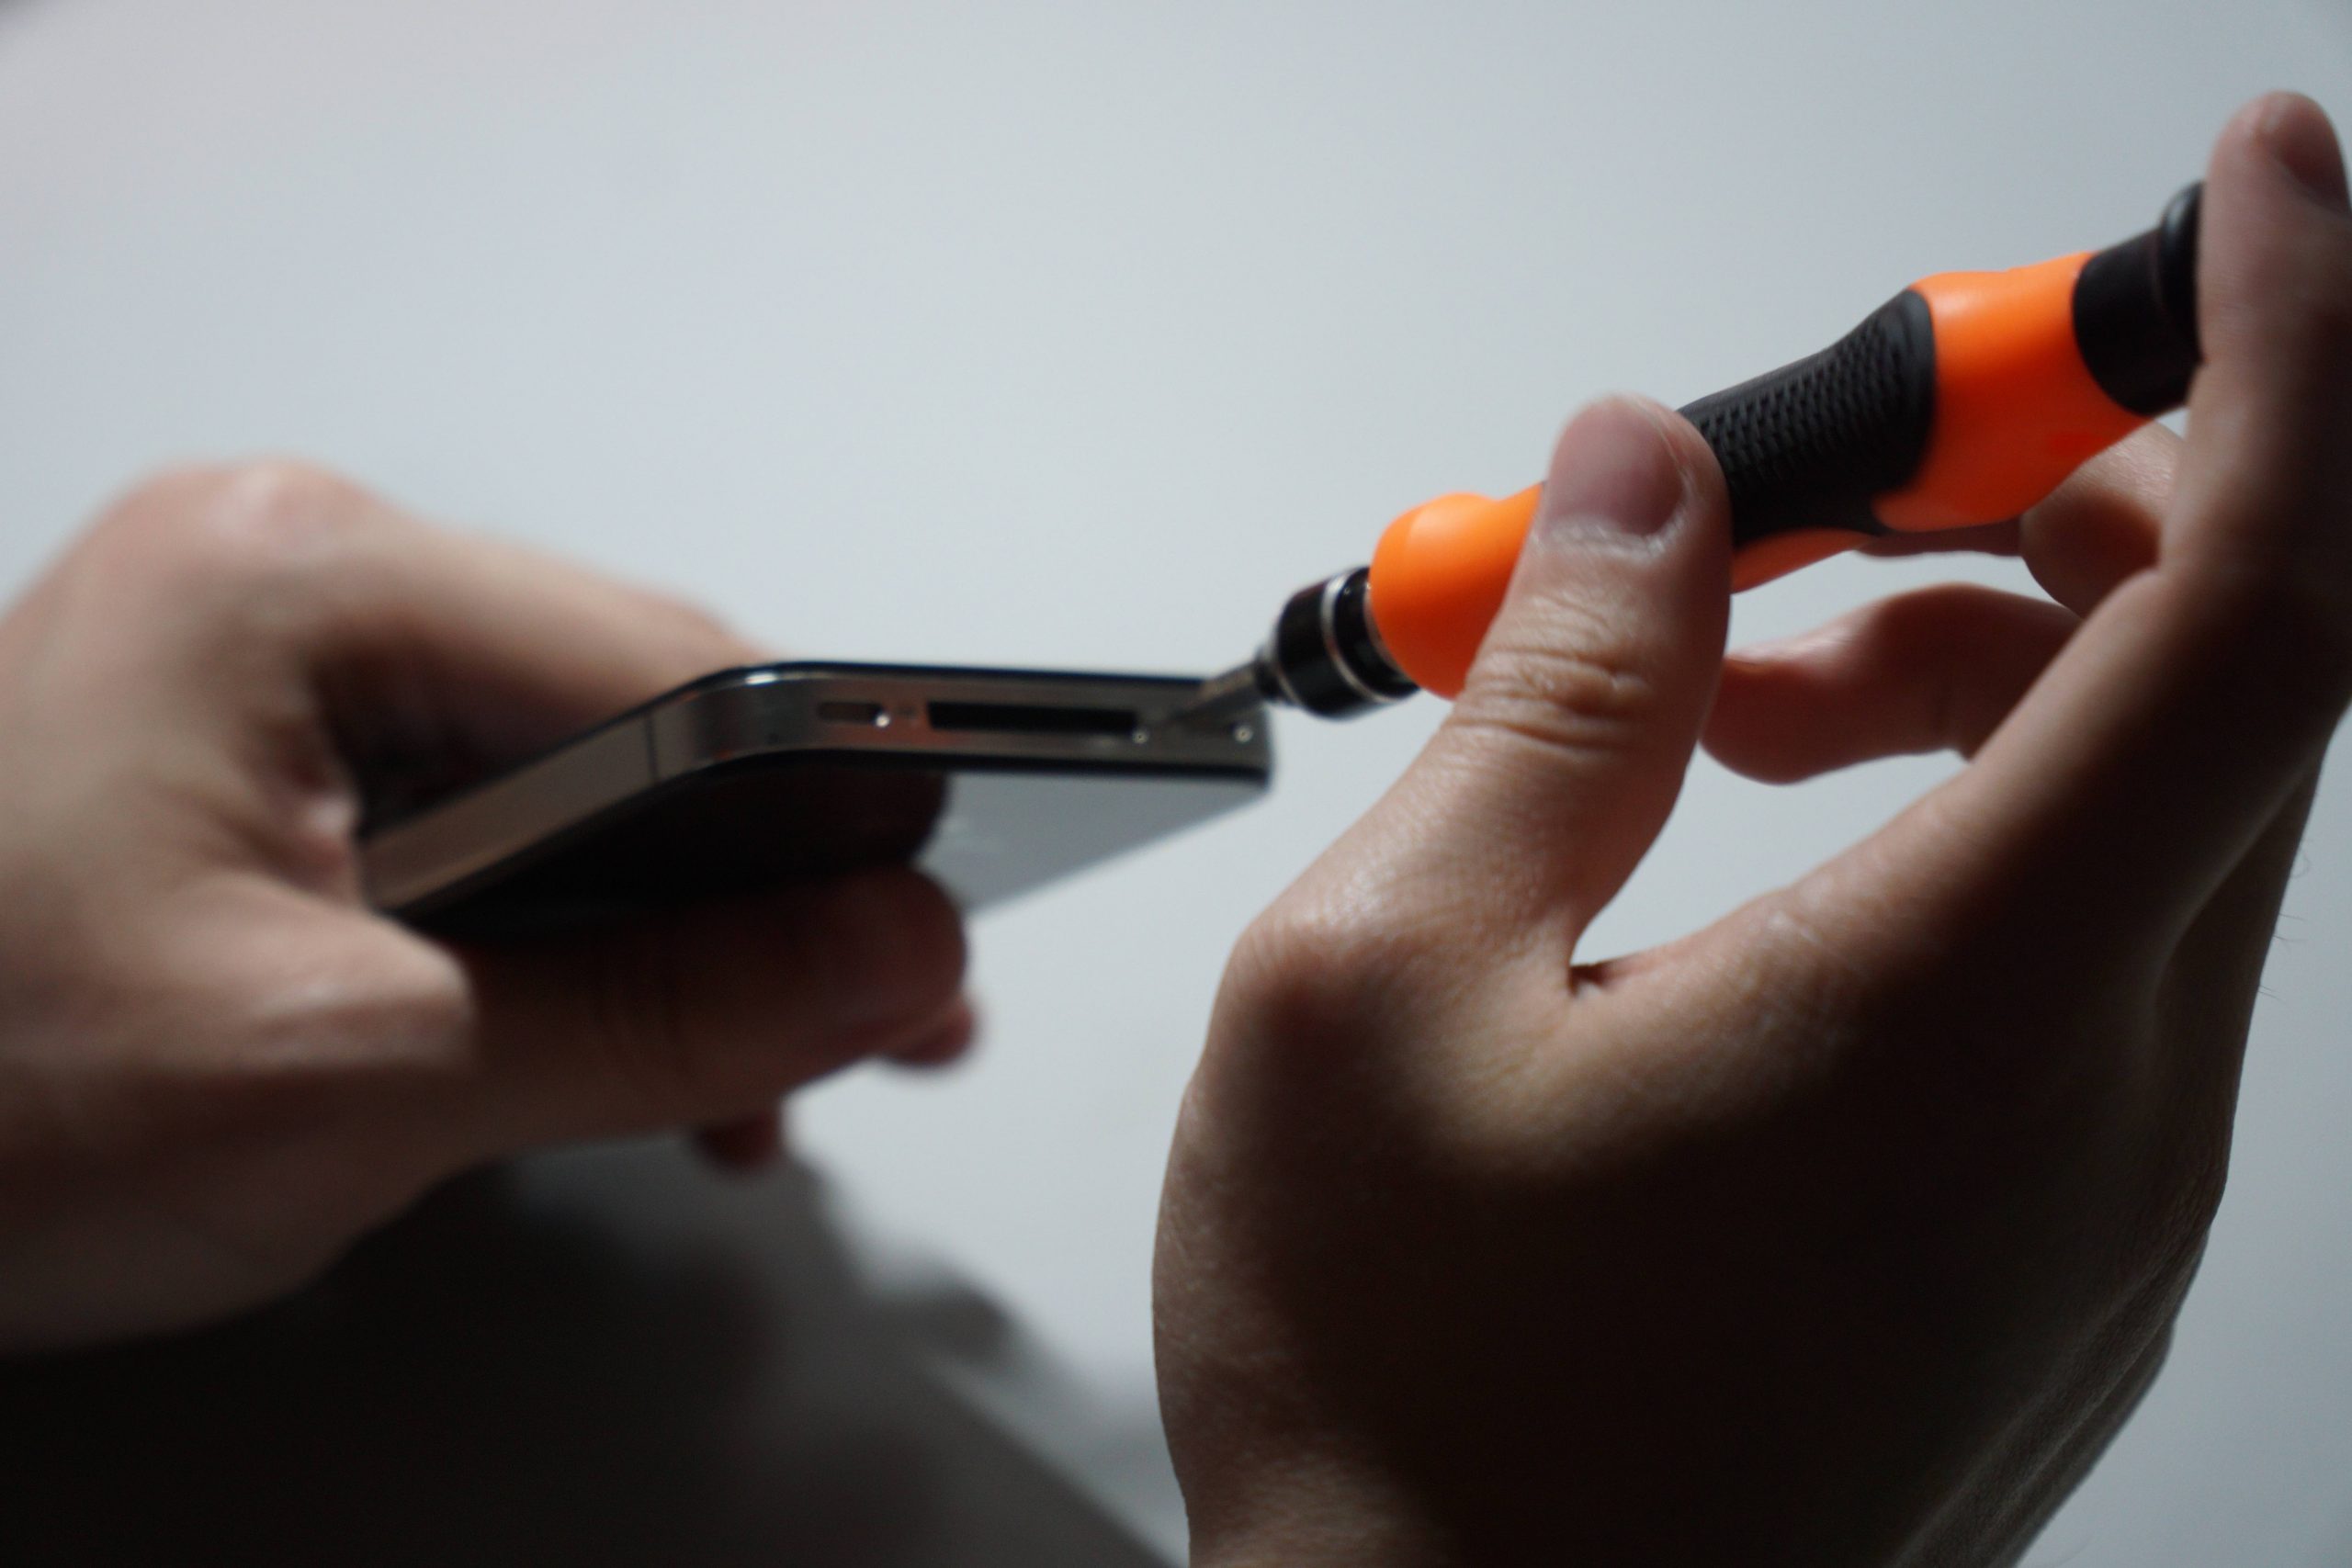
Picture 2-2 Dismantle the Back Cover
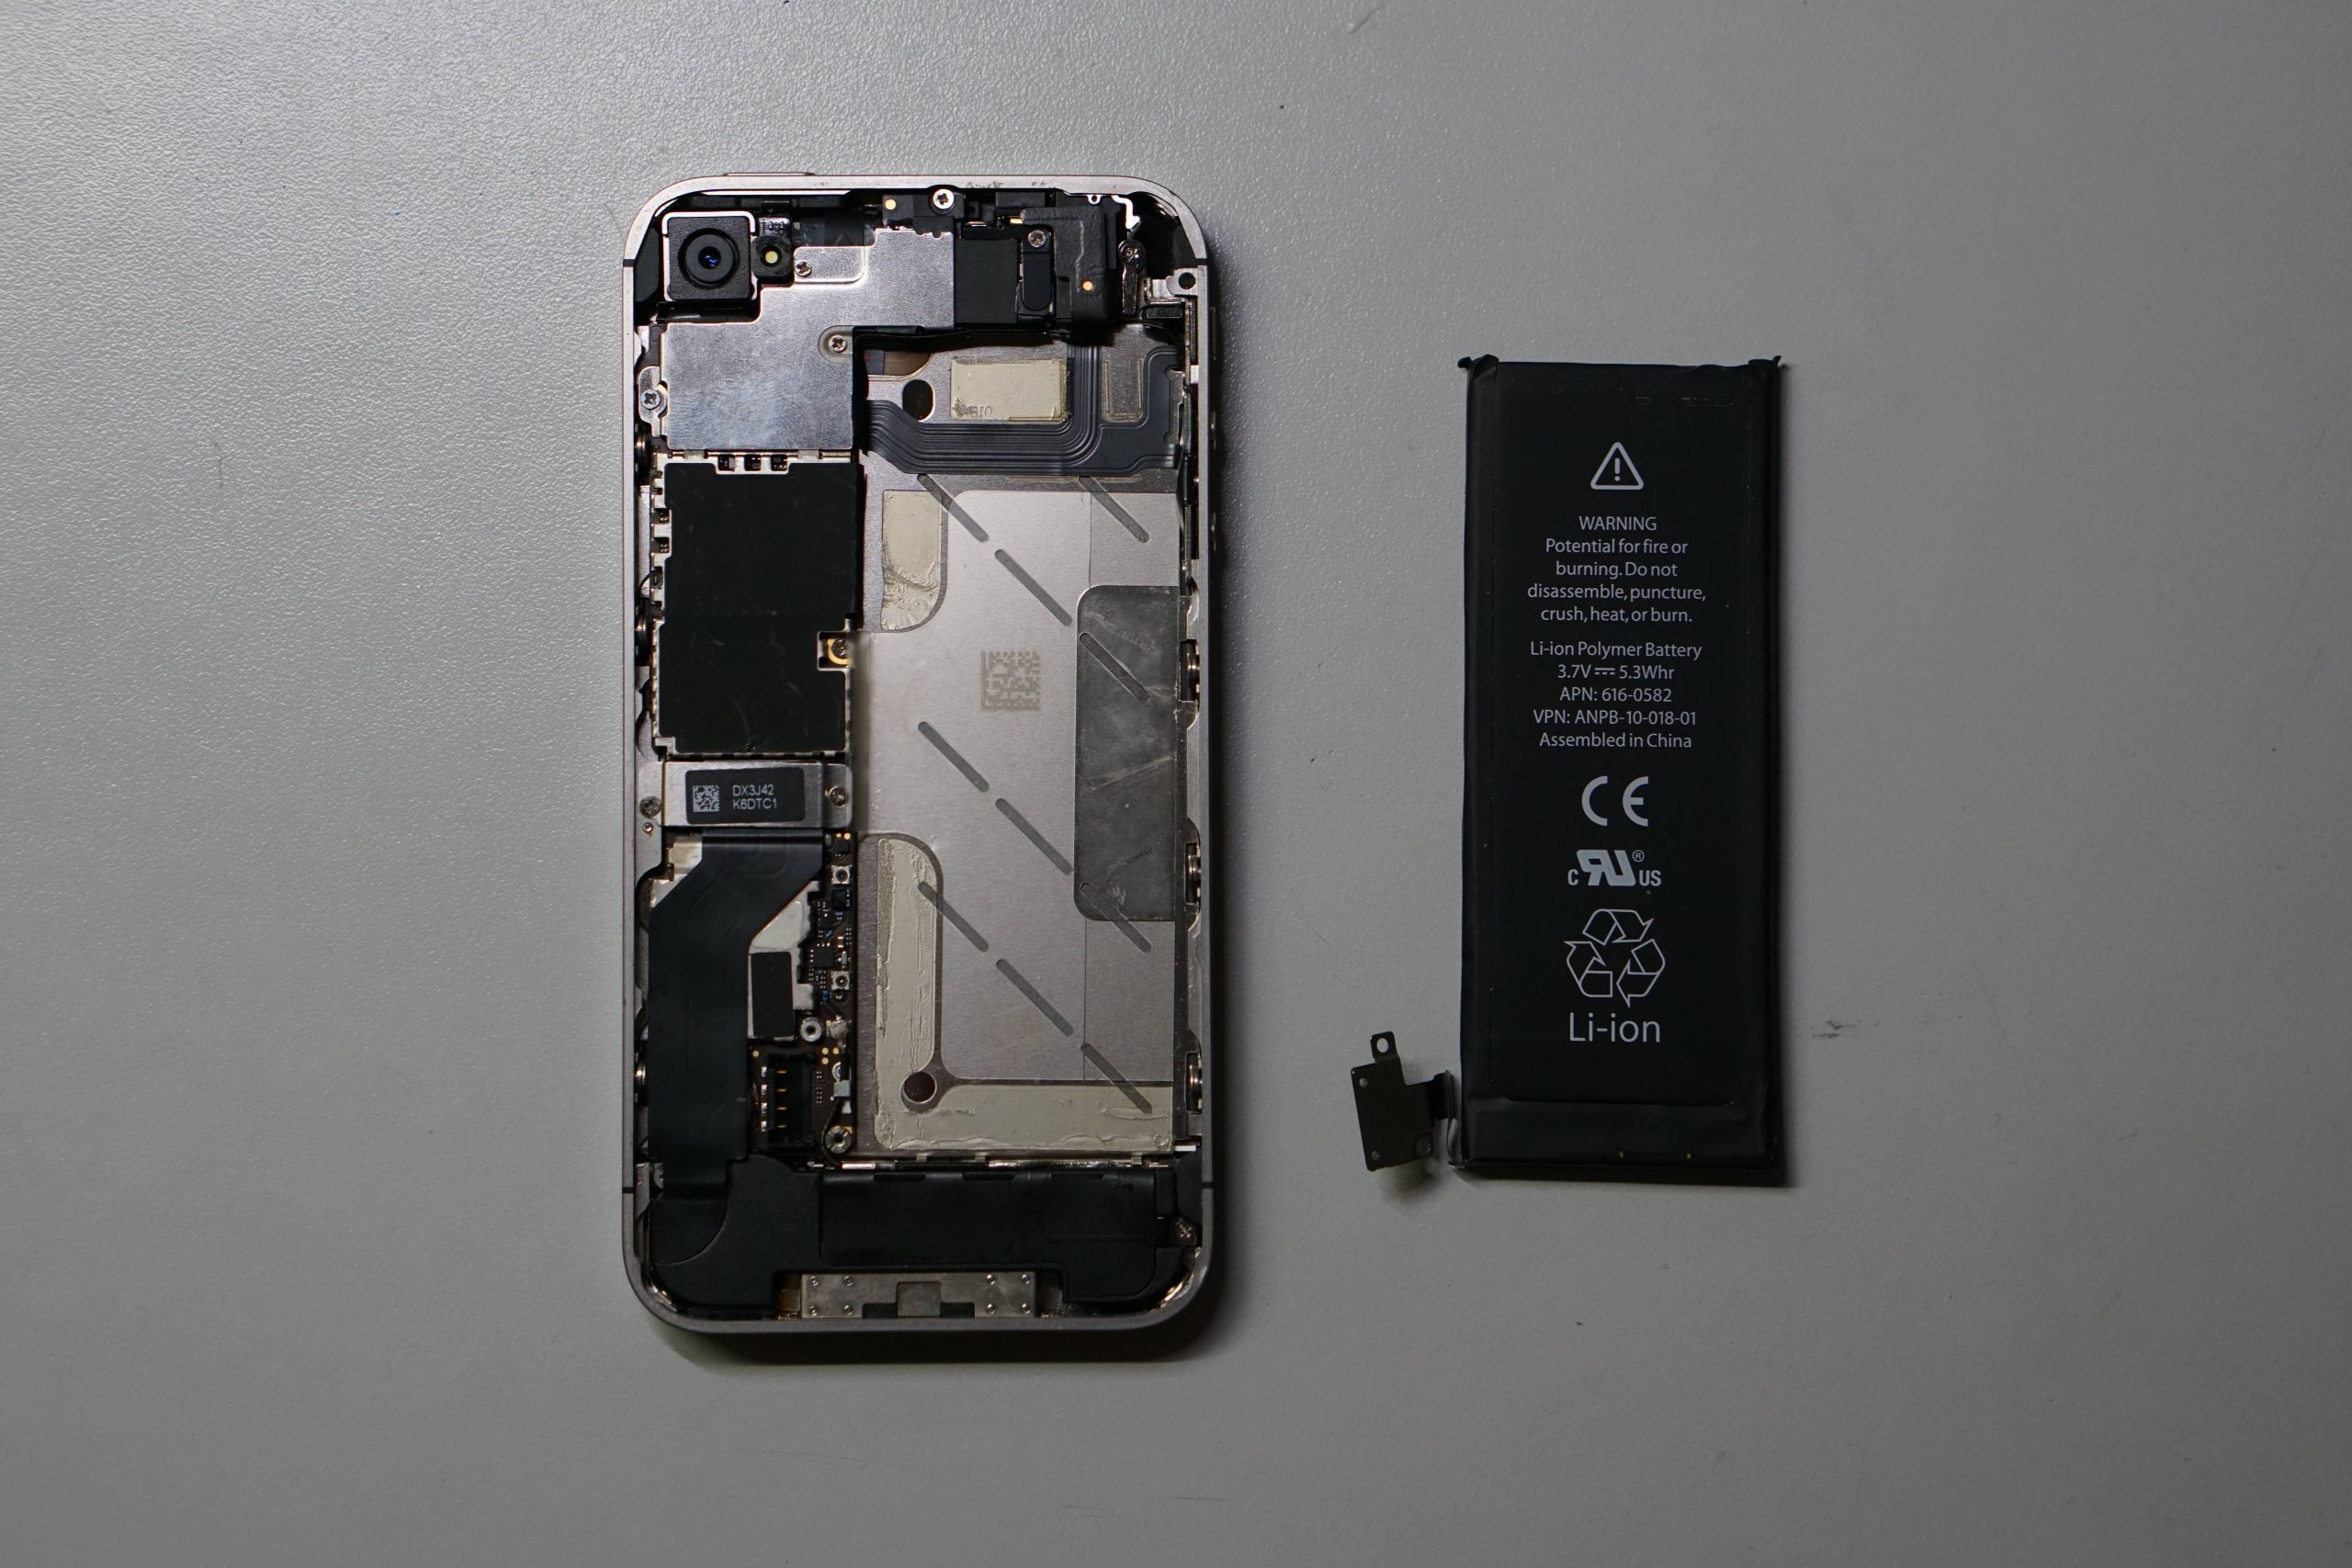
Picture 2-3 Dismantle the Battery
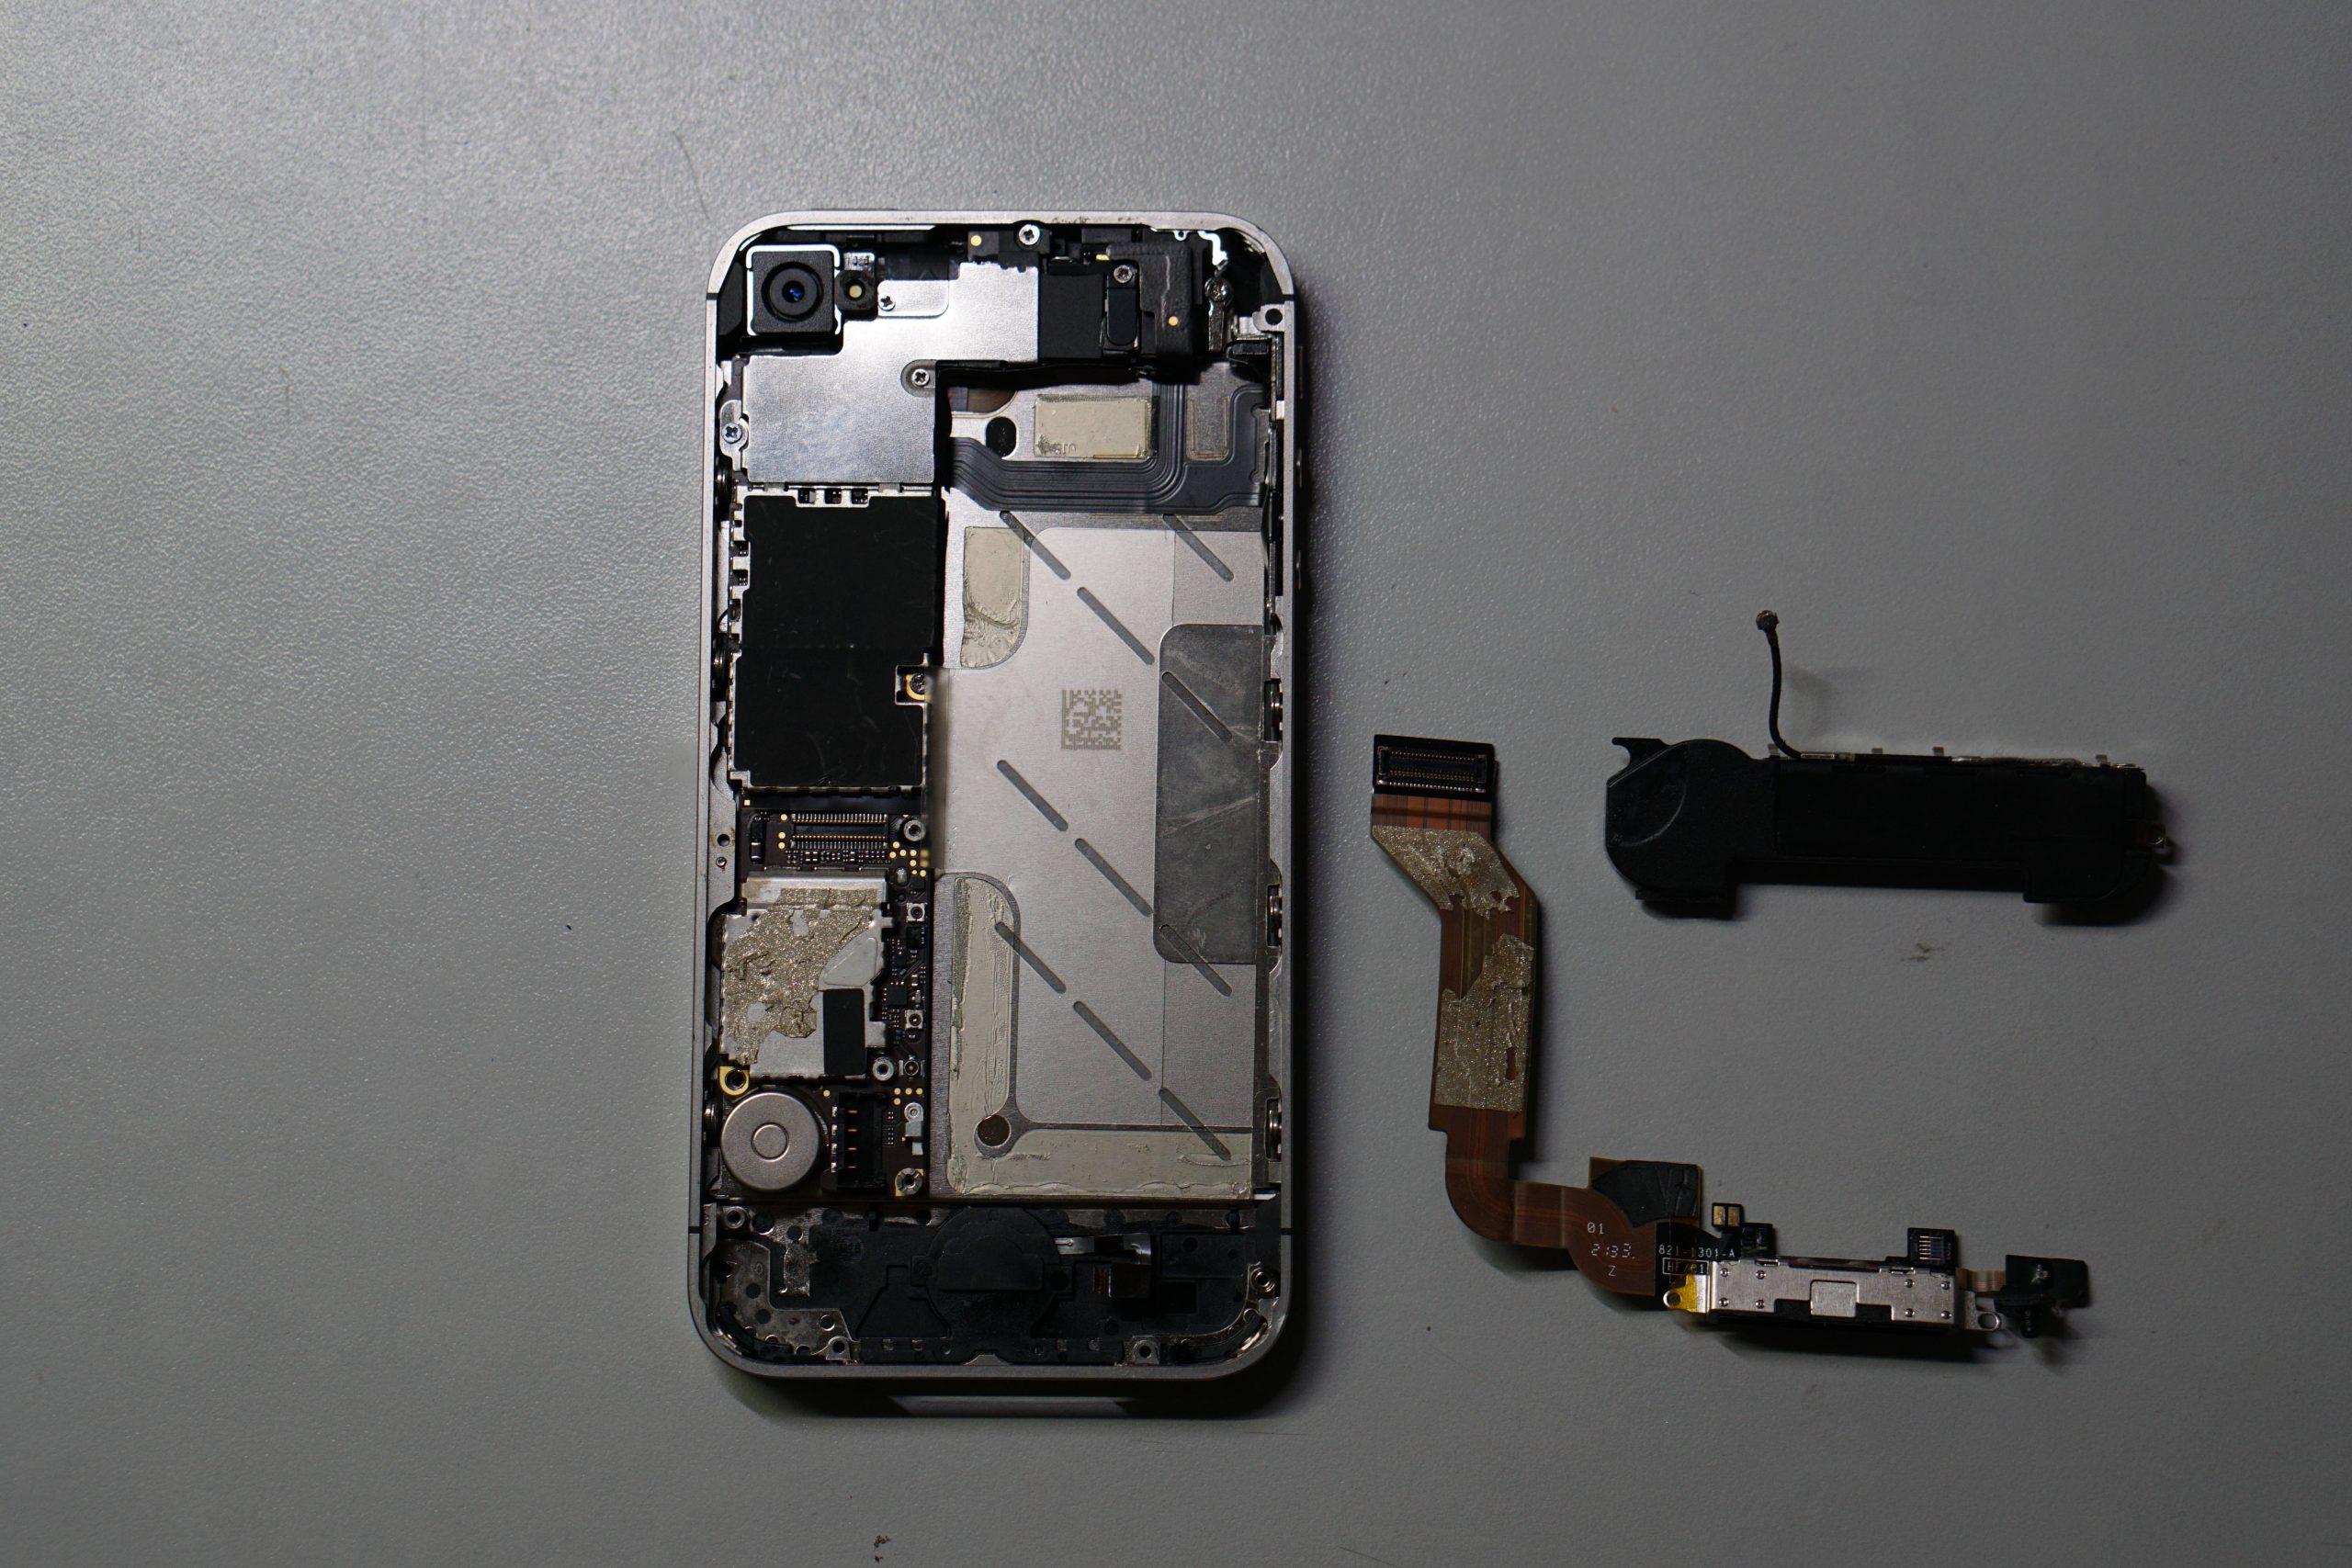
Picture 2-4 Dismantle the Speaker
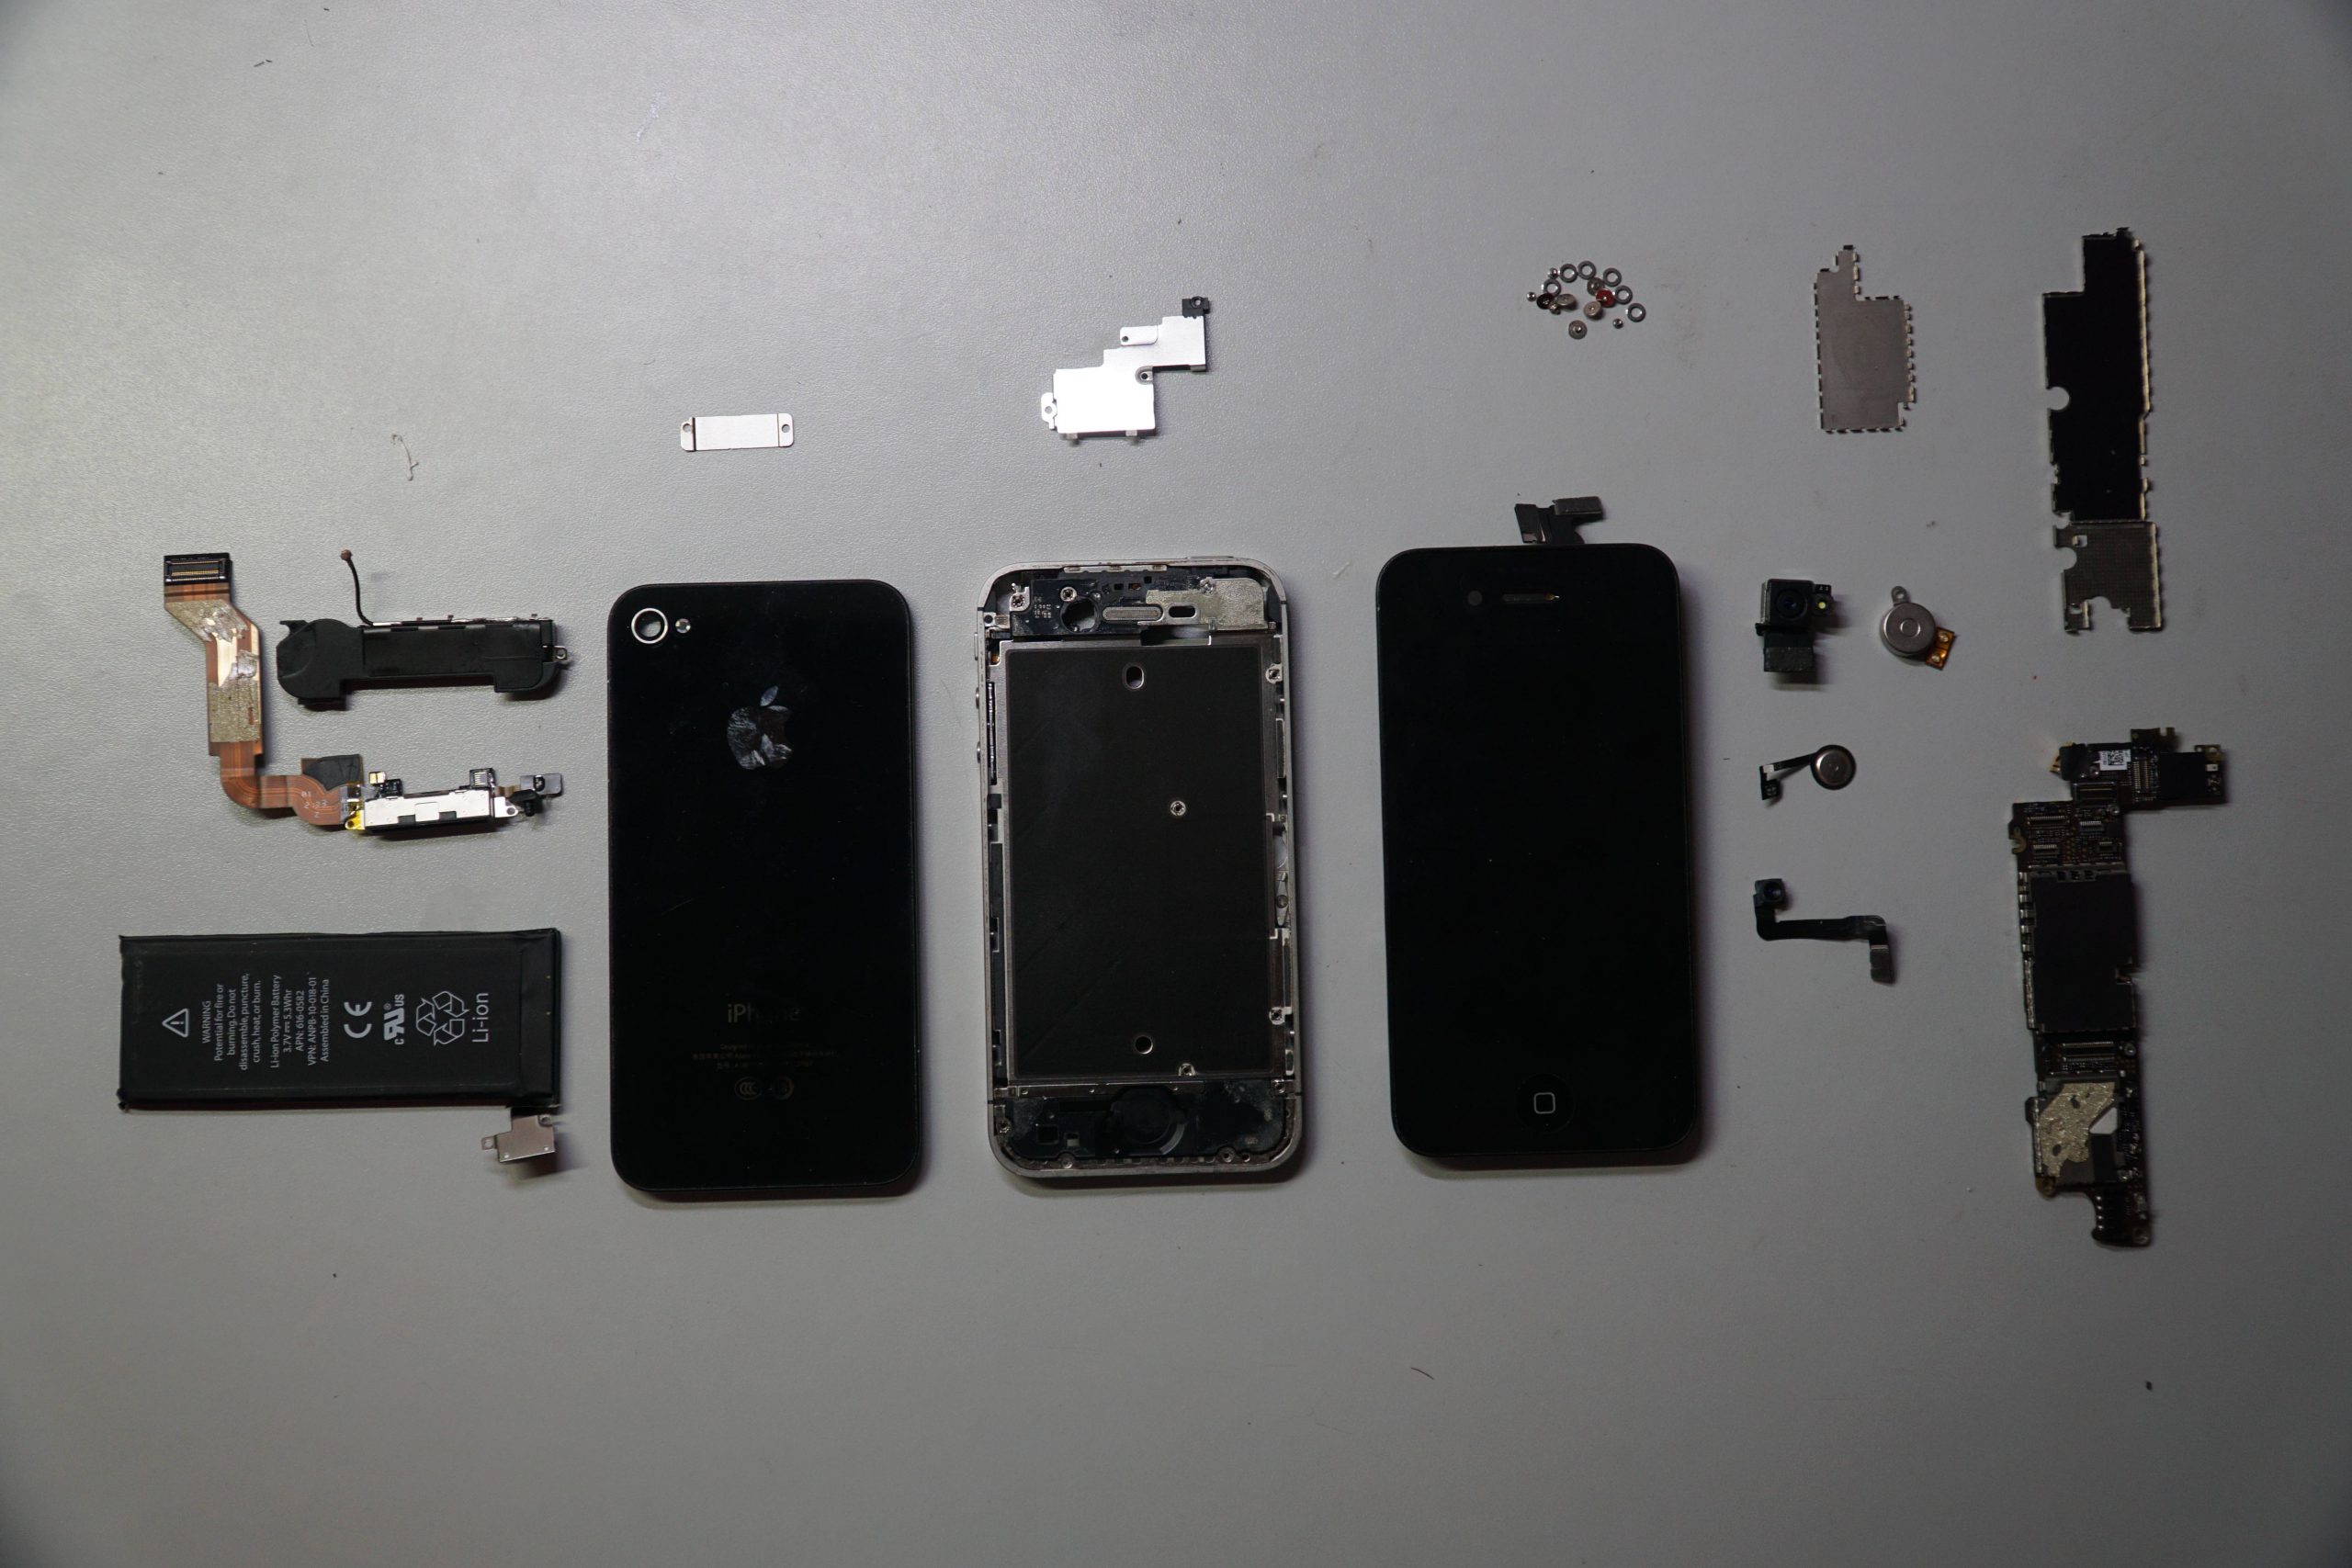
Picture 2-5 Dismantle Completion
(1)Install Parts Into Photo Frame:
Paste the parts into the photo frame according to the position picture. I fixed the large parts with 3m double-sided adhesive tape as shown in the picture, small parts and screws with glue 502. When employing glue 502 to paste screw, there appeared glue overflow. We found that the reason was that too much glue existed, so we had to draw a little glue with toilet paper when stick each screw.
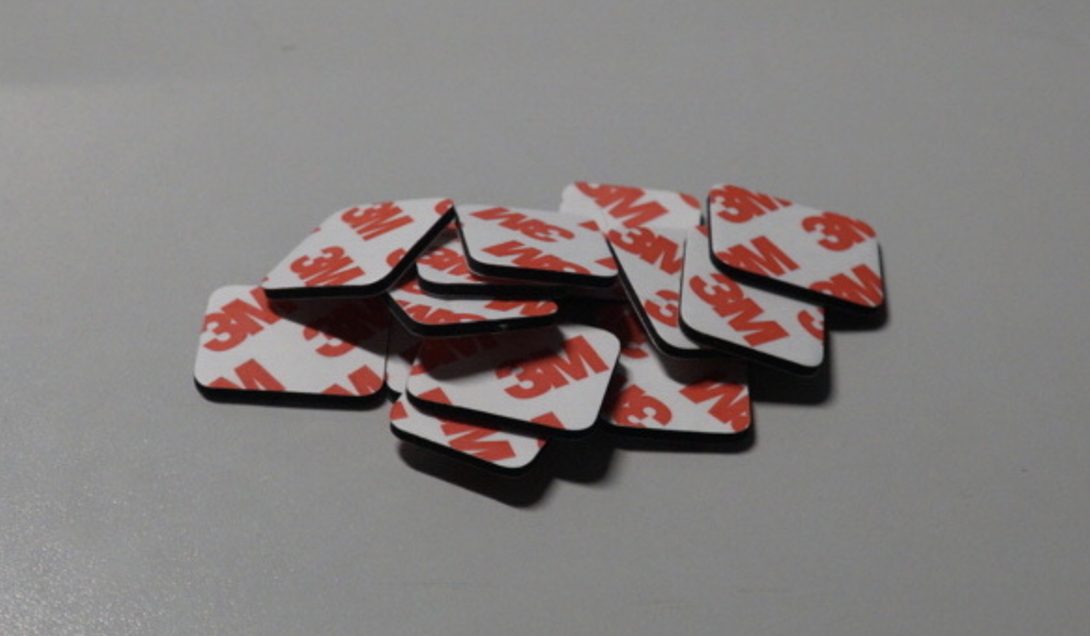
Picture 2-6 3m Double-sided Adhesive Tape
(2)Completion
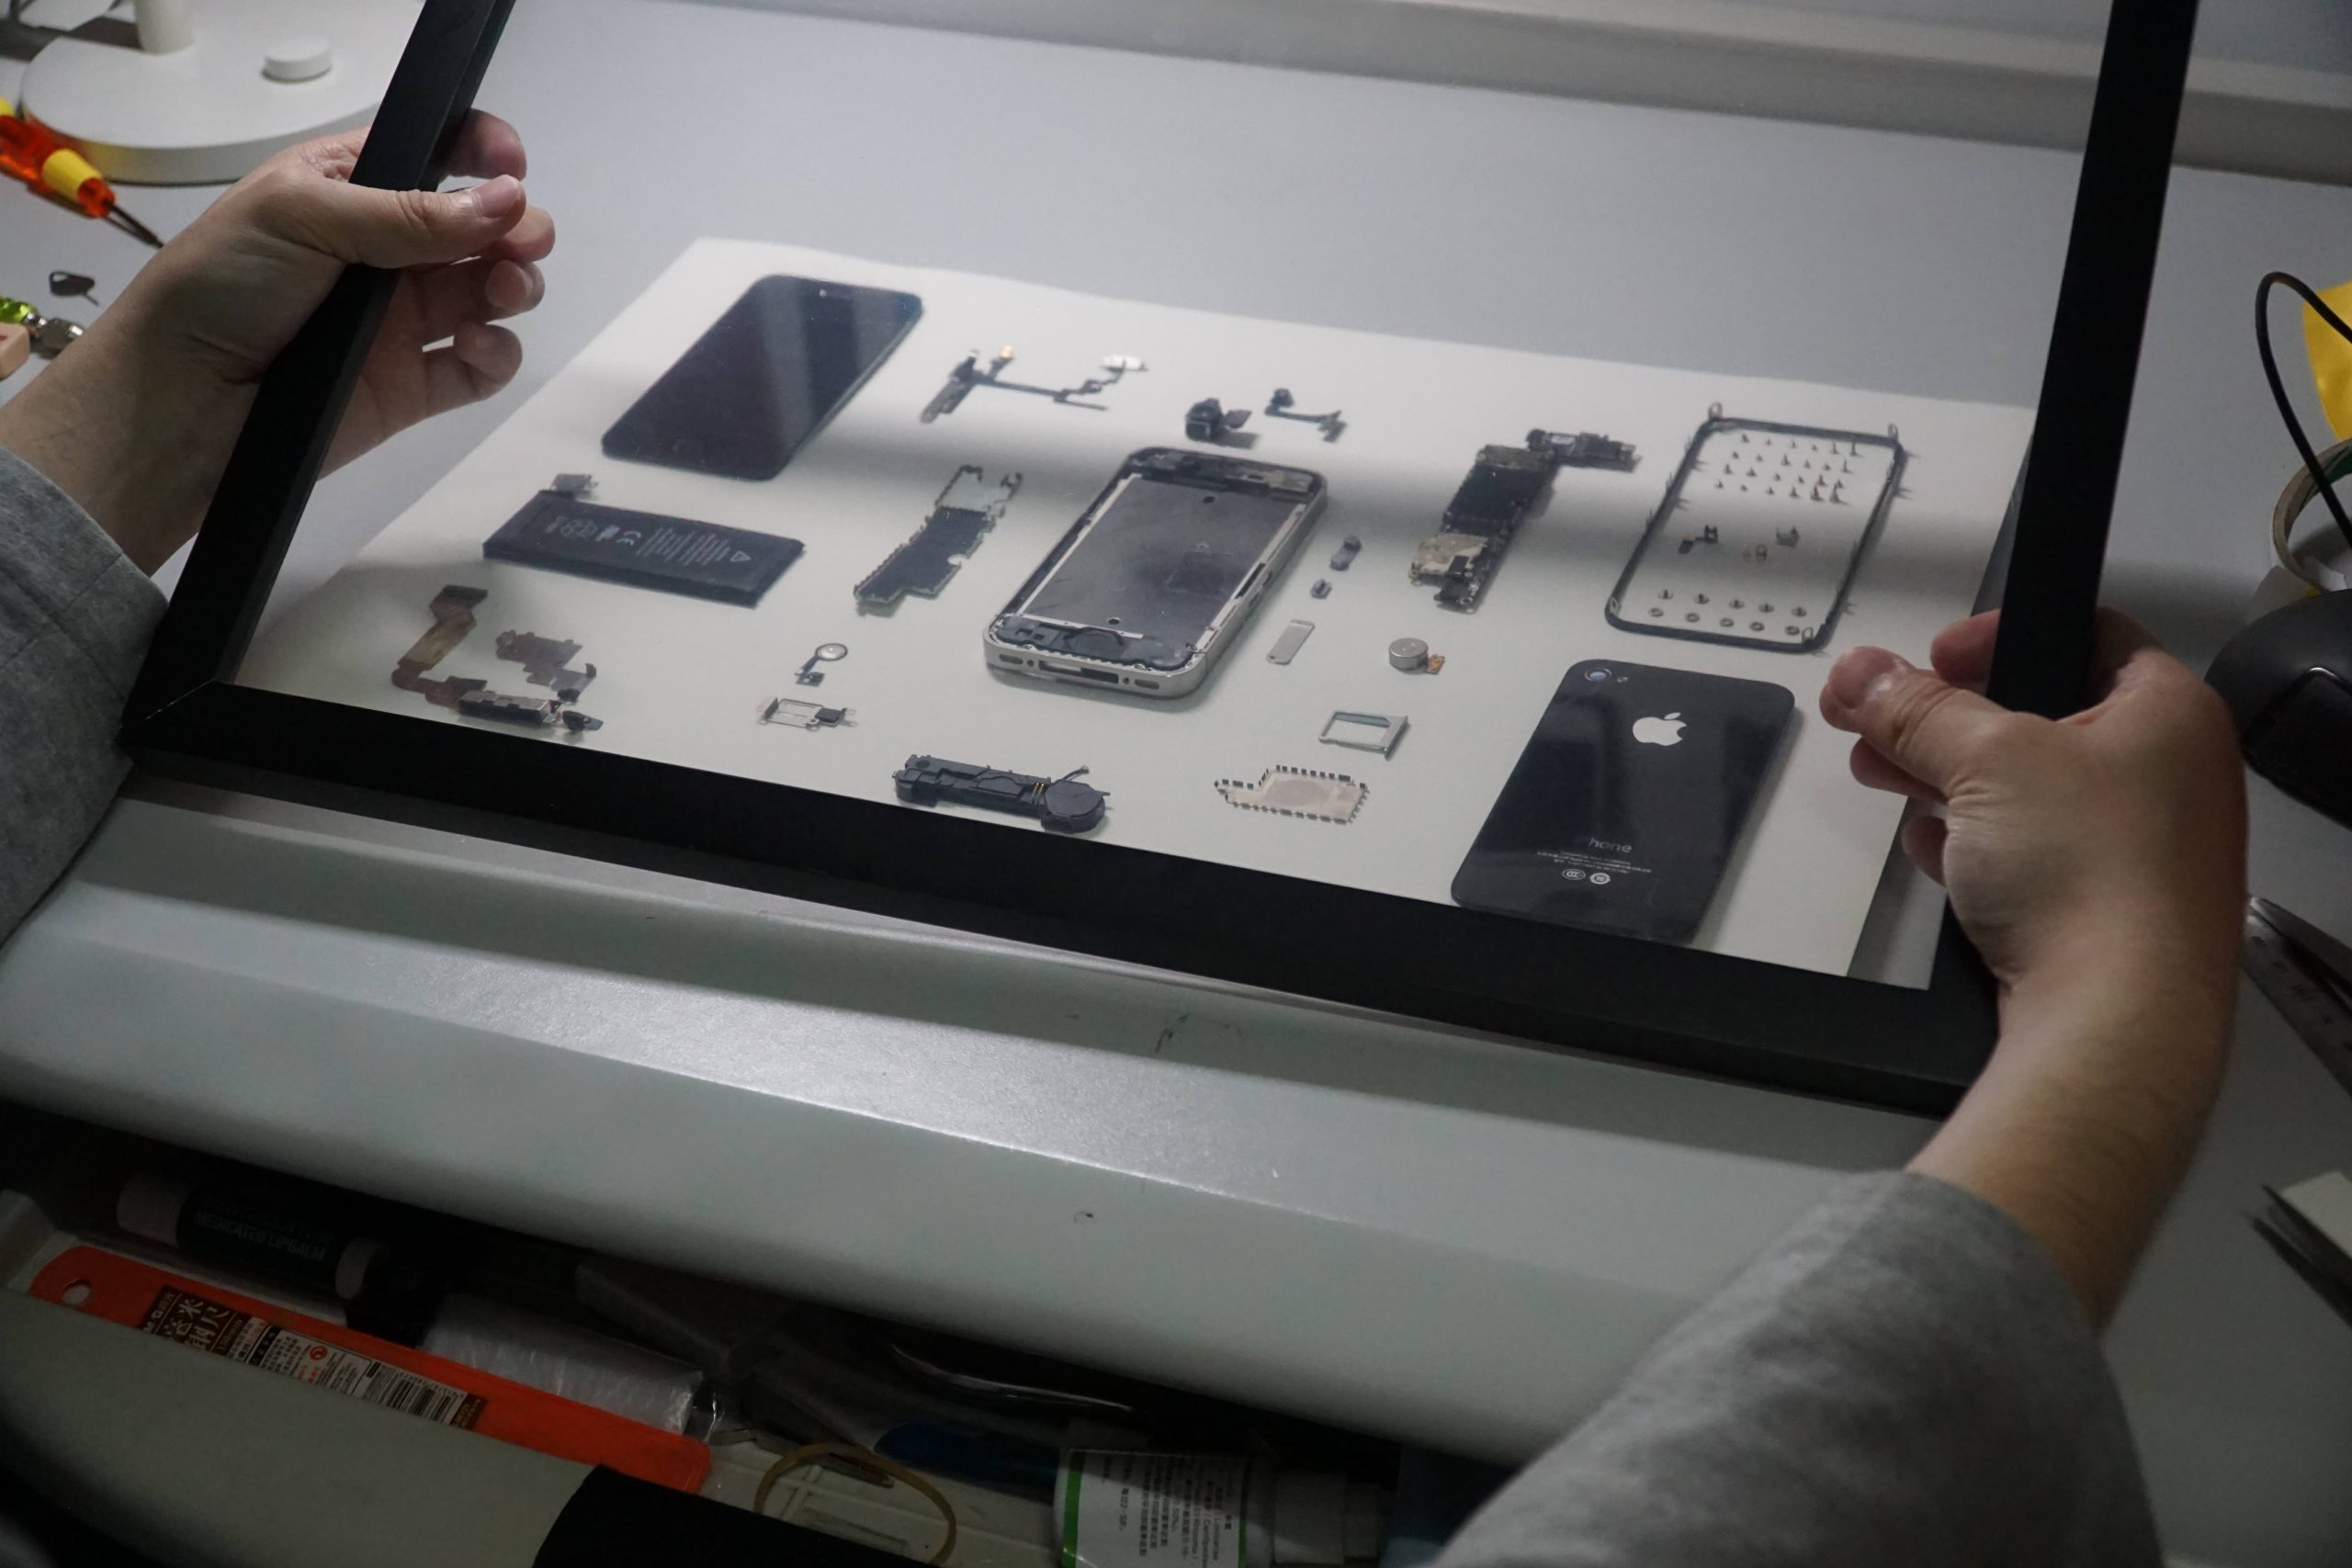
Install the photo frame on the background board, seal the back, and the installation is completed, as presented in picture 2-7.
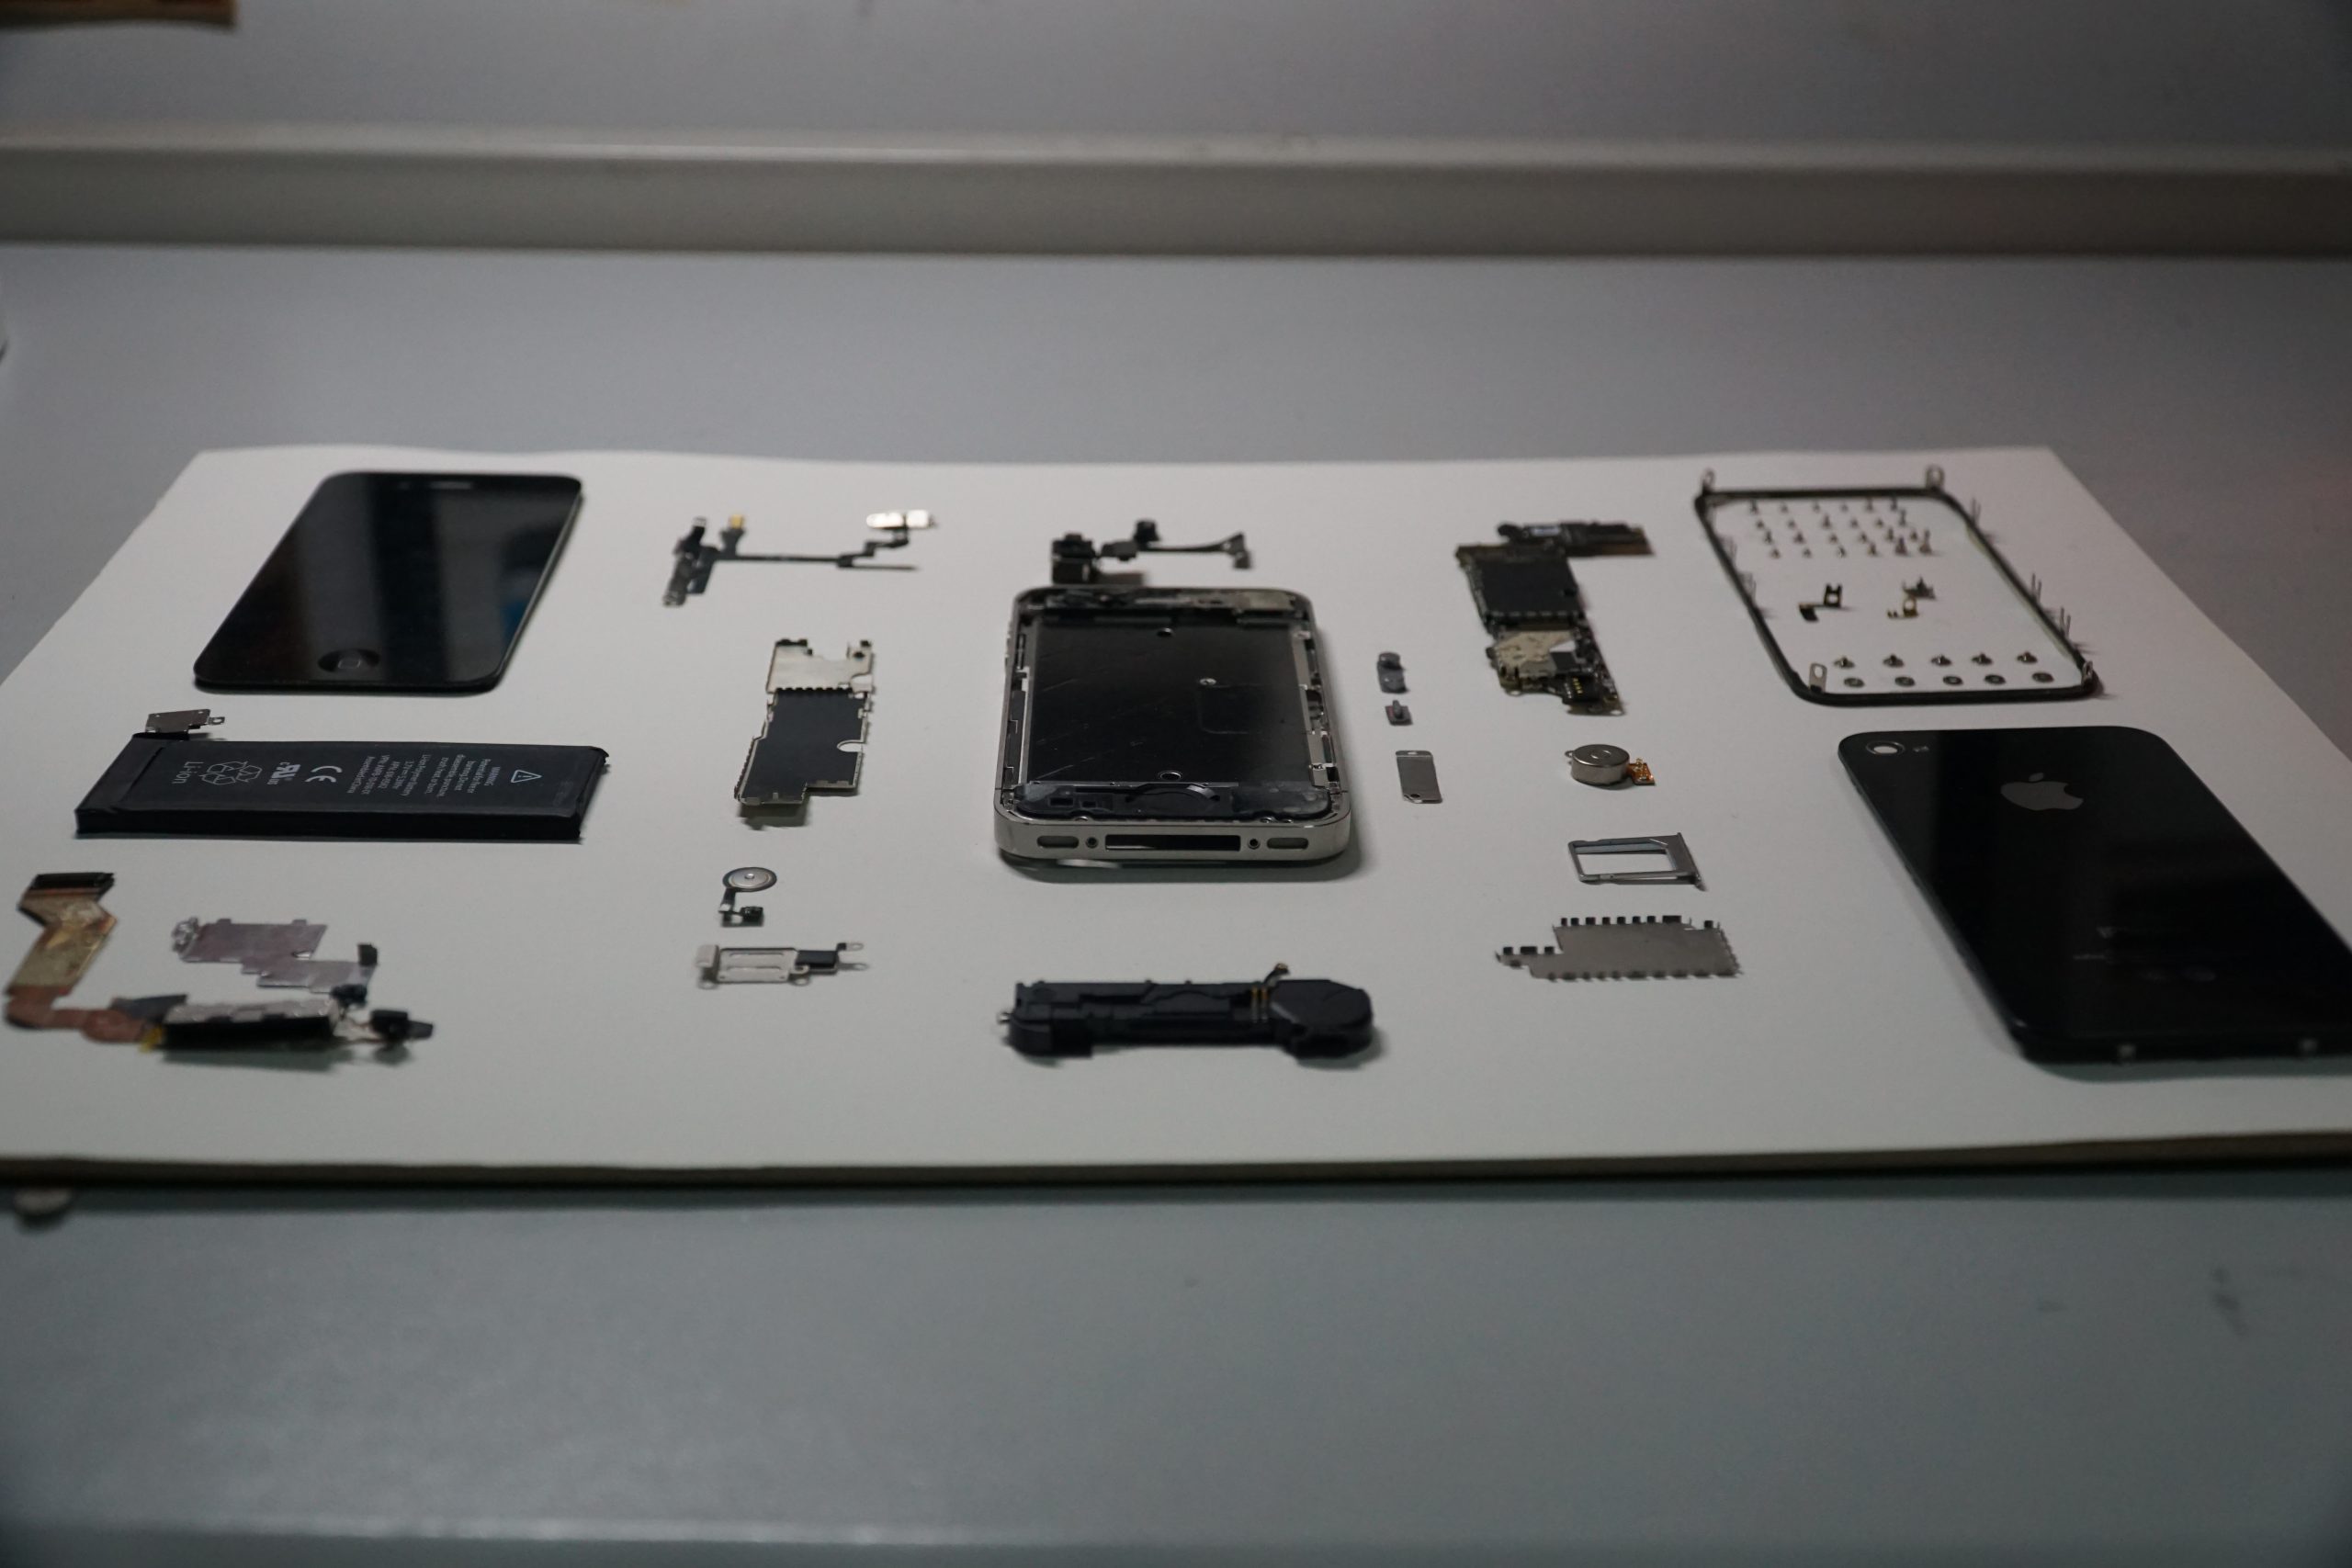
Completion 2-7
After installation is completed, we tried to shake it upside down and used the tweezers to check the stability of the parts. It is found that two screws have been dropped and the position of one of an iron sheet has been deviated. Other parts showed no problem, as shown in picture 3-1 the stability checking.
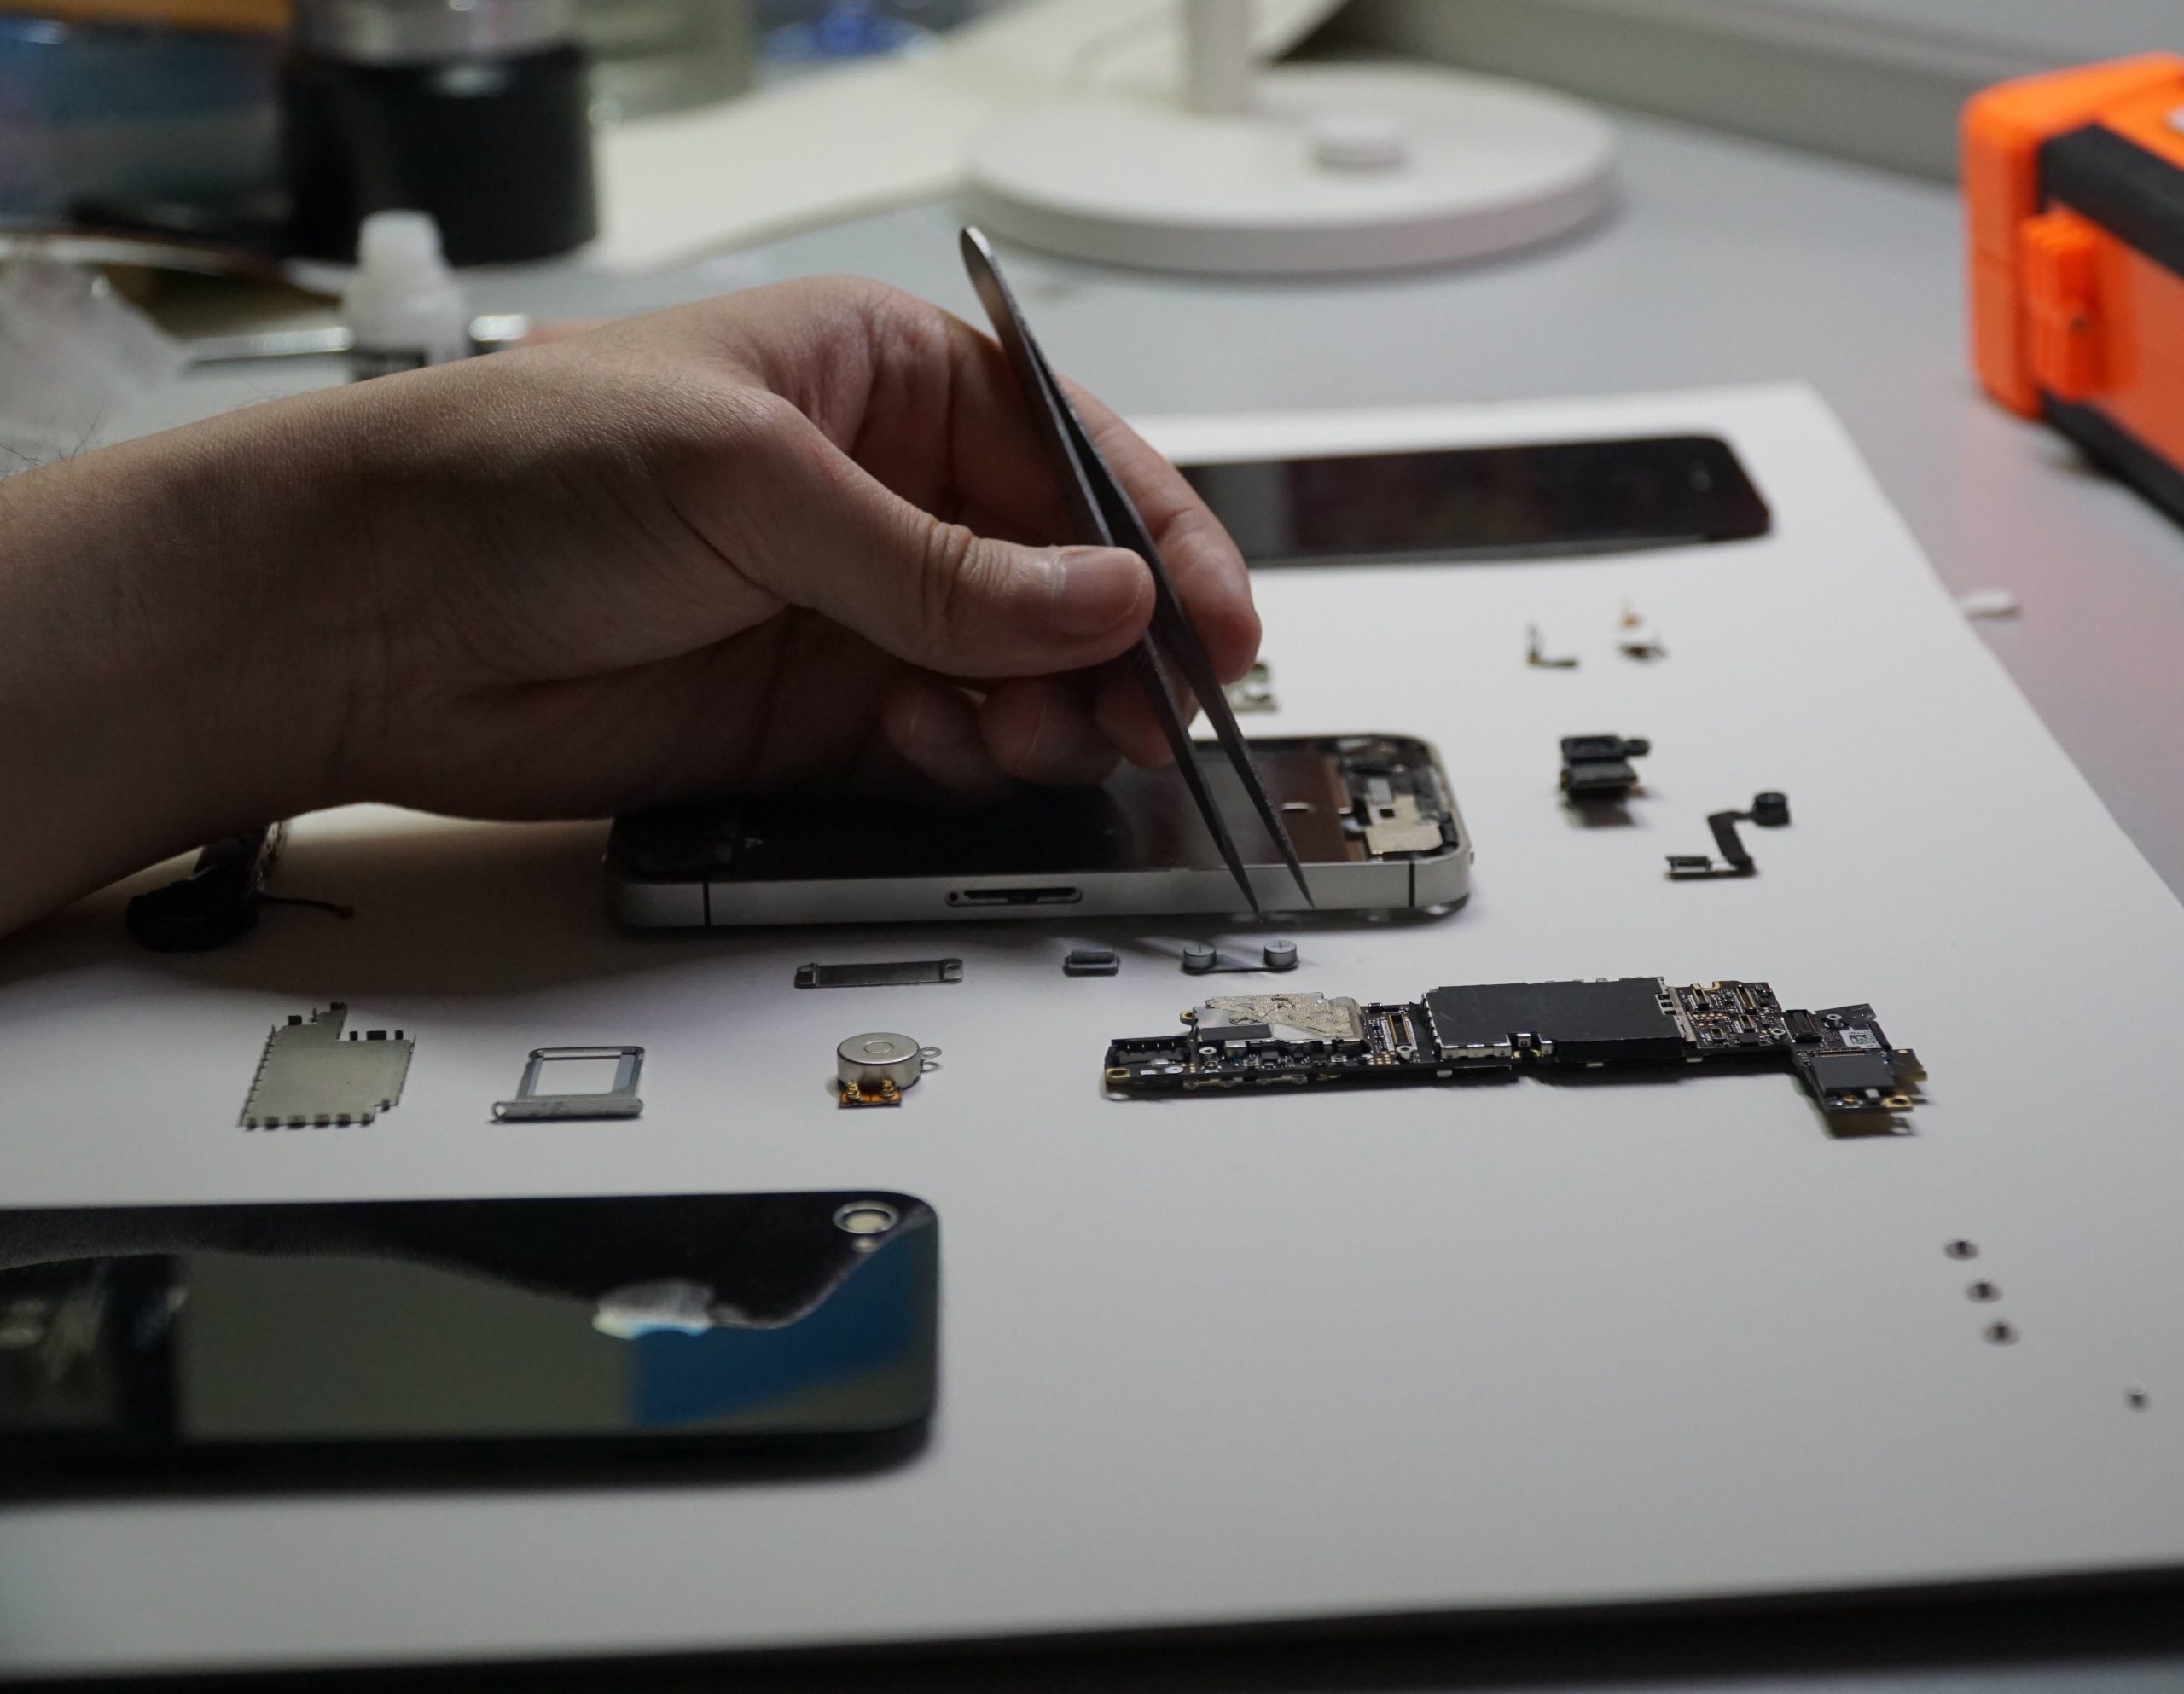
Picture 3-1 Stability Checking
I replenished all screws with glue to prevent them from dropping again. I found that the instability of the iron sheet was because the insufficient viscosity of double-sided adhesive tape, so I added some adhesive to paste the iron sheet on the basis of the tape, as shown in picture 3-2.
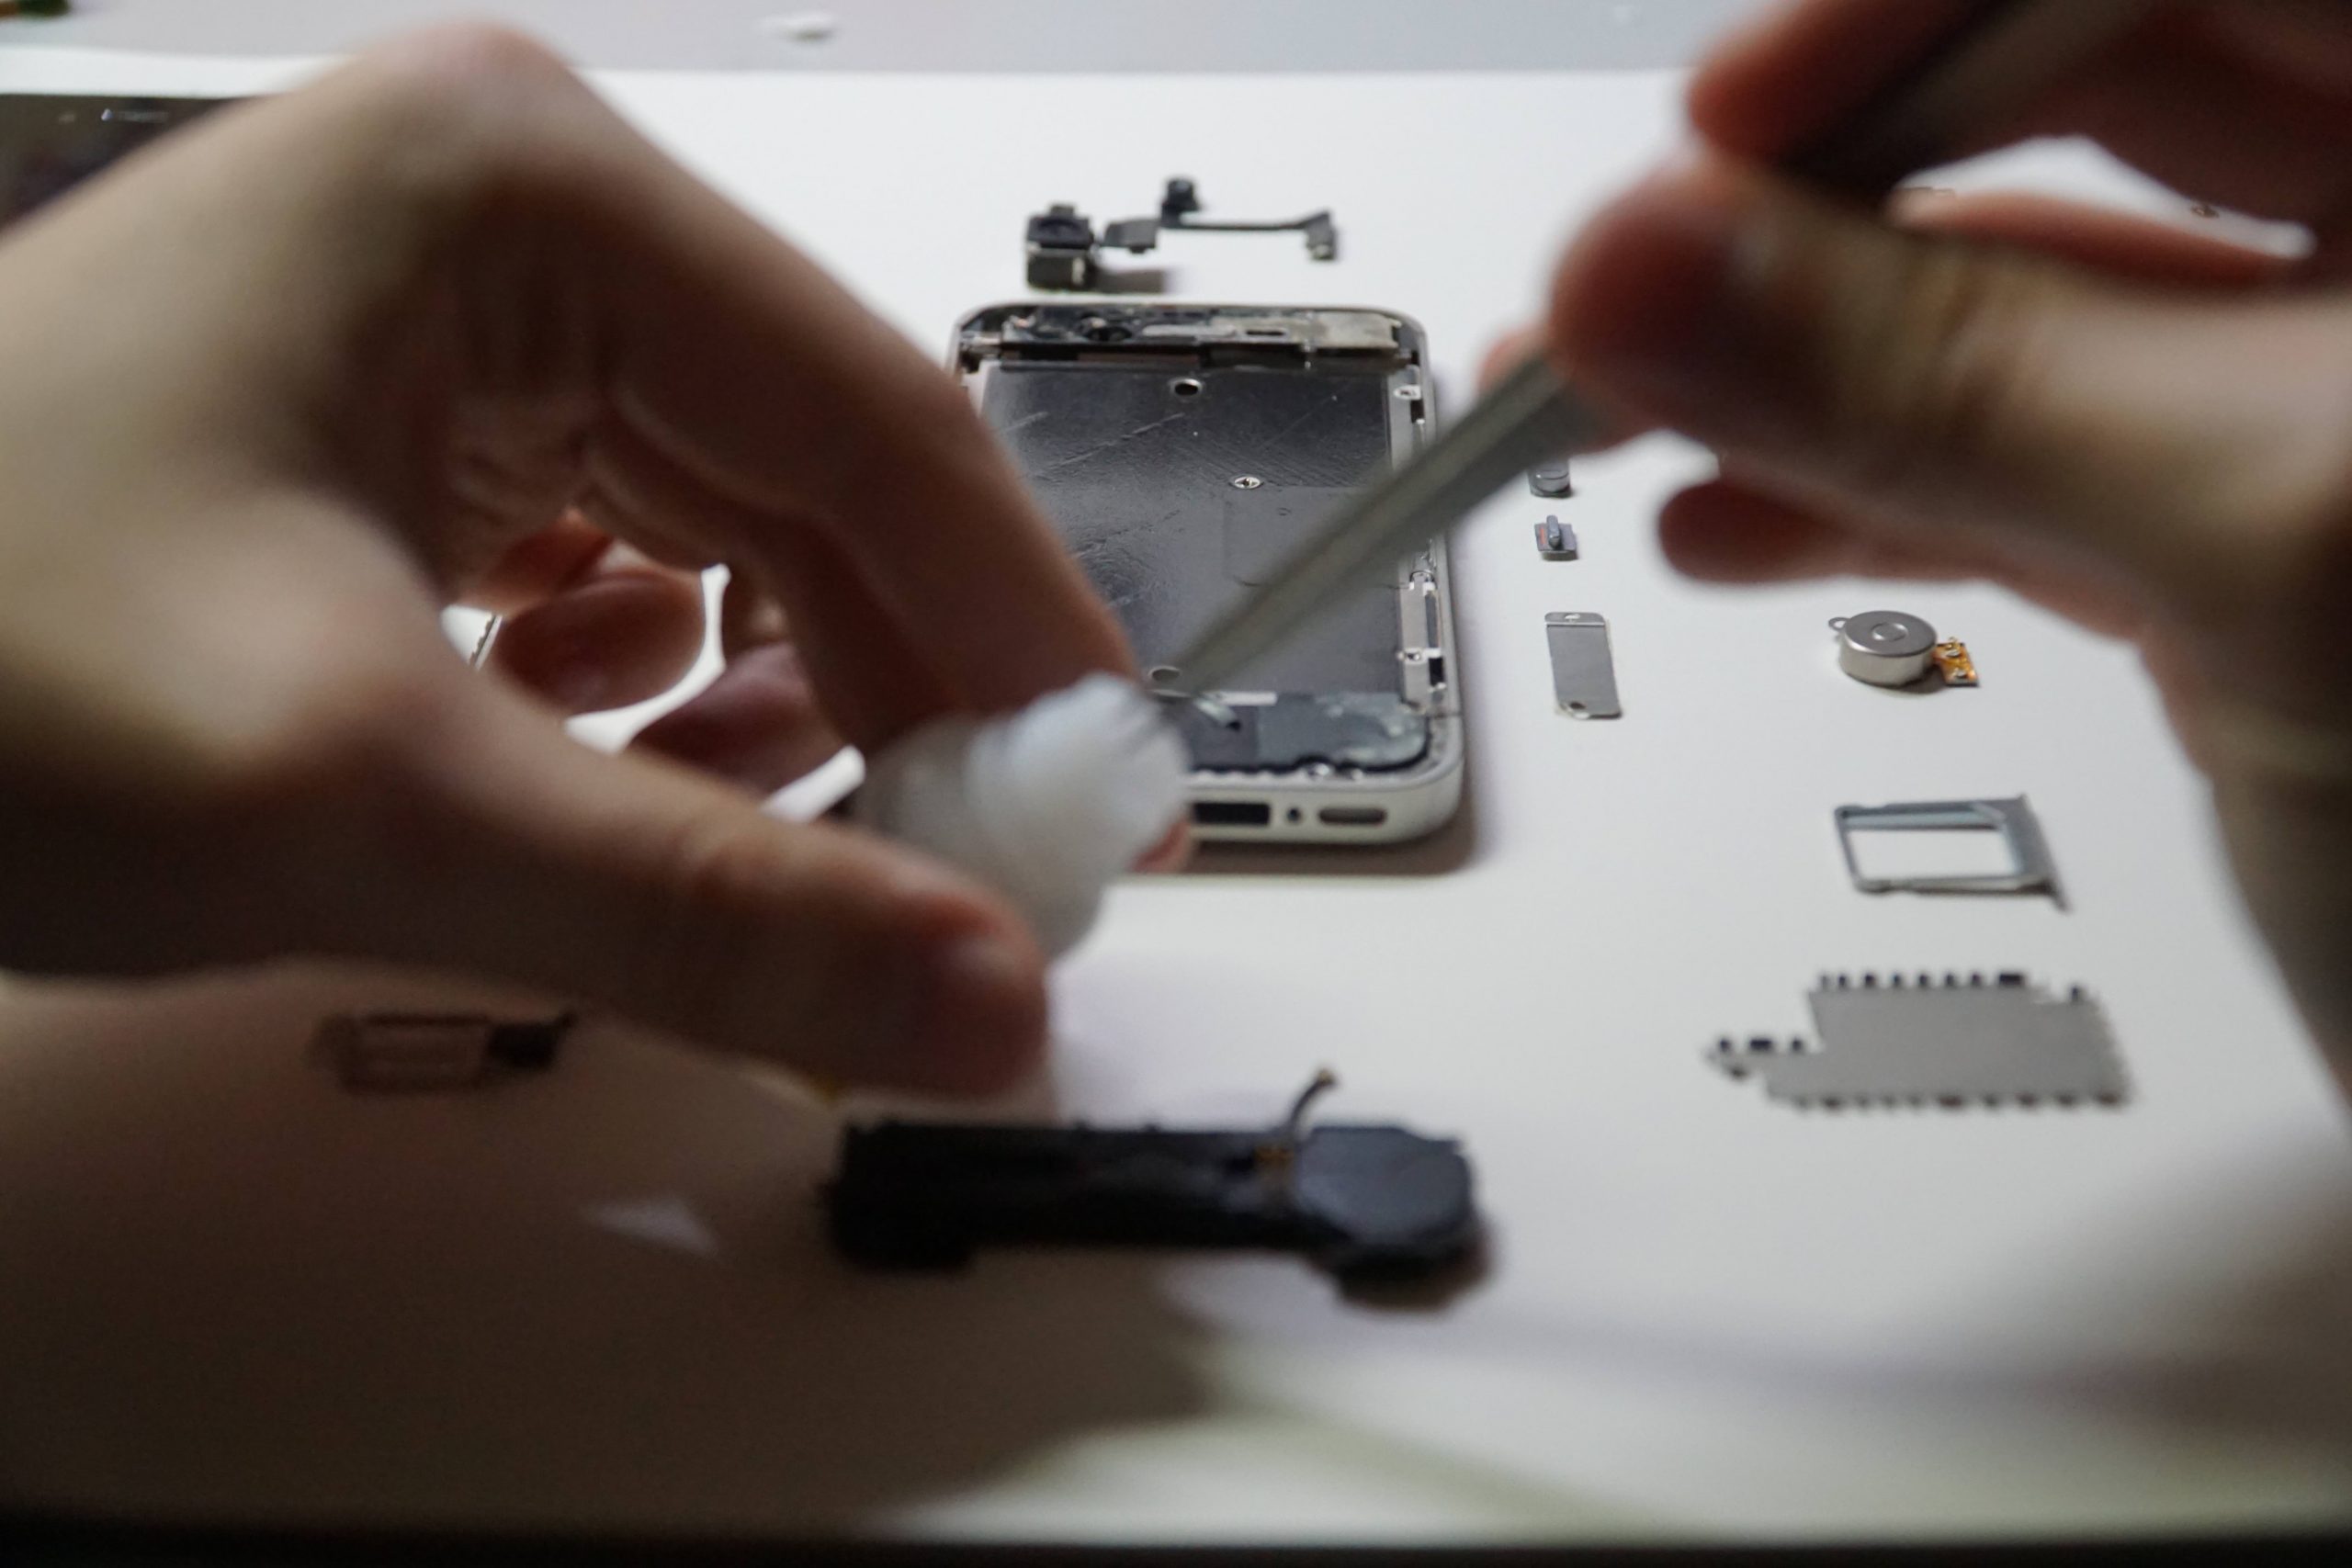
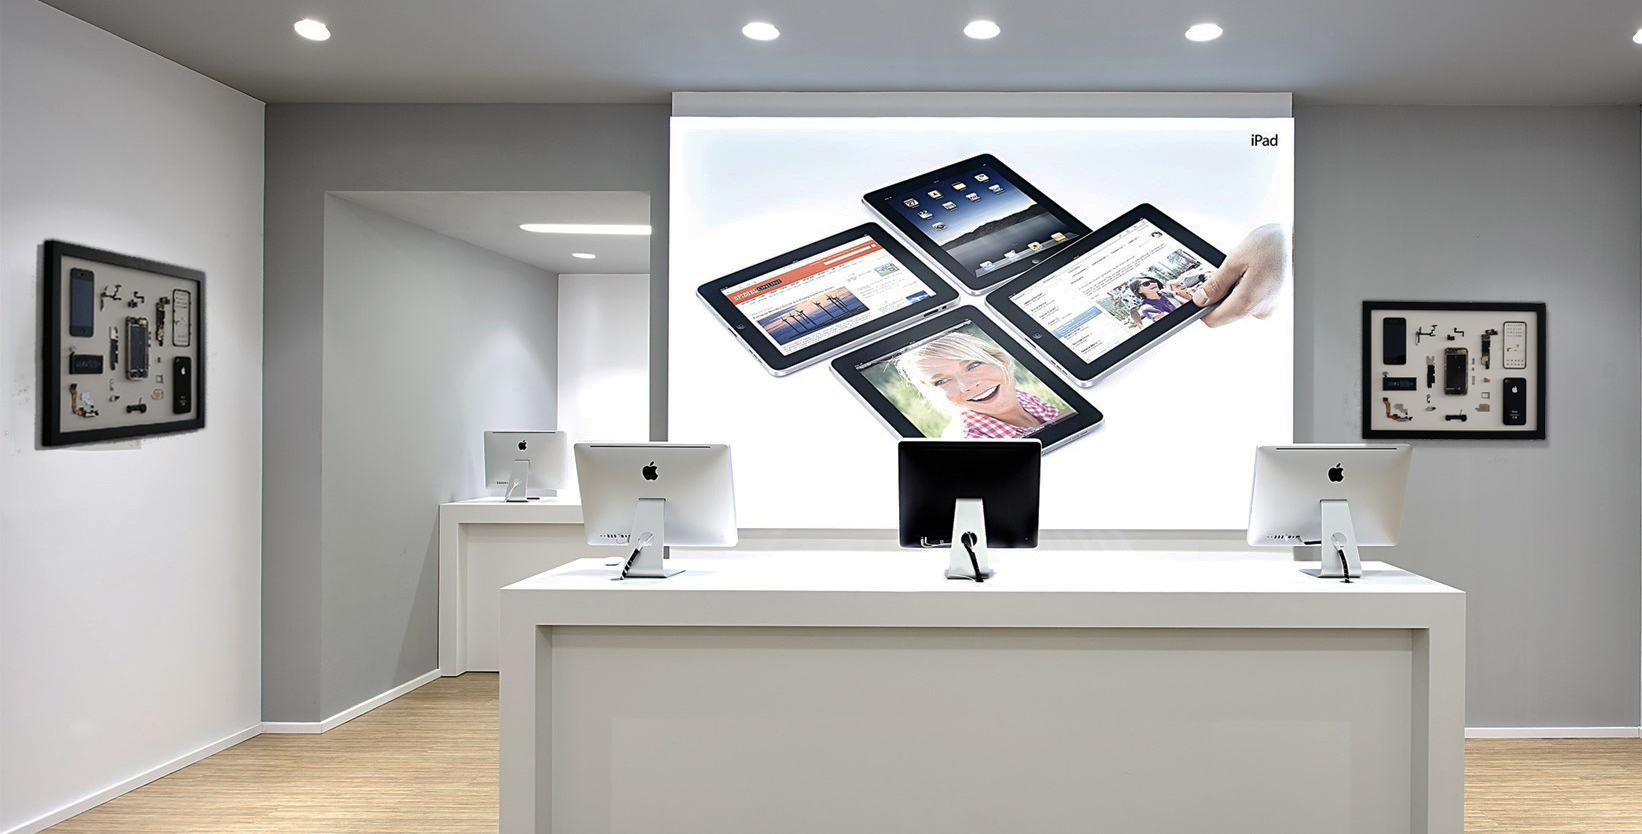
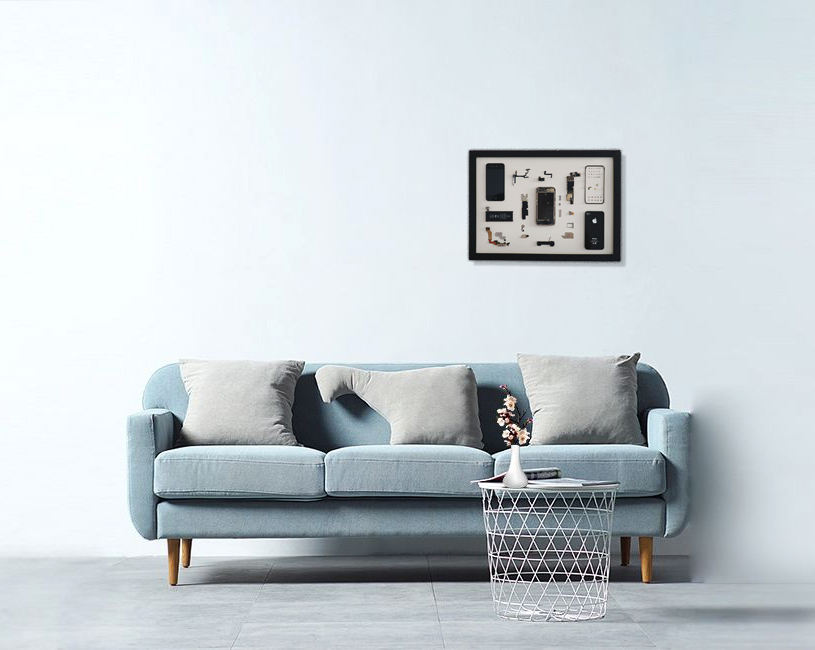
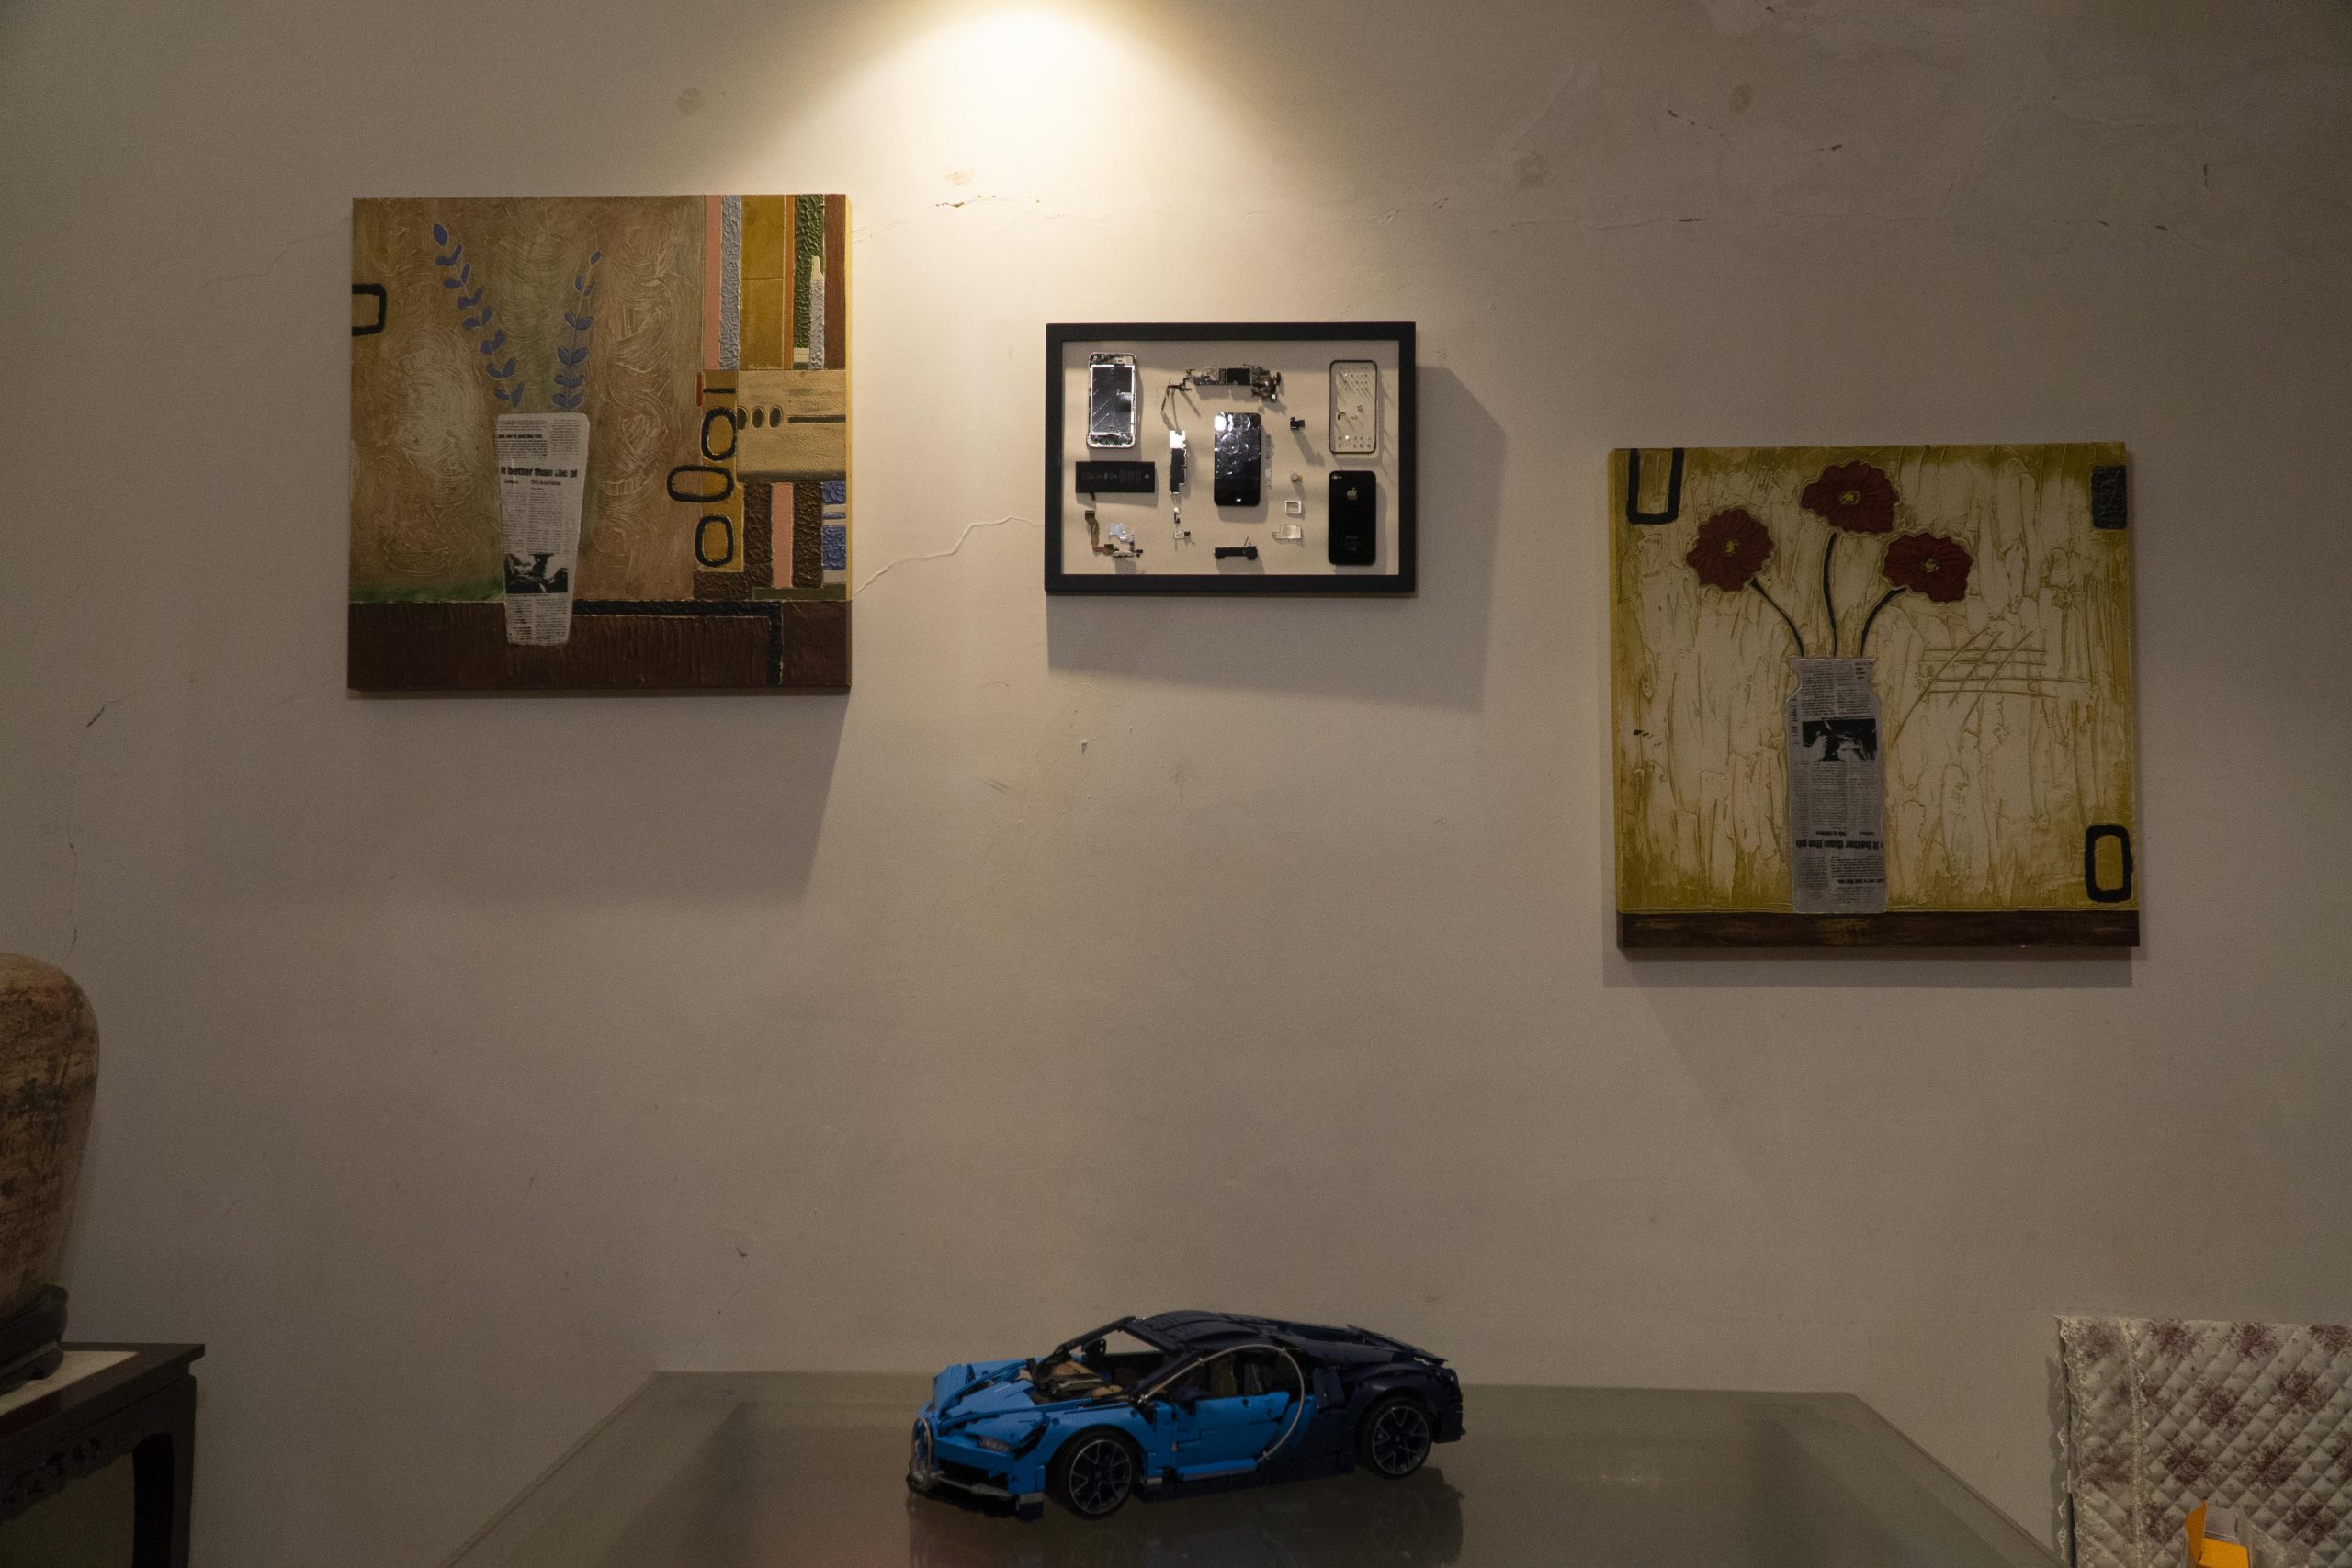
After completion, I hanged it on the wall, as played in picture 3-3, 3-4.
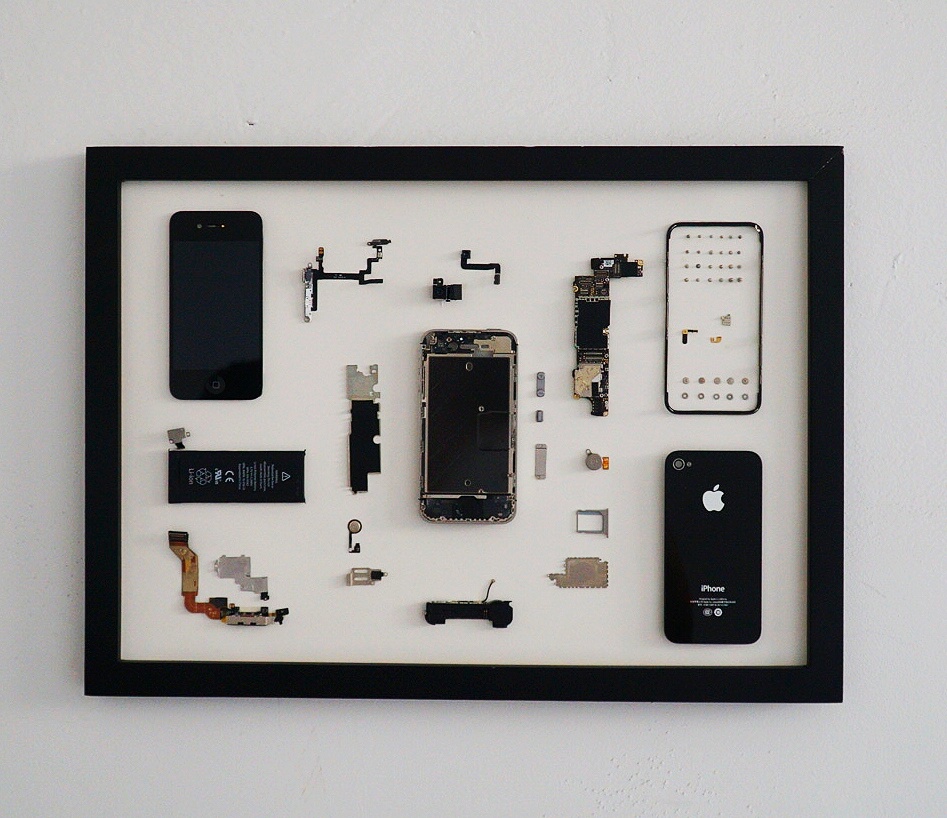
Display Picture 3-3
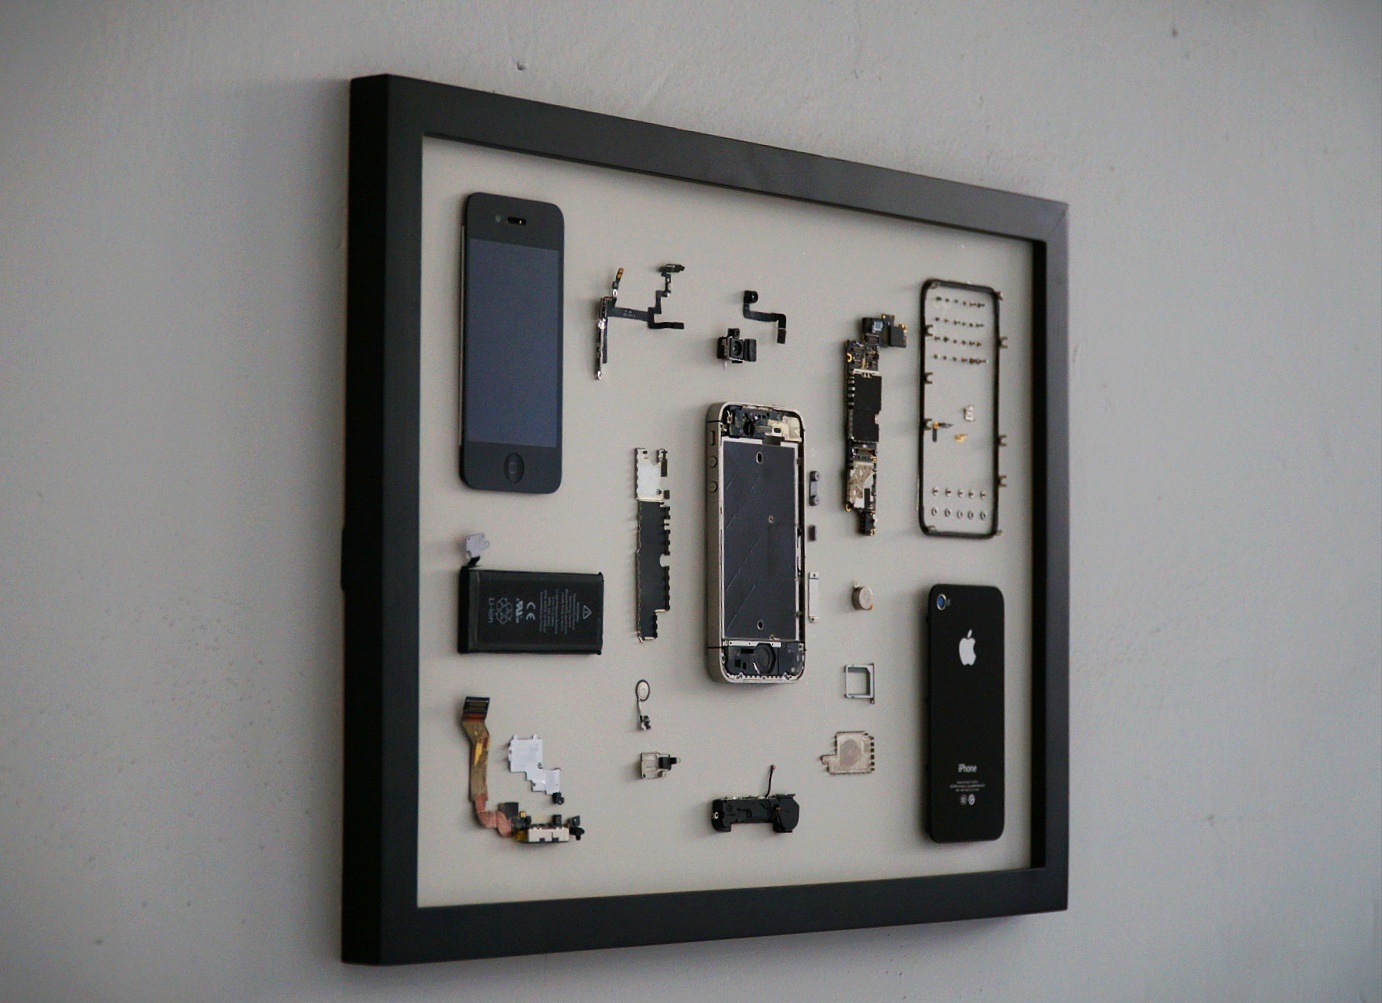
Display Picture 3-4
Upgraded version, except for the speaker, rear camera and vibration function can not be used, other functions can be used normally.
Use the speaker and rear camera to turn it into an alarm clock; or as a monitor. As played in picture 4-1, 4-2,4-3.
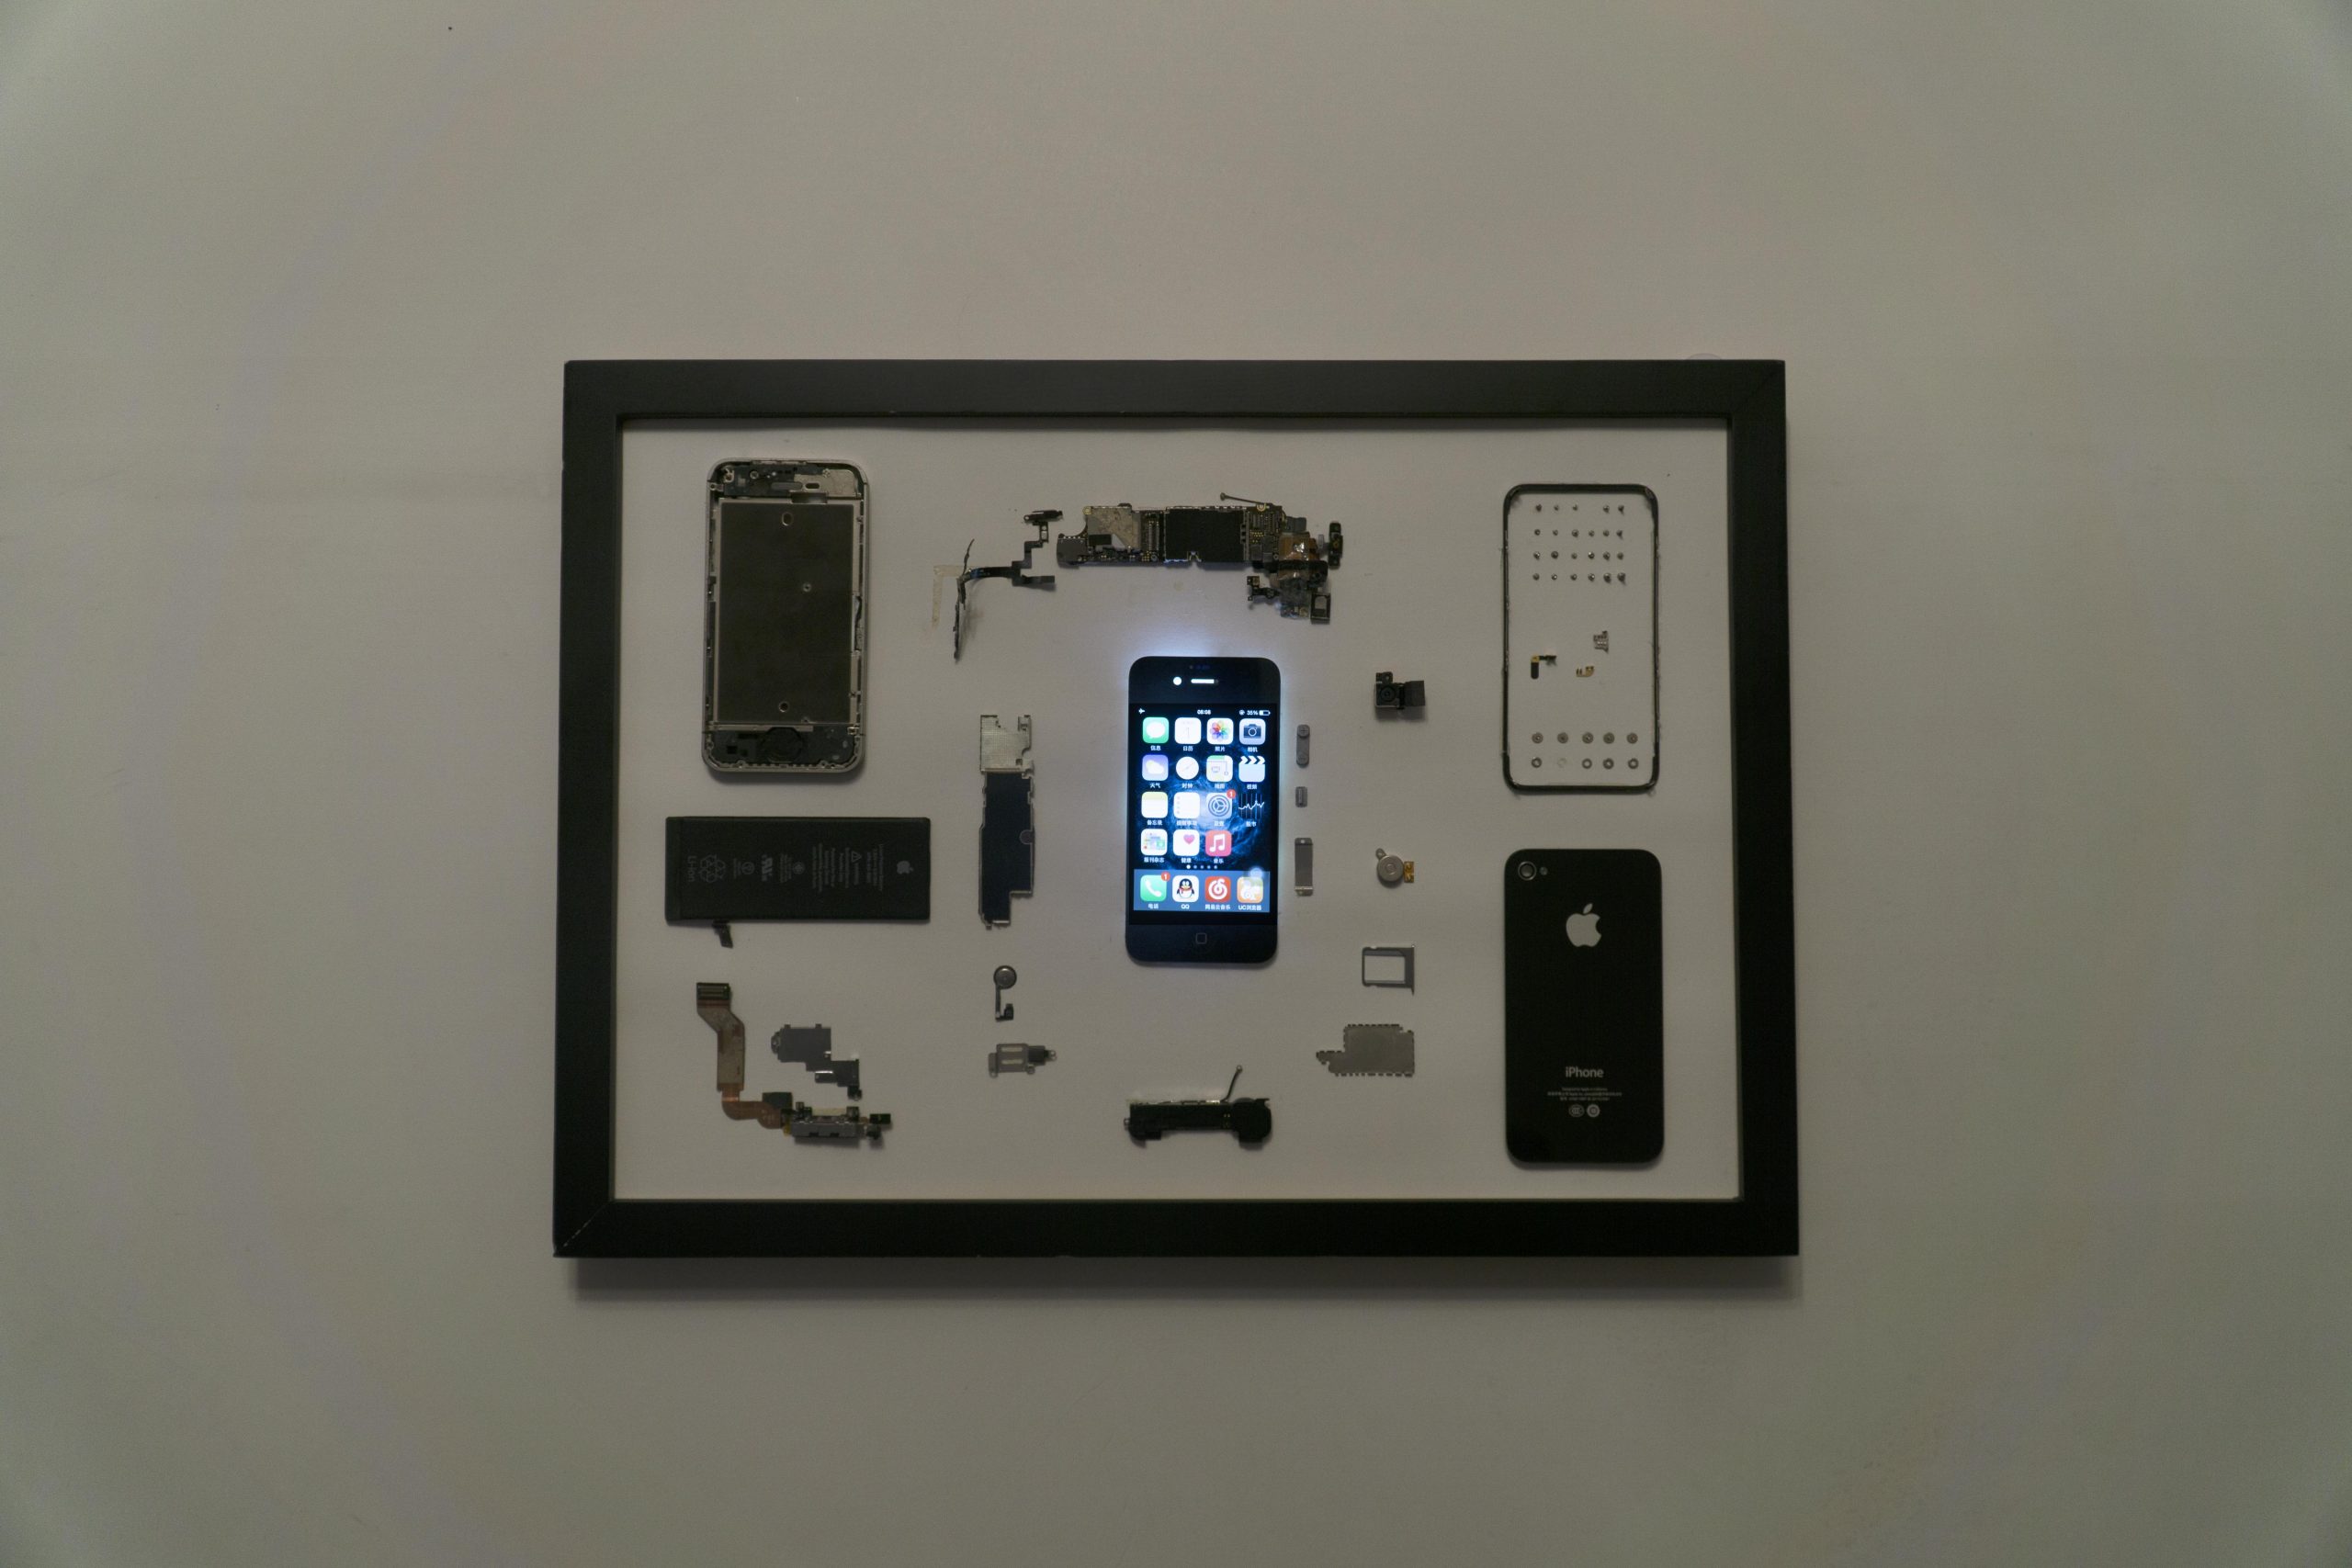
Display Picture 4-1
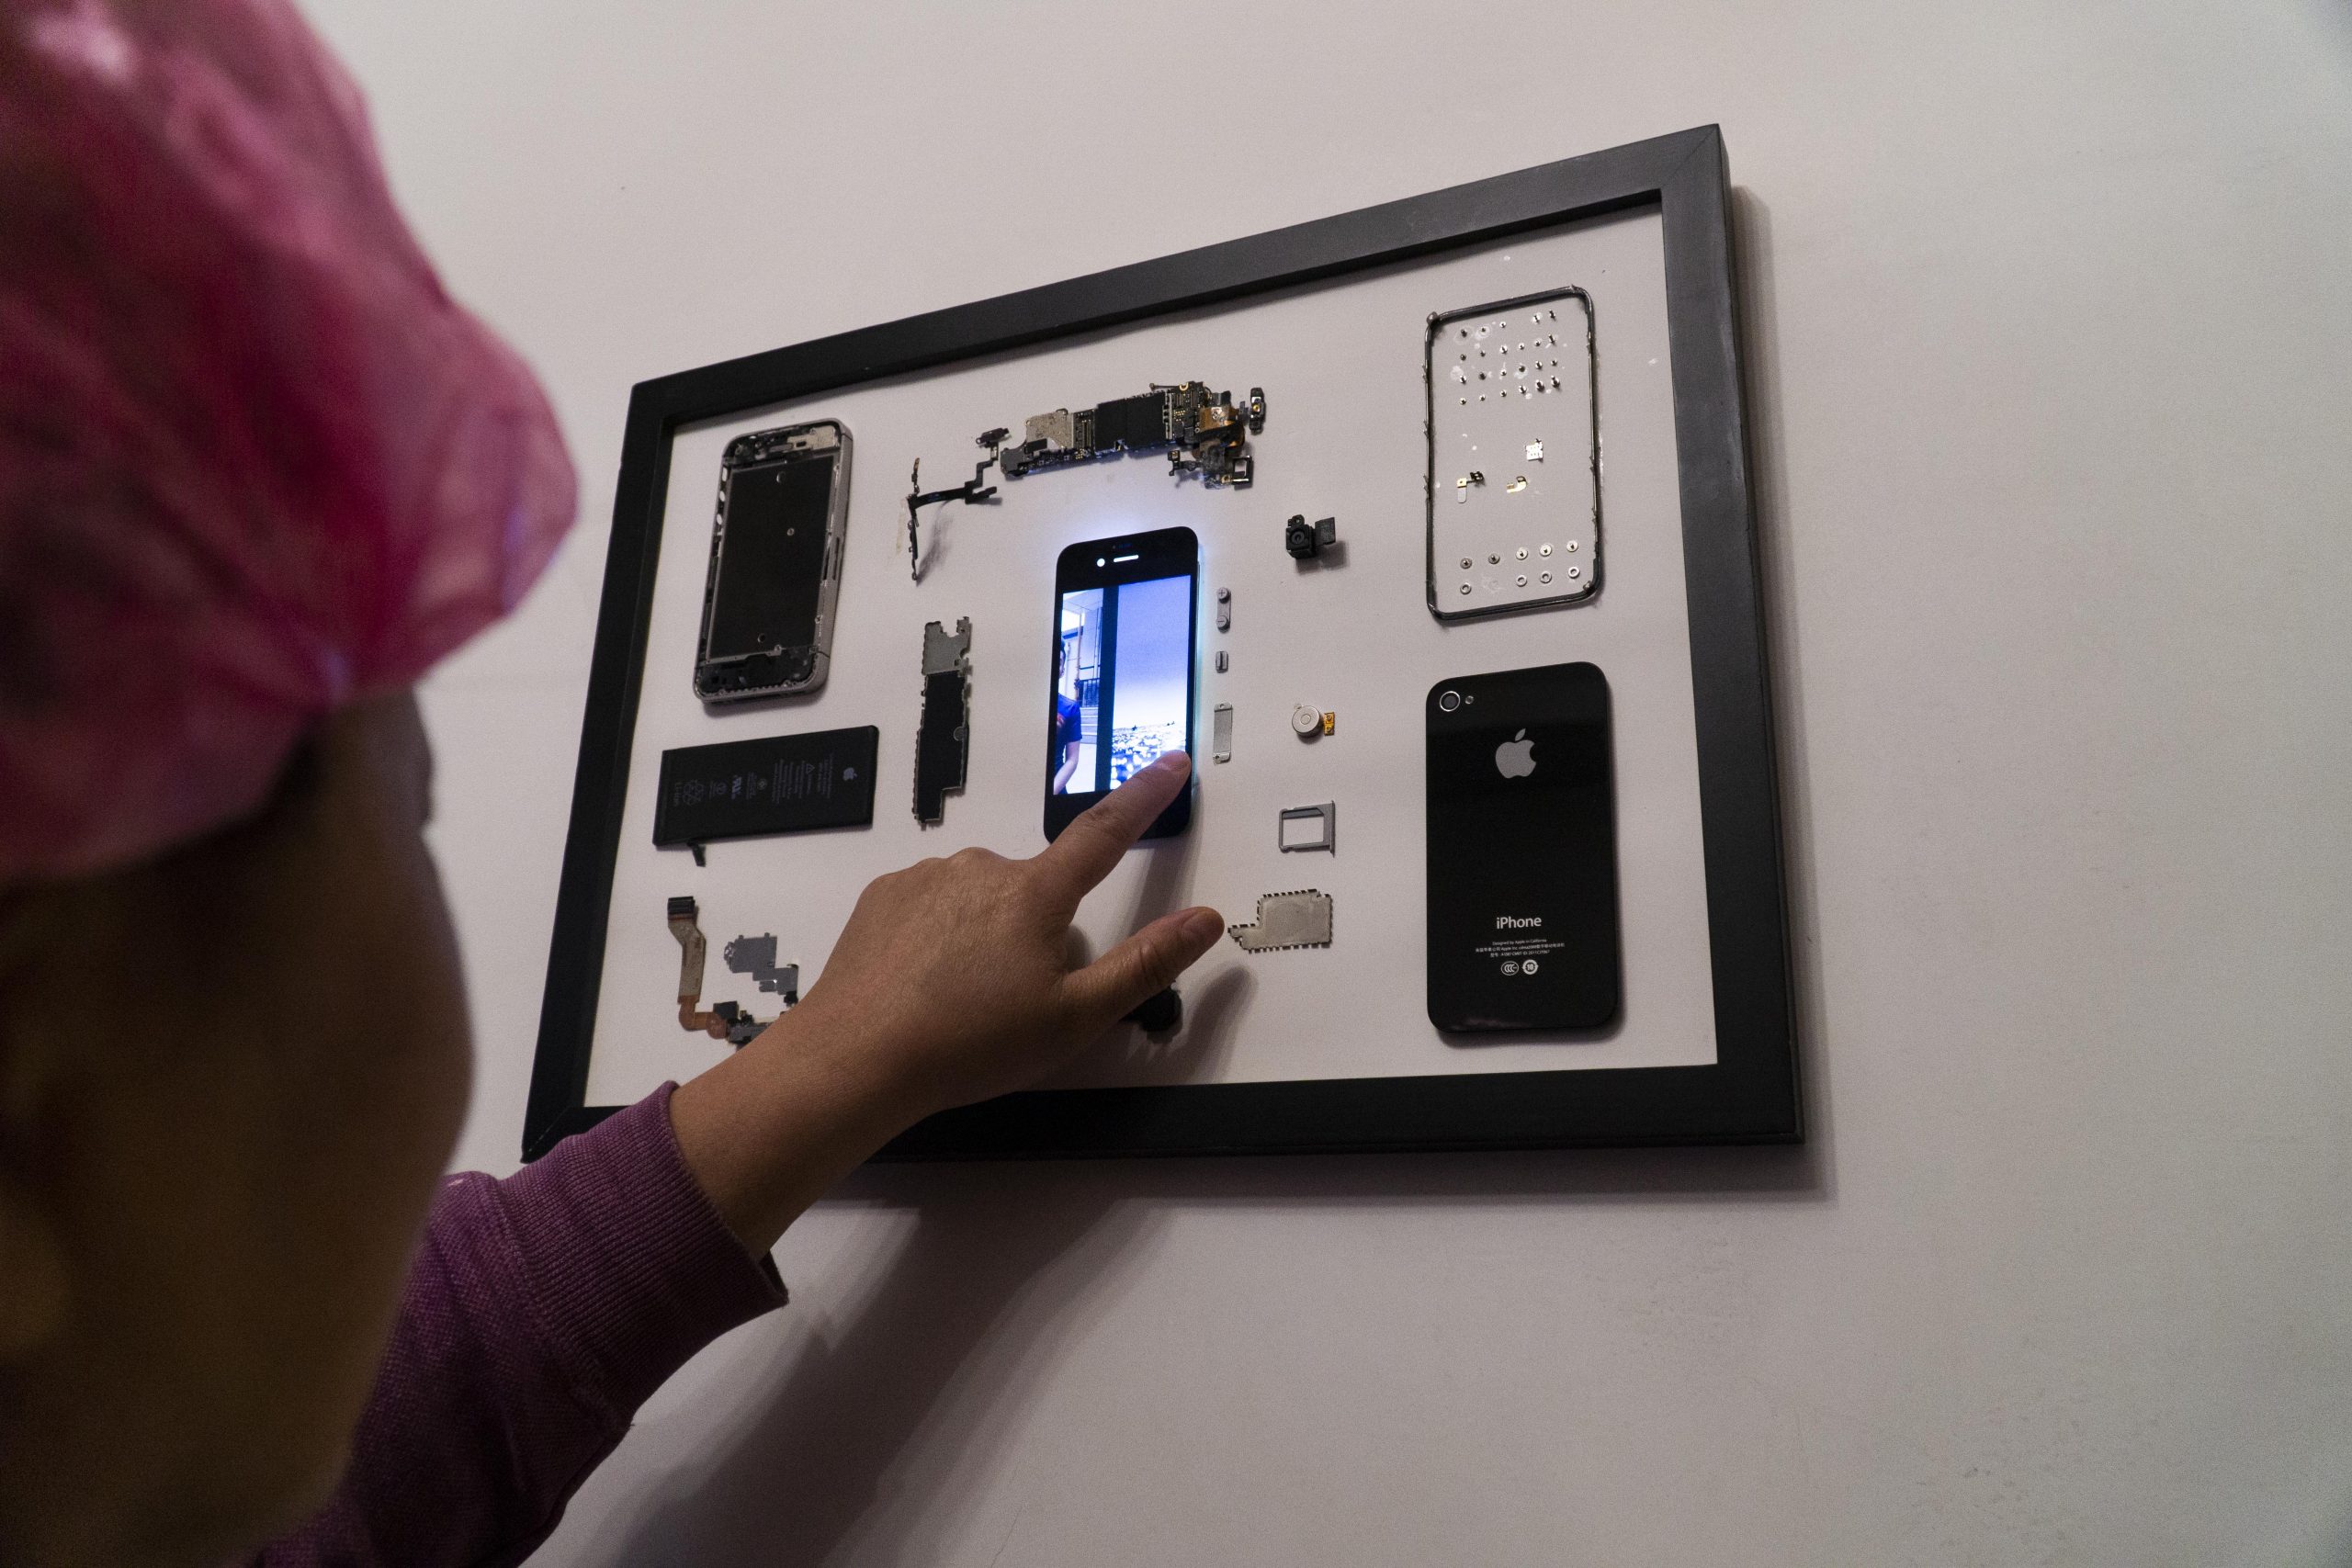
Display Picture 4-2

Display Picture 4-3
Open the hole in the cardboard and connect the extension cable from the back of the frame to the motherboard. This way the screen and front camera are ready to use.Buy a battery and stick it on the back of the motherboard and open the hole to power the device.As played in picture 5-1
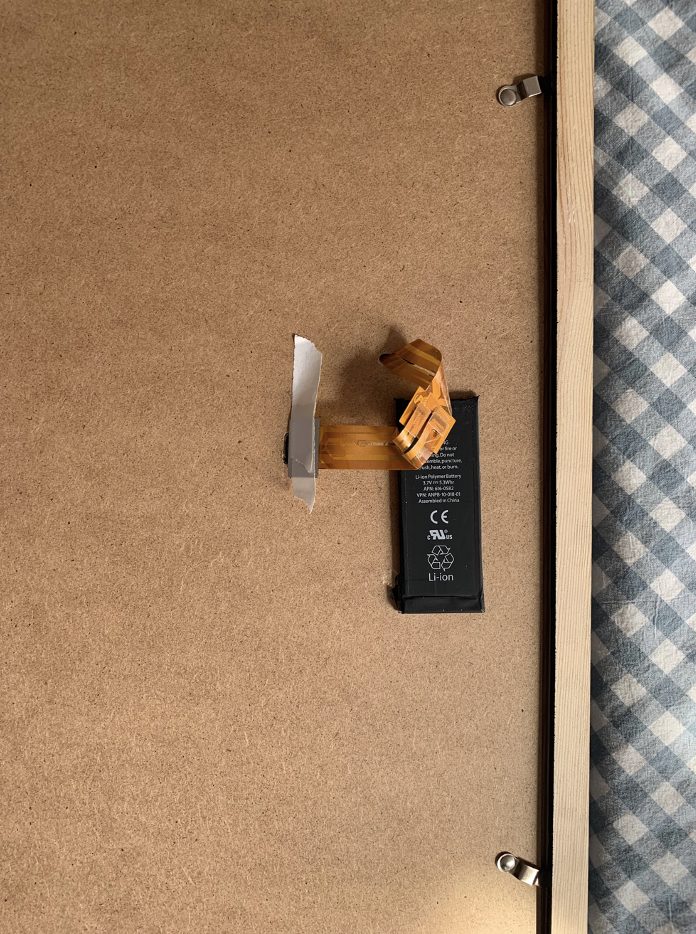
Display Picture 5-1
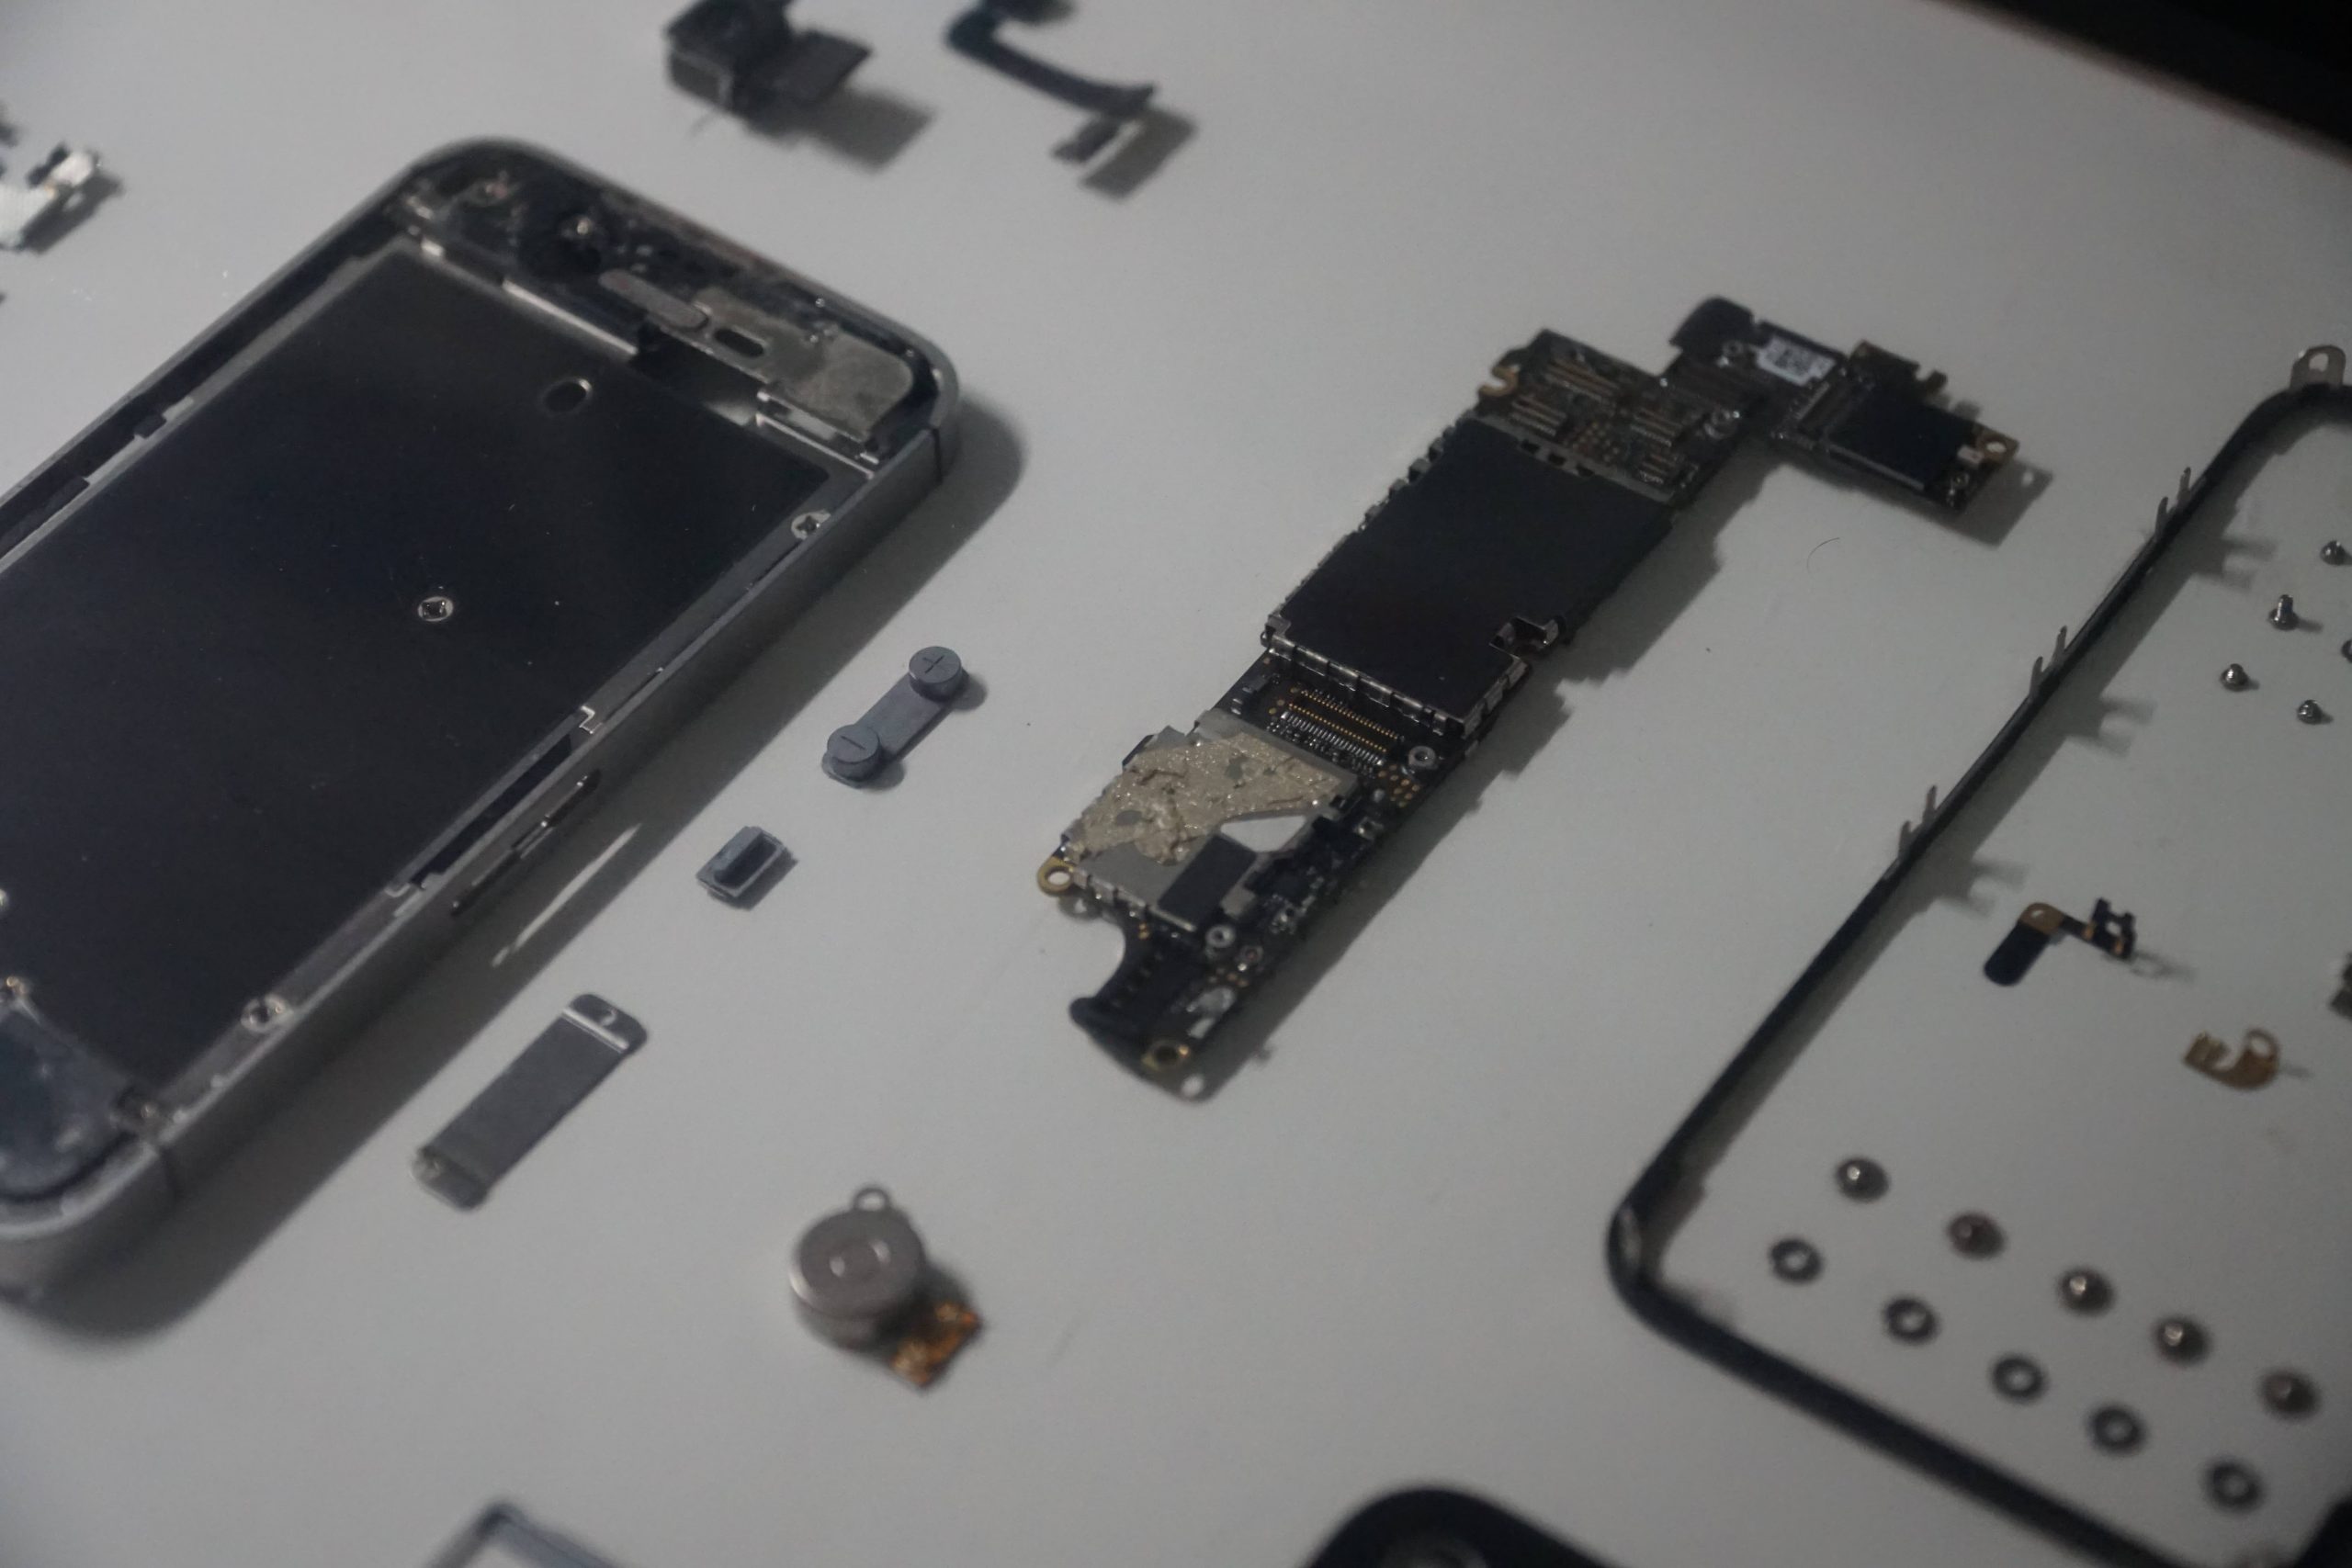
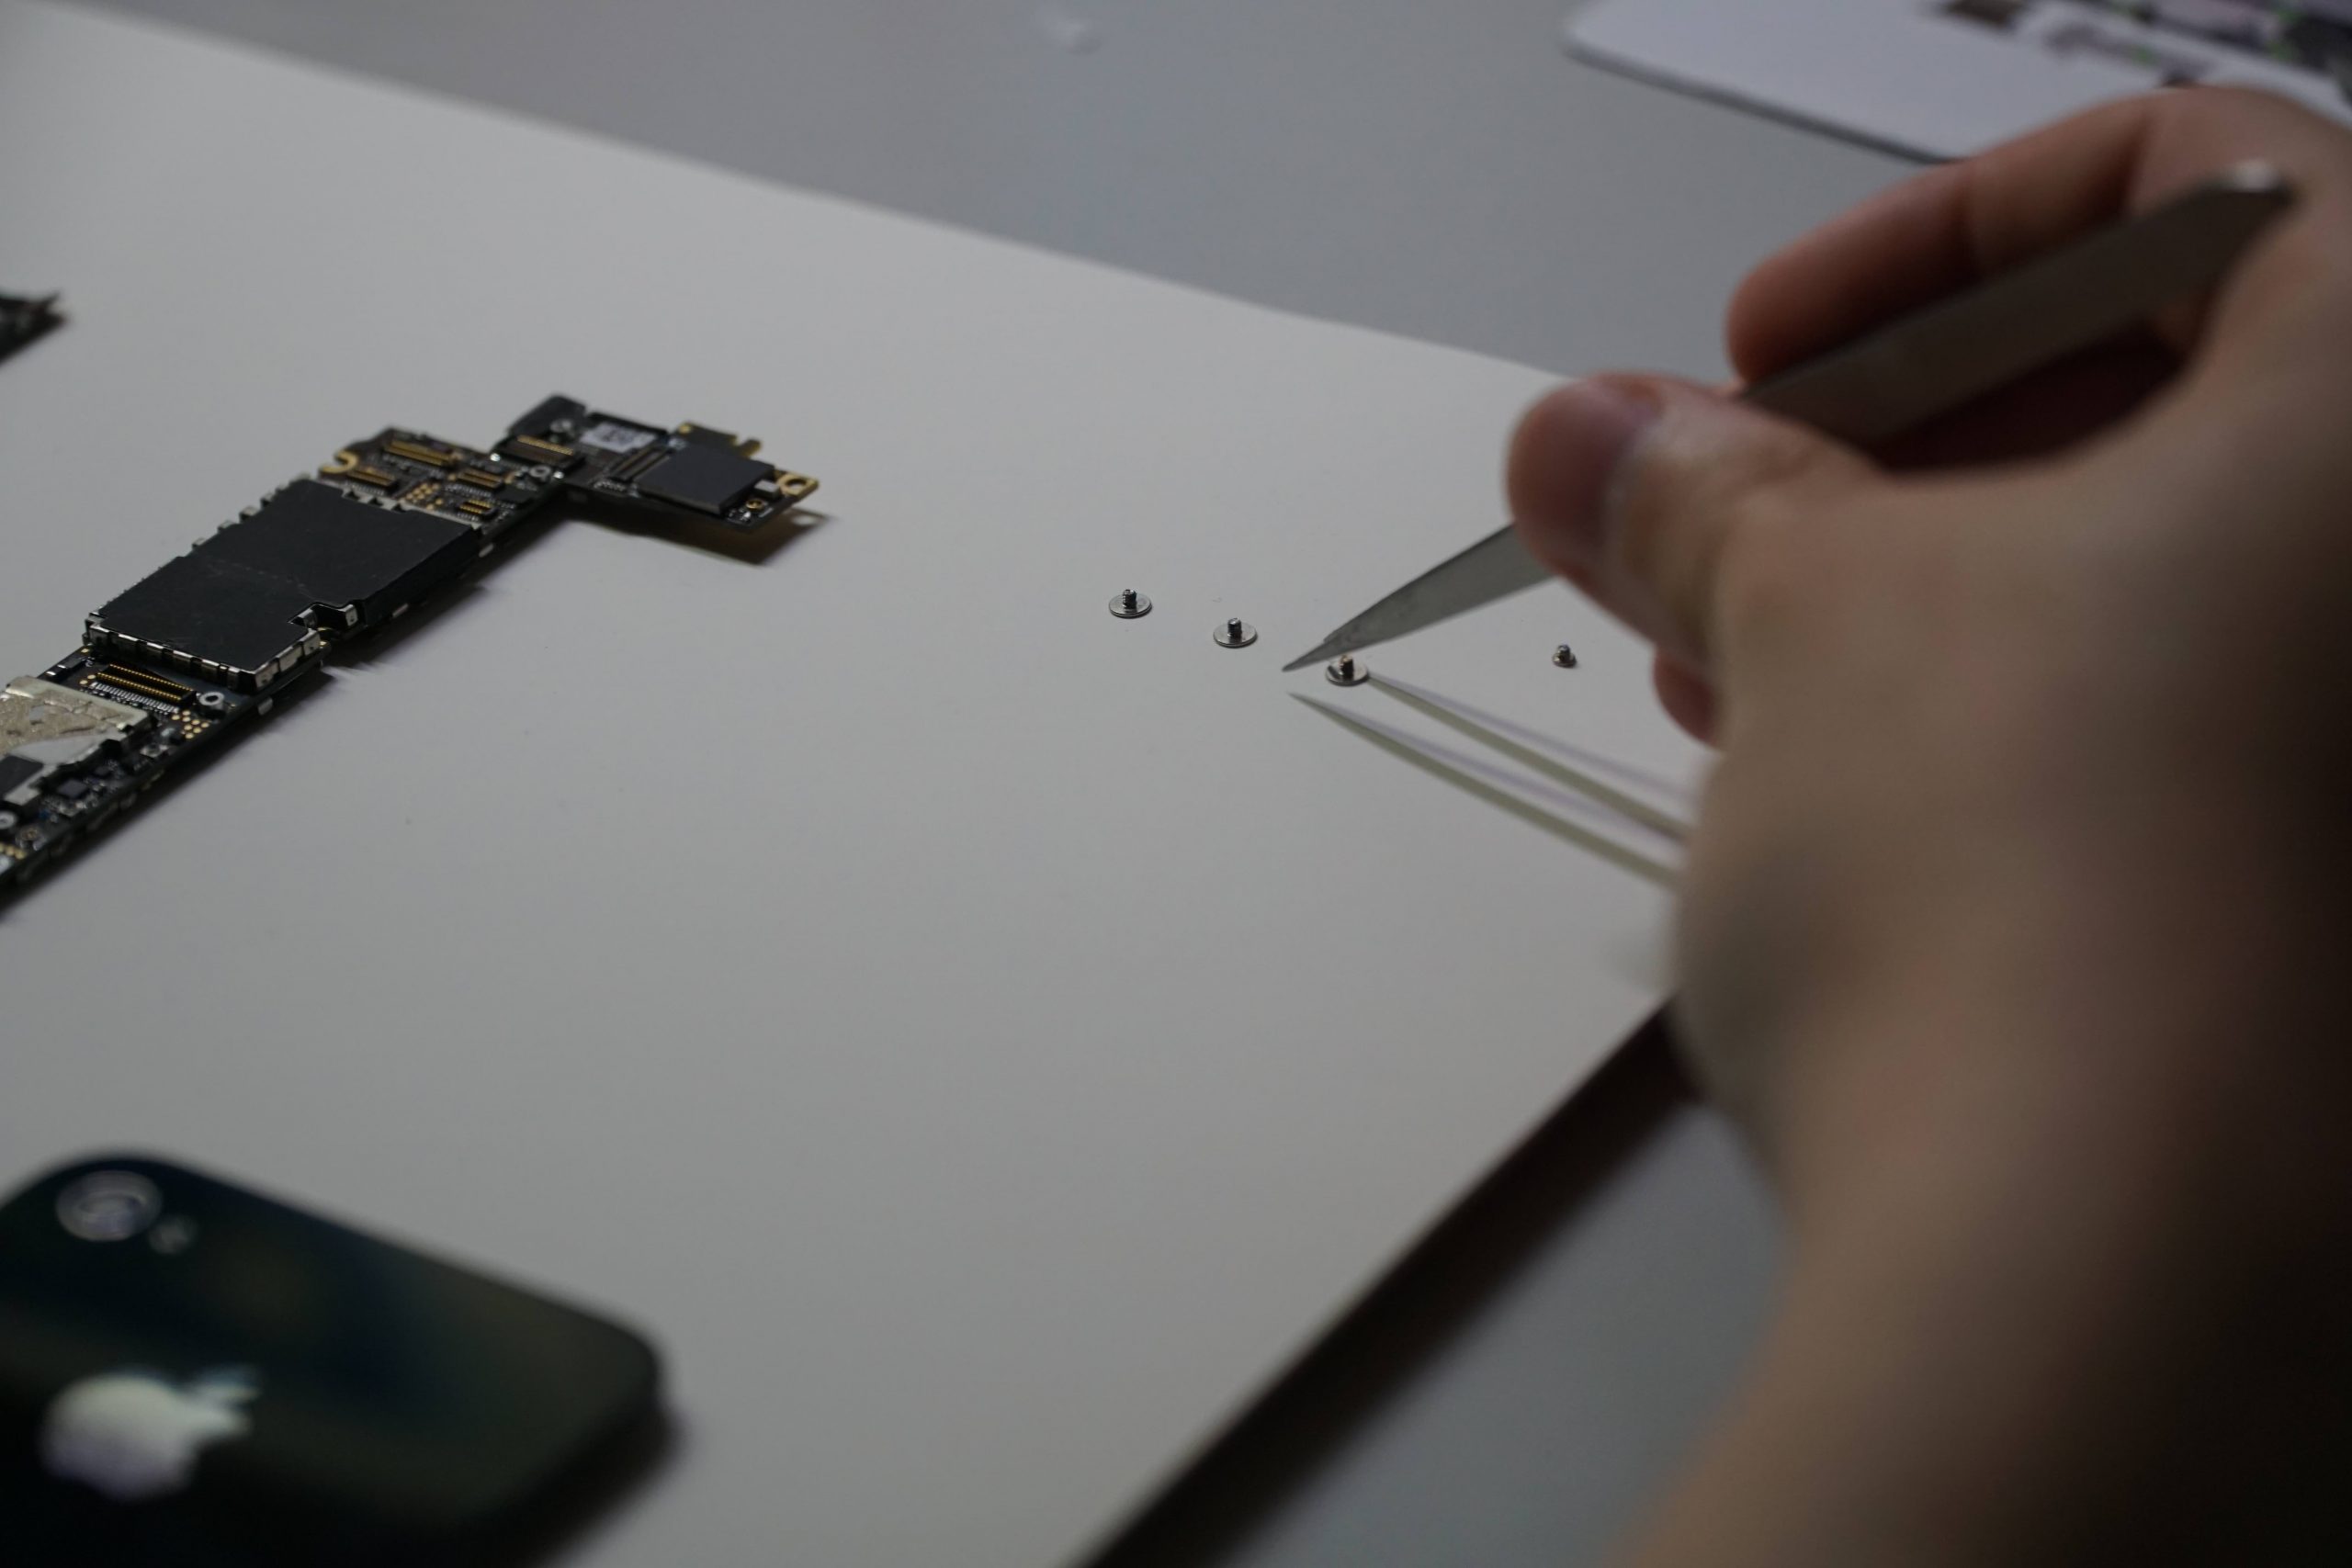
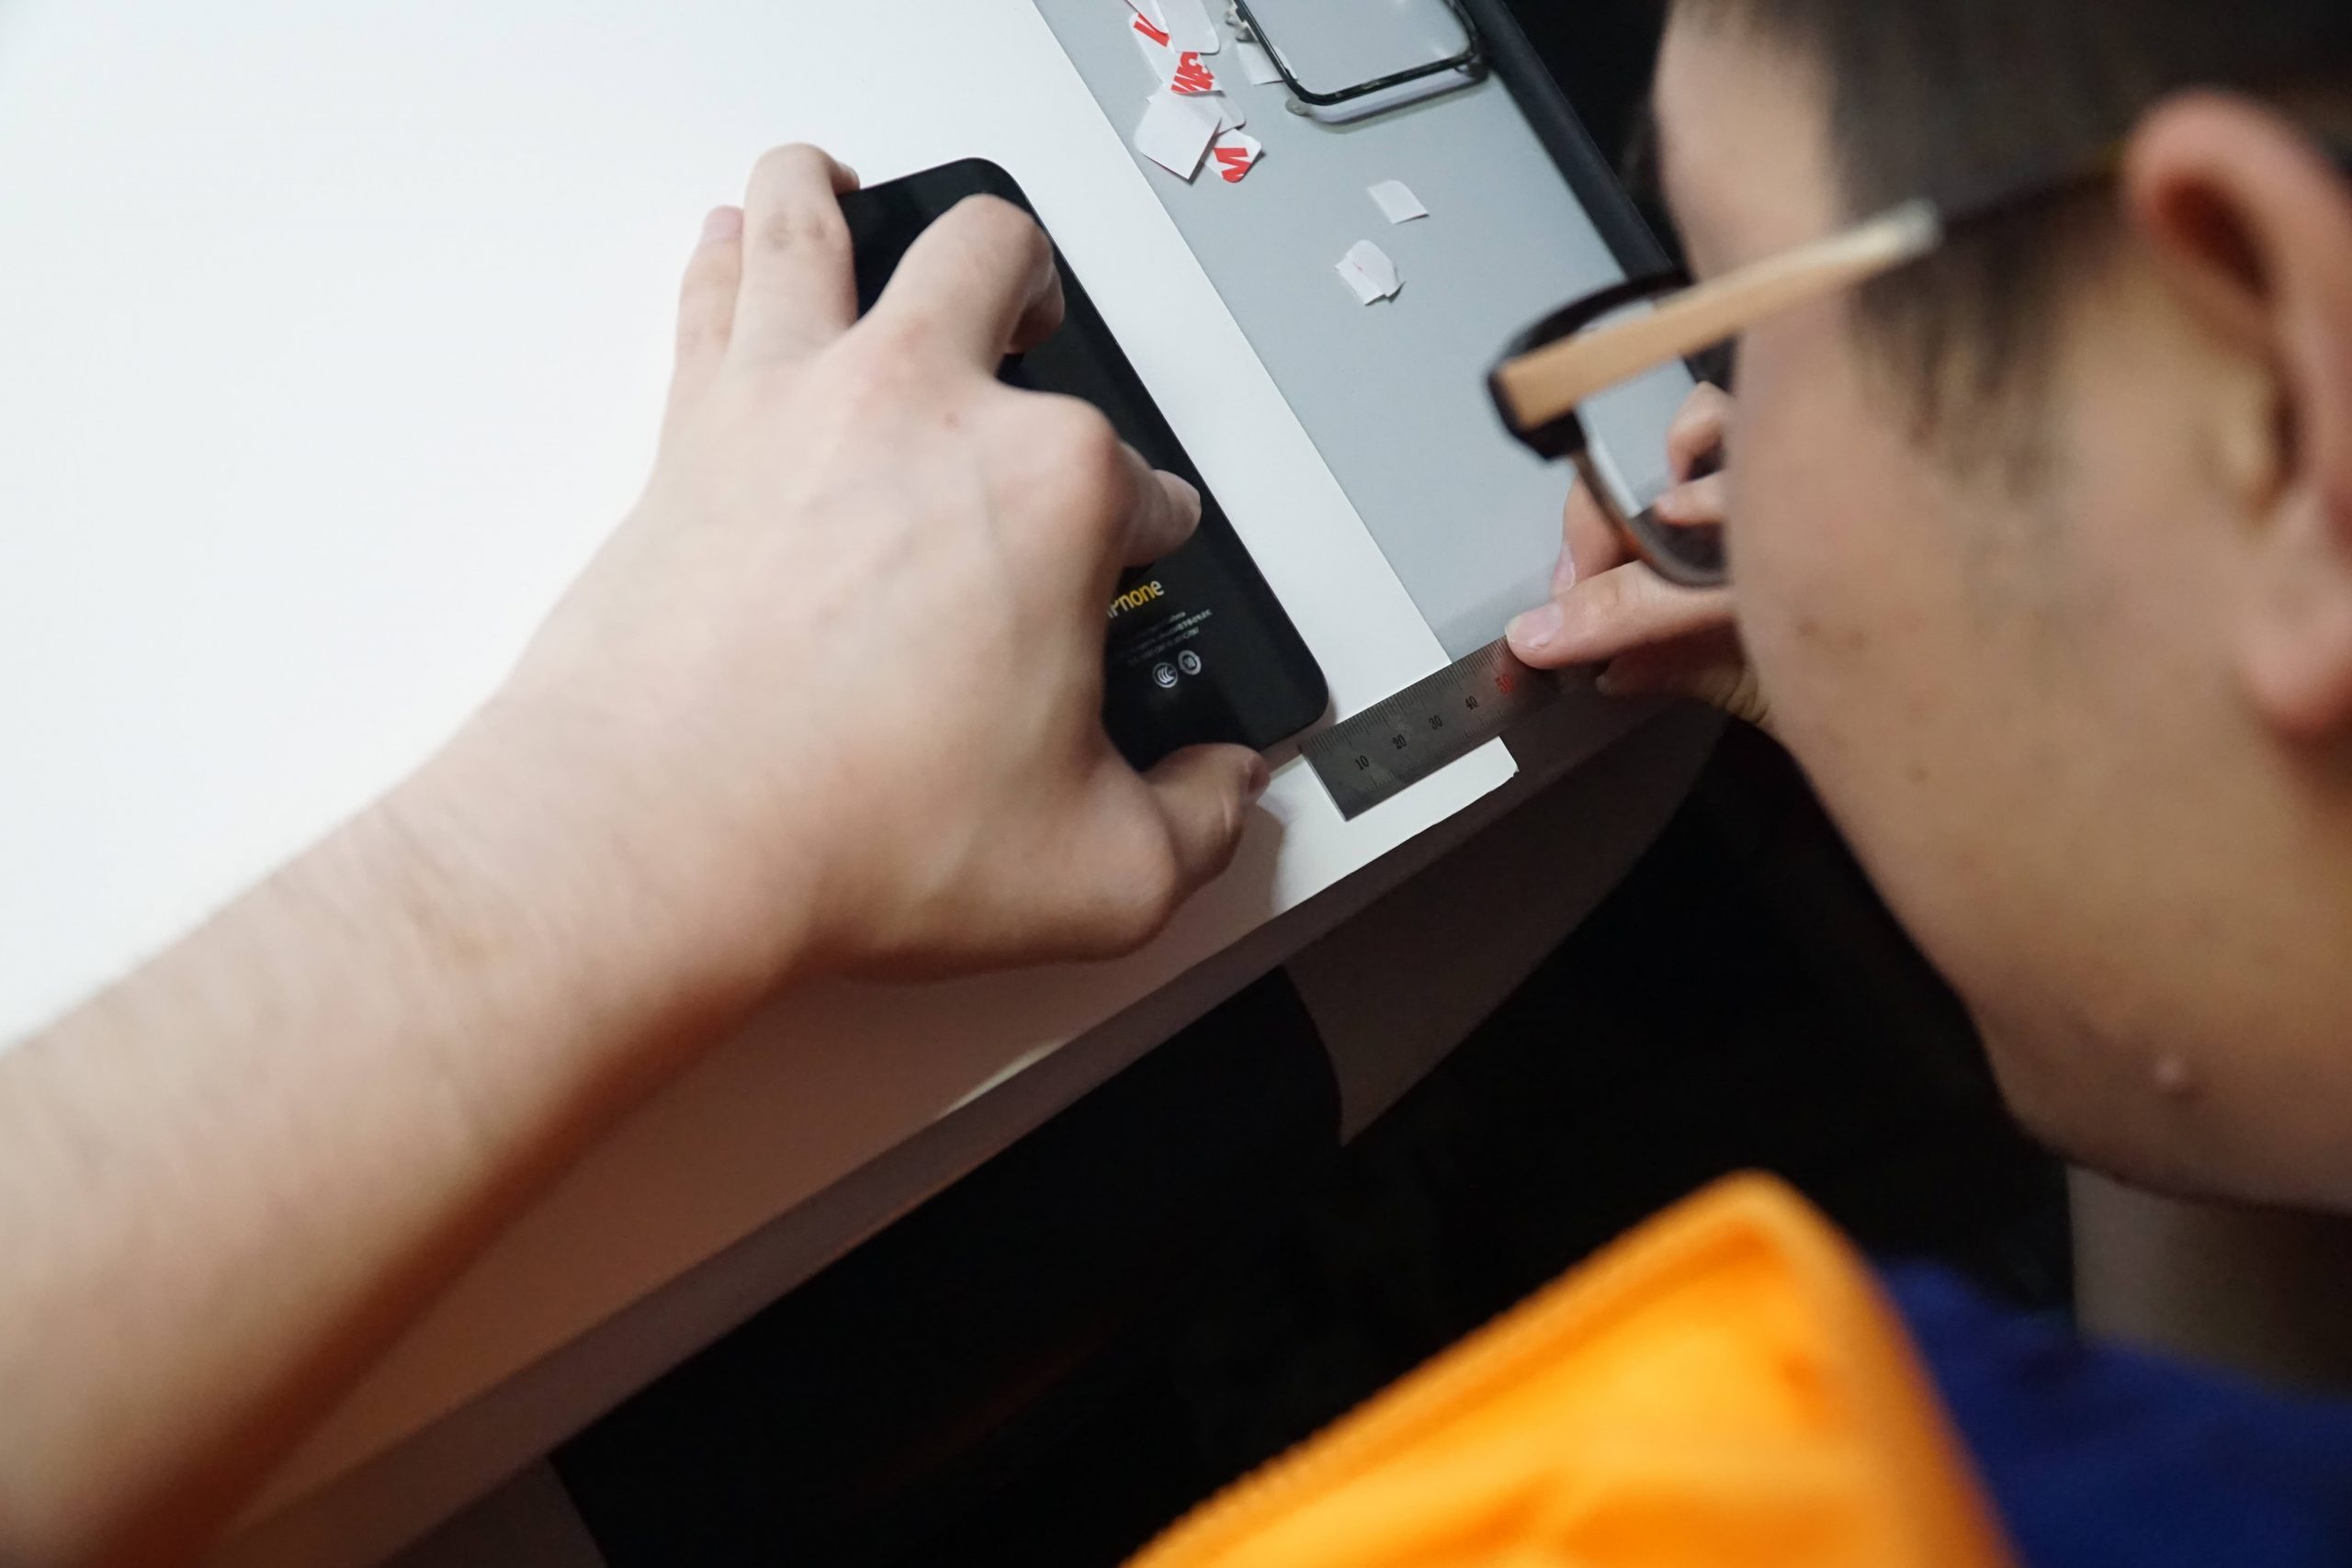
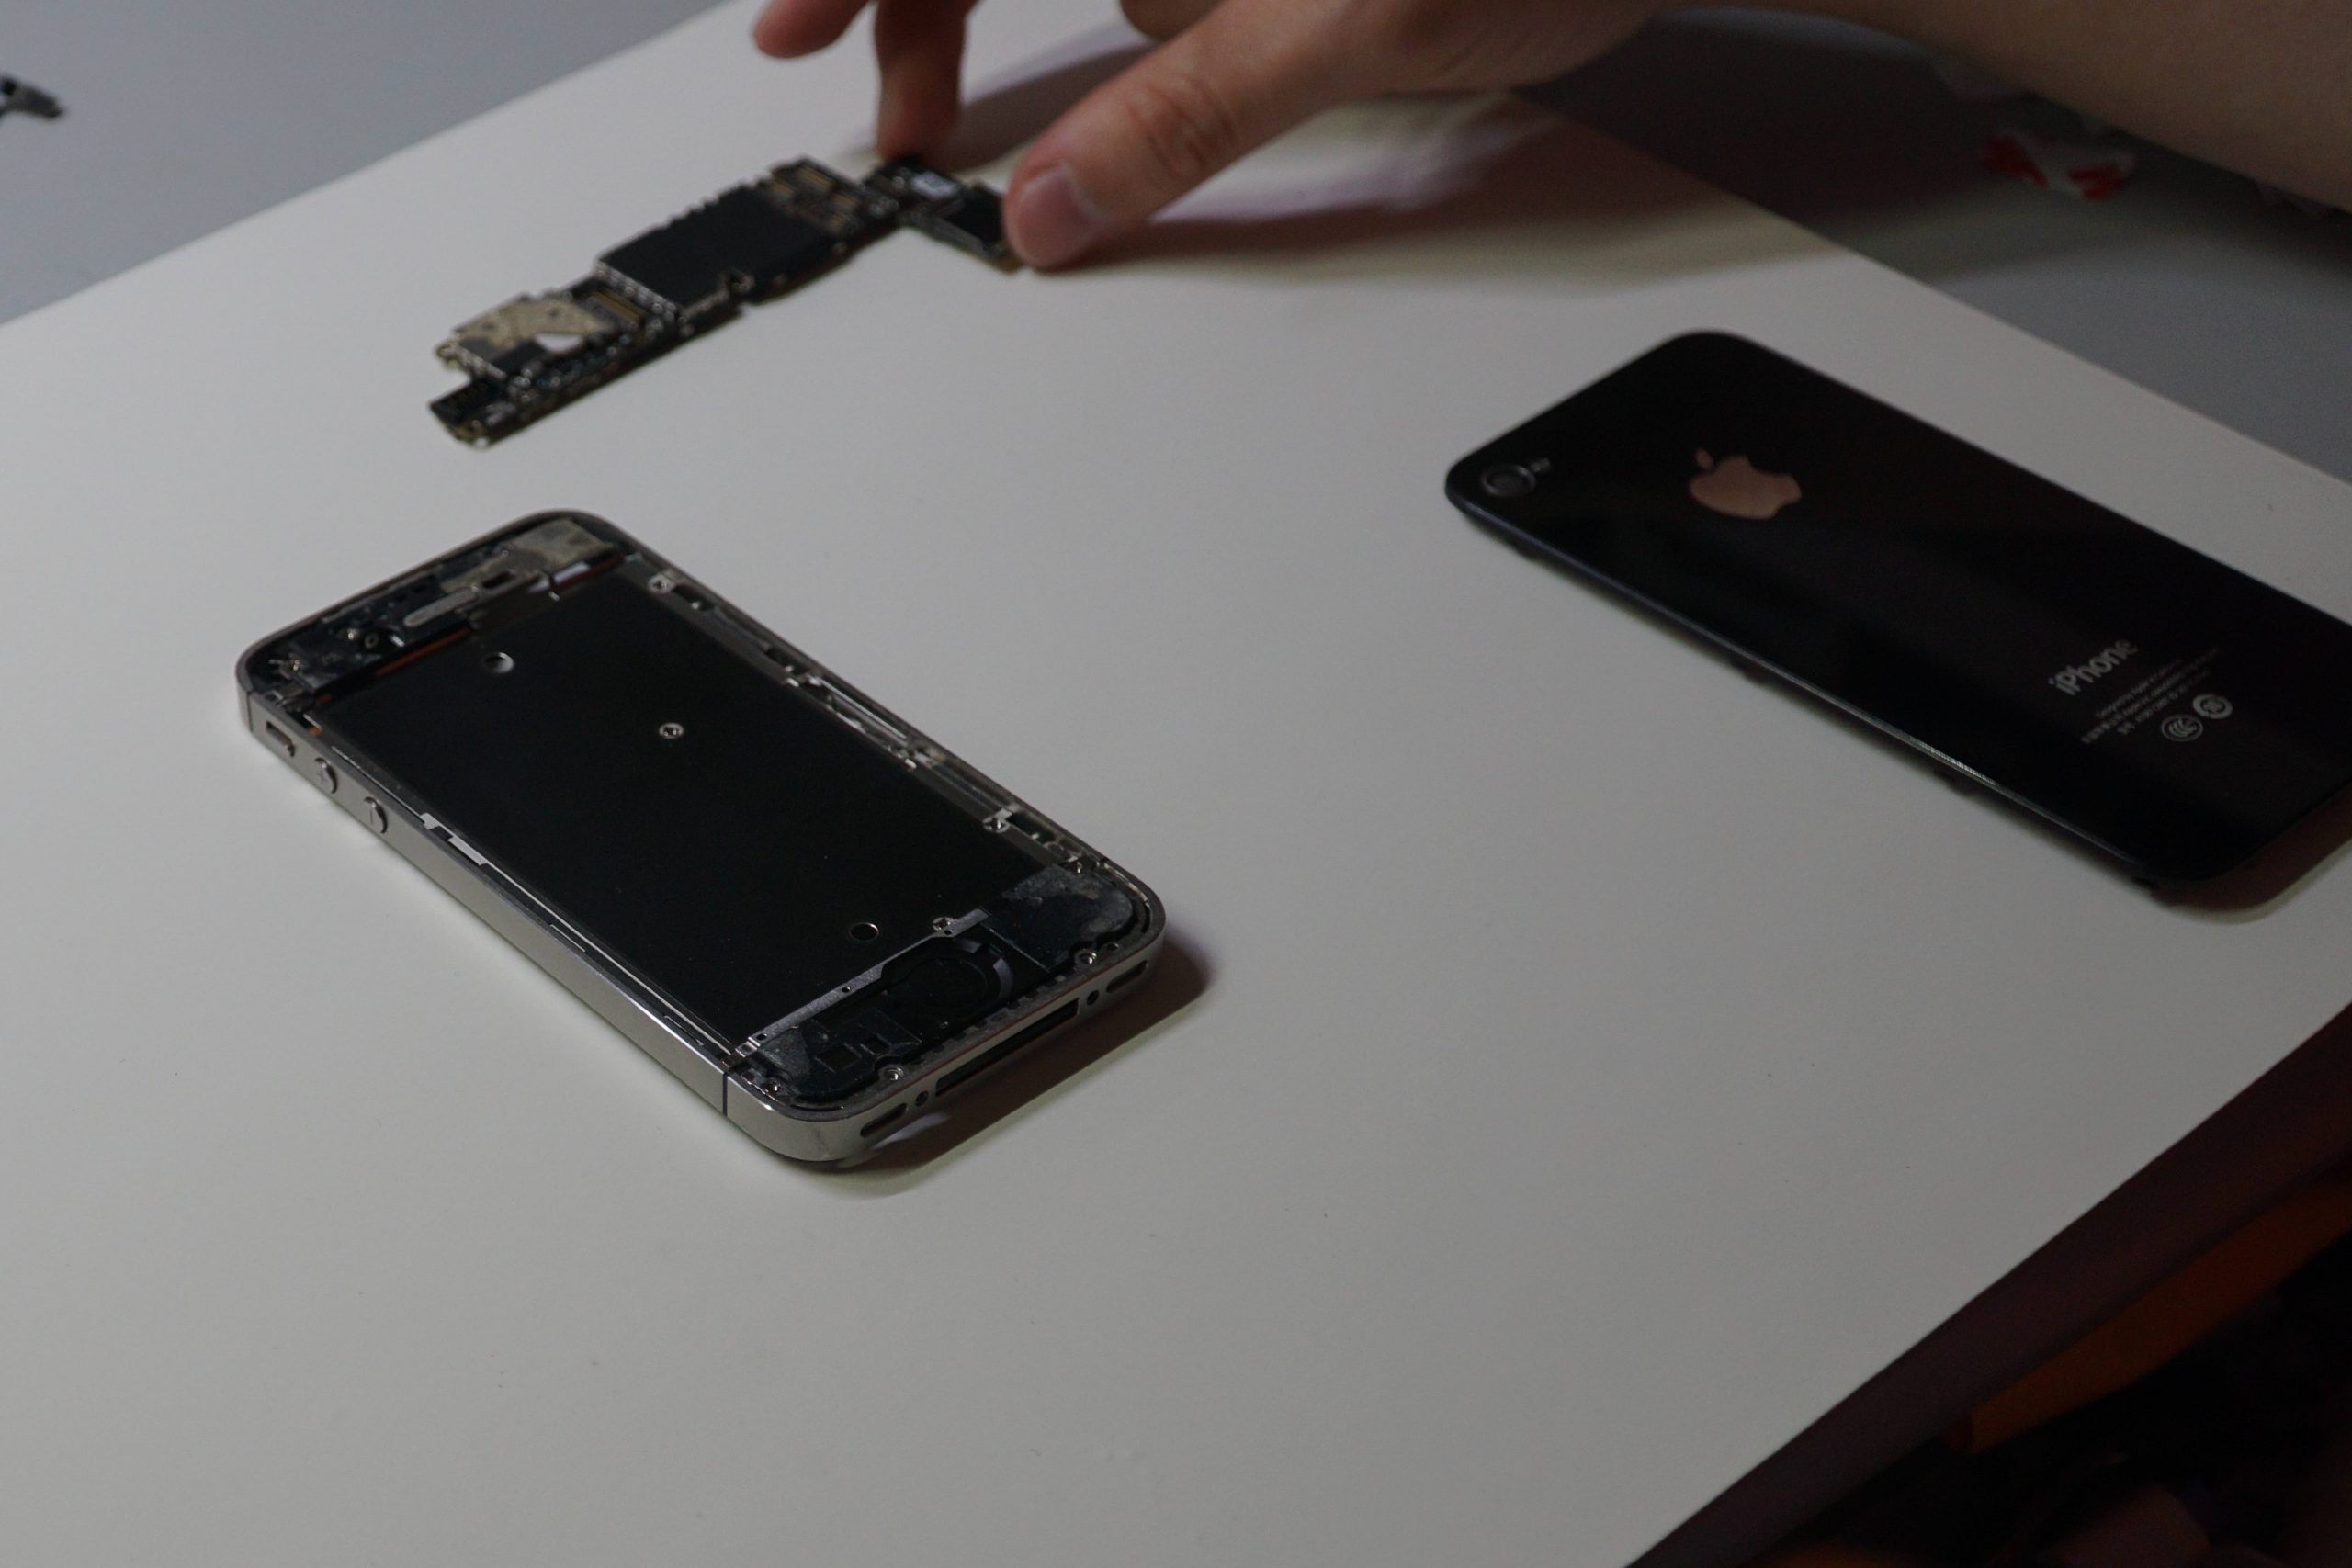
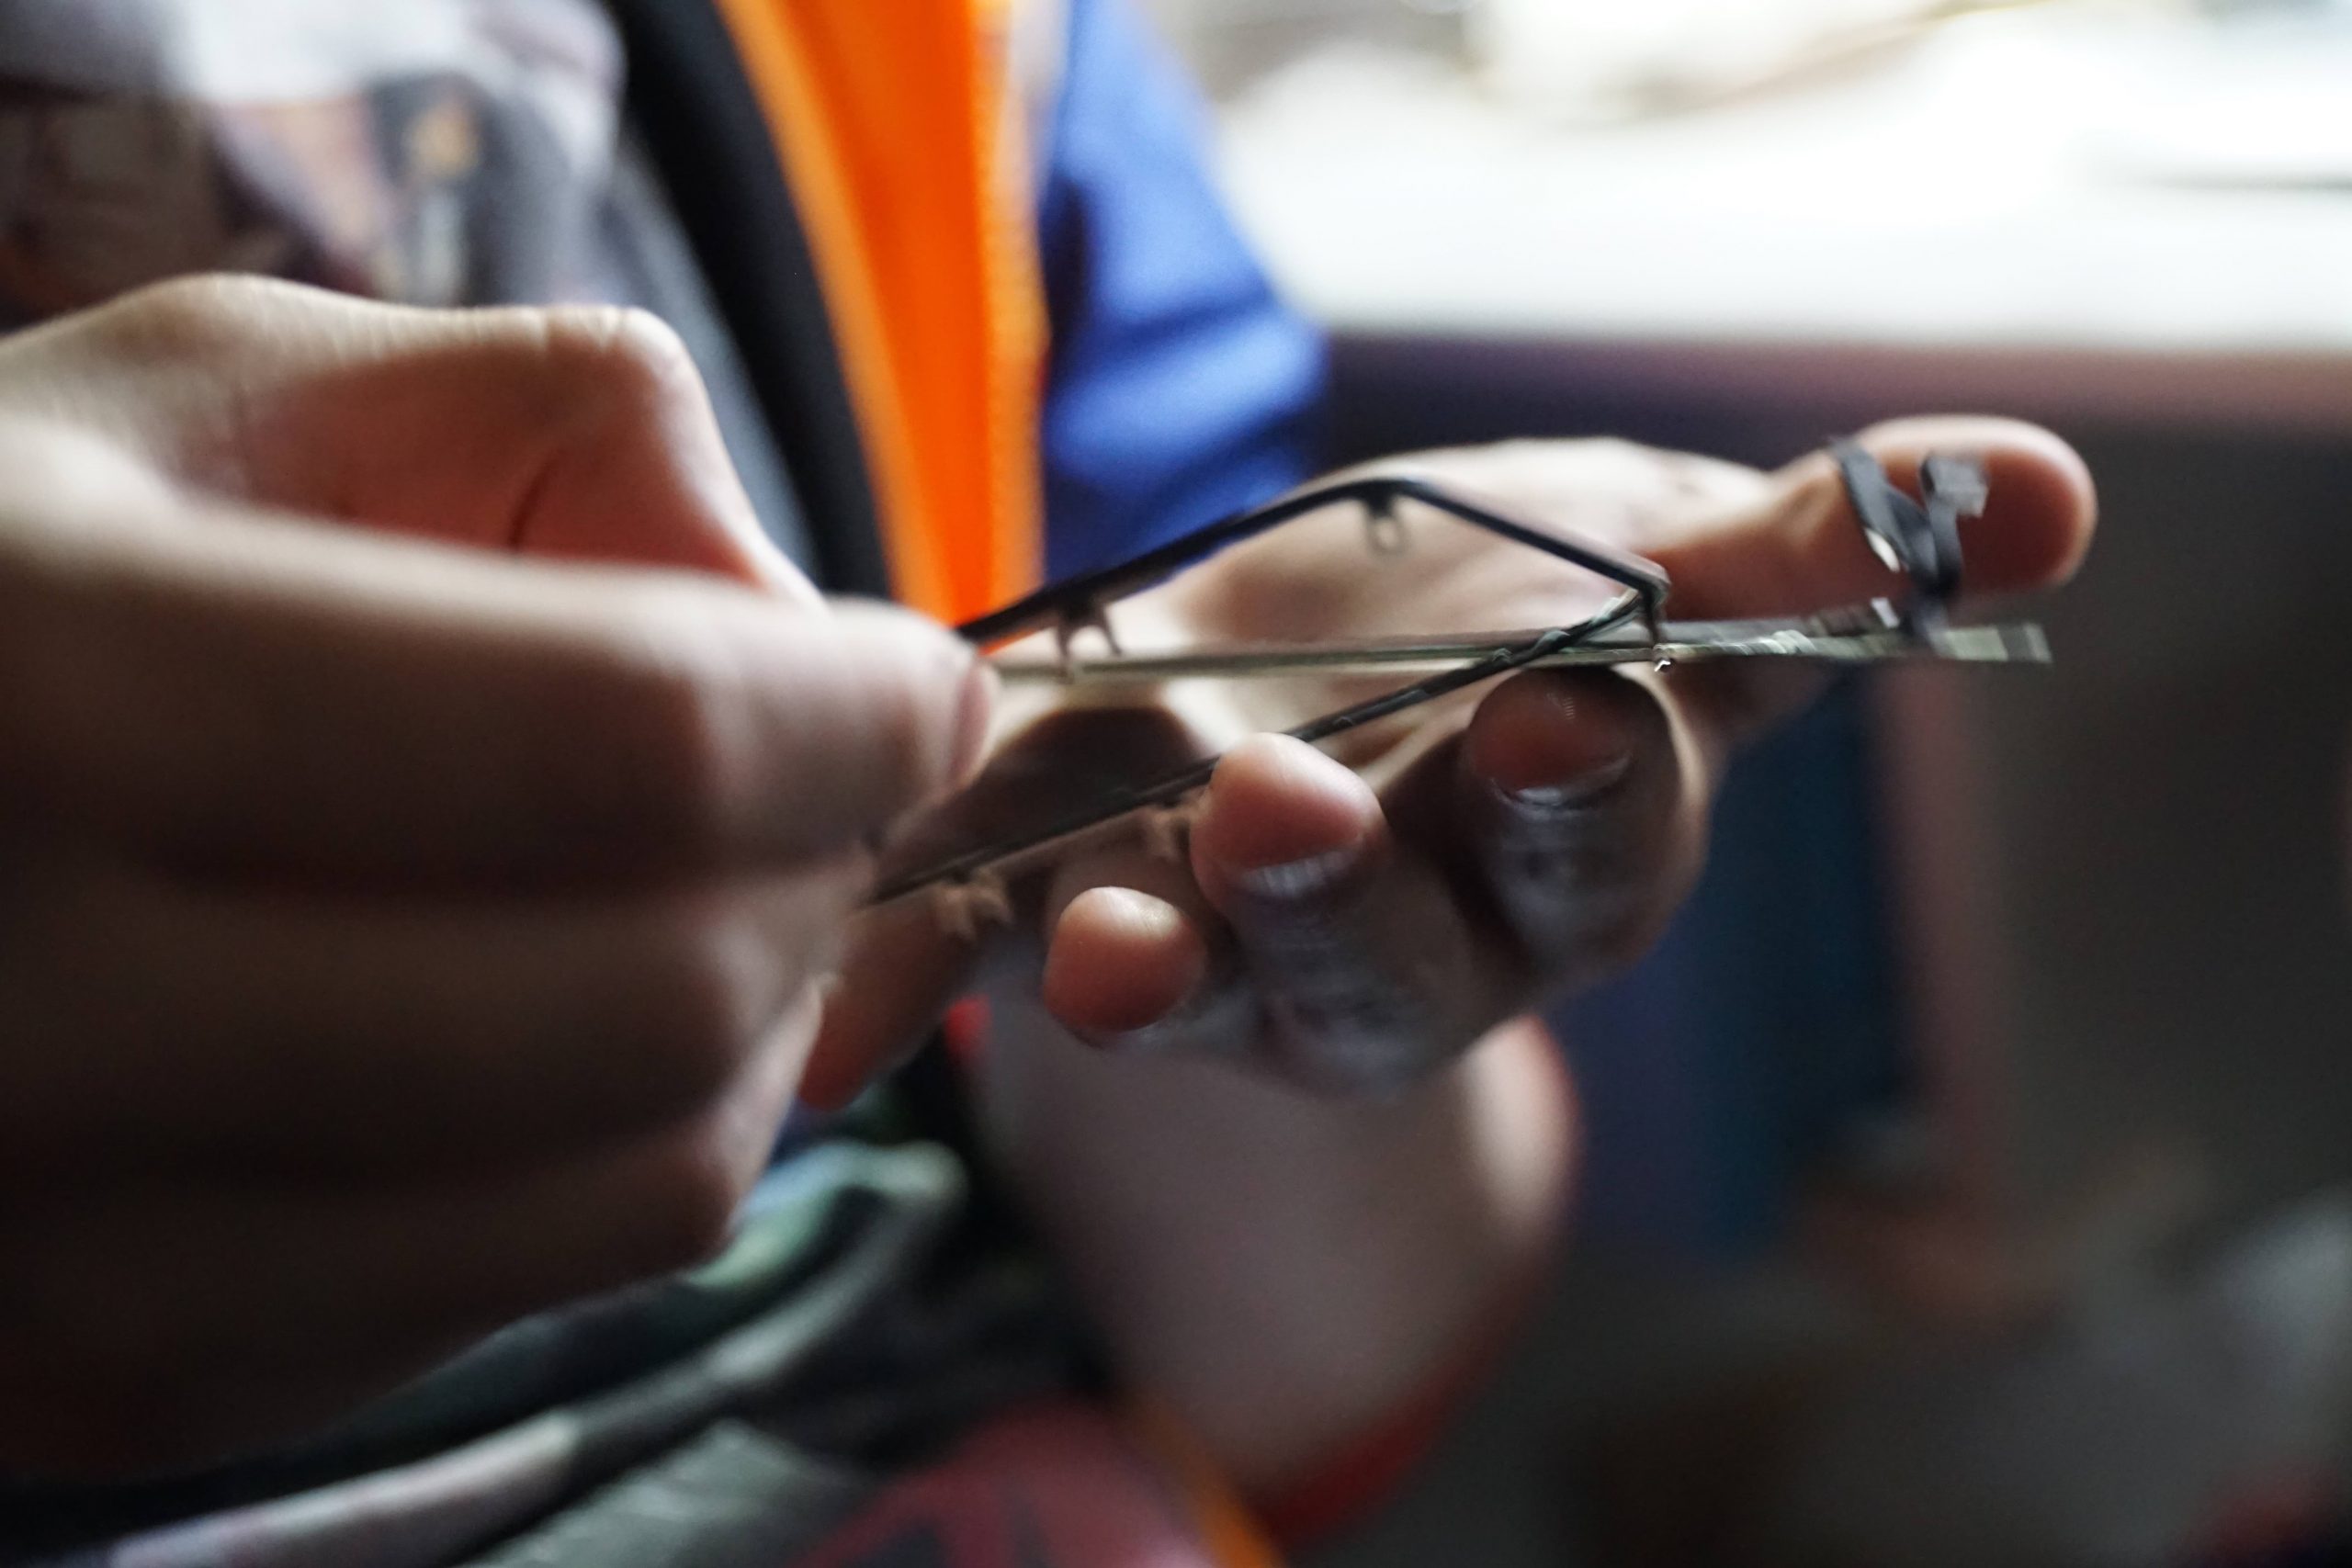
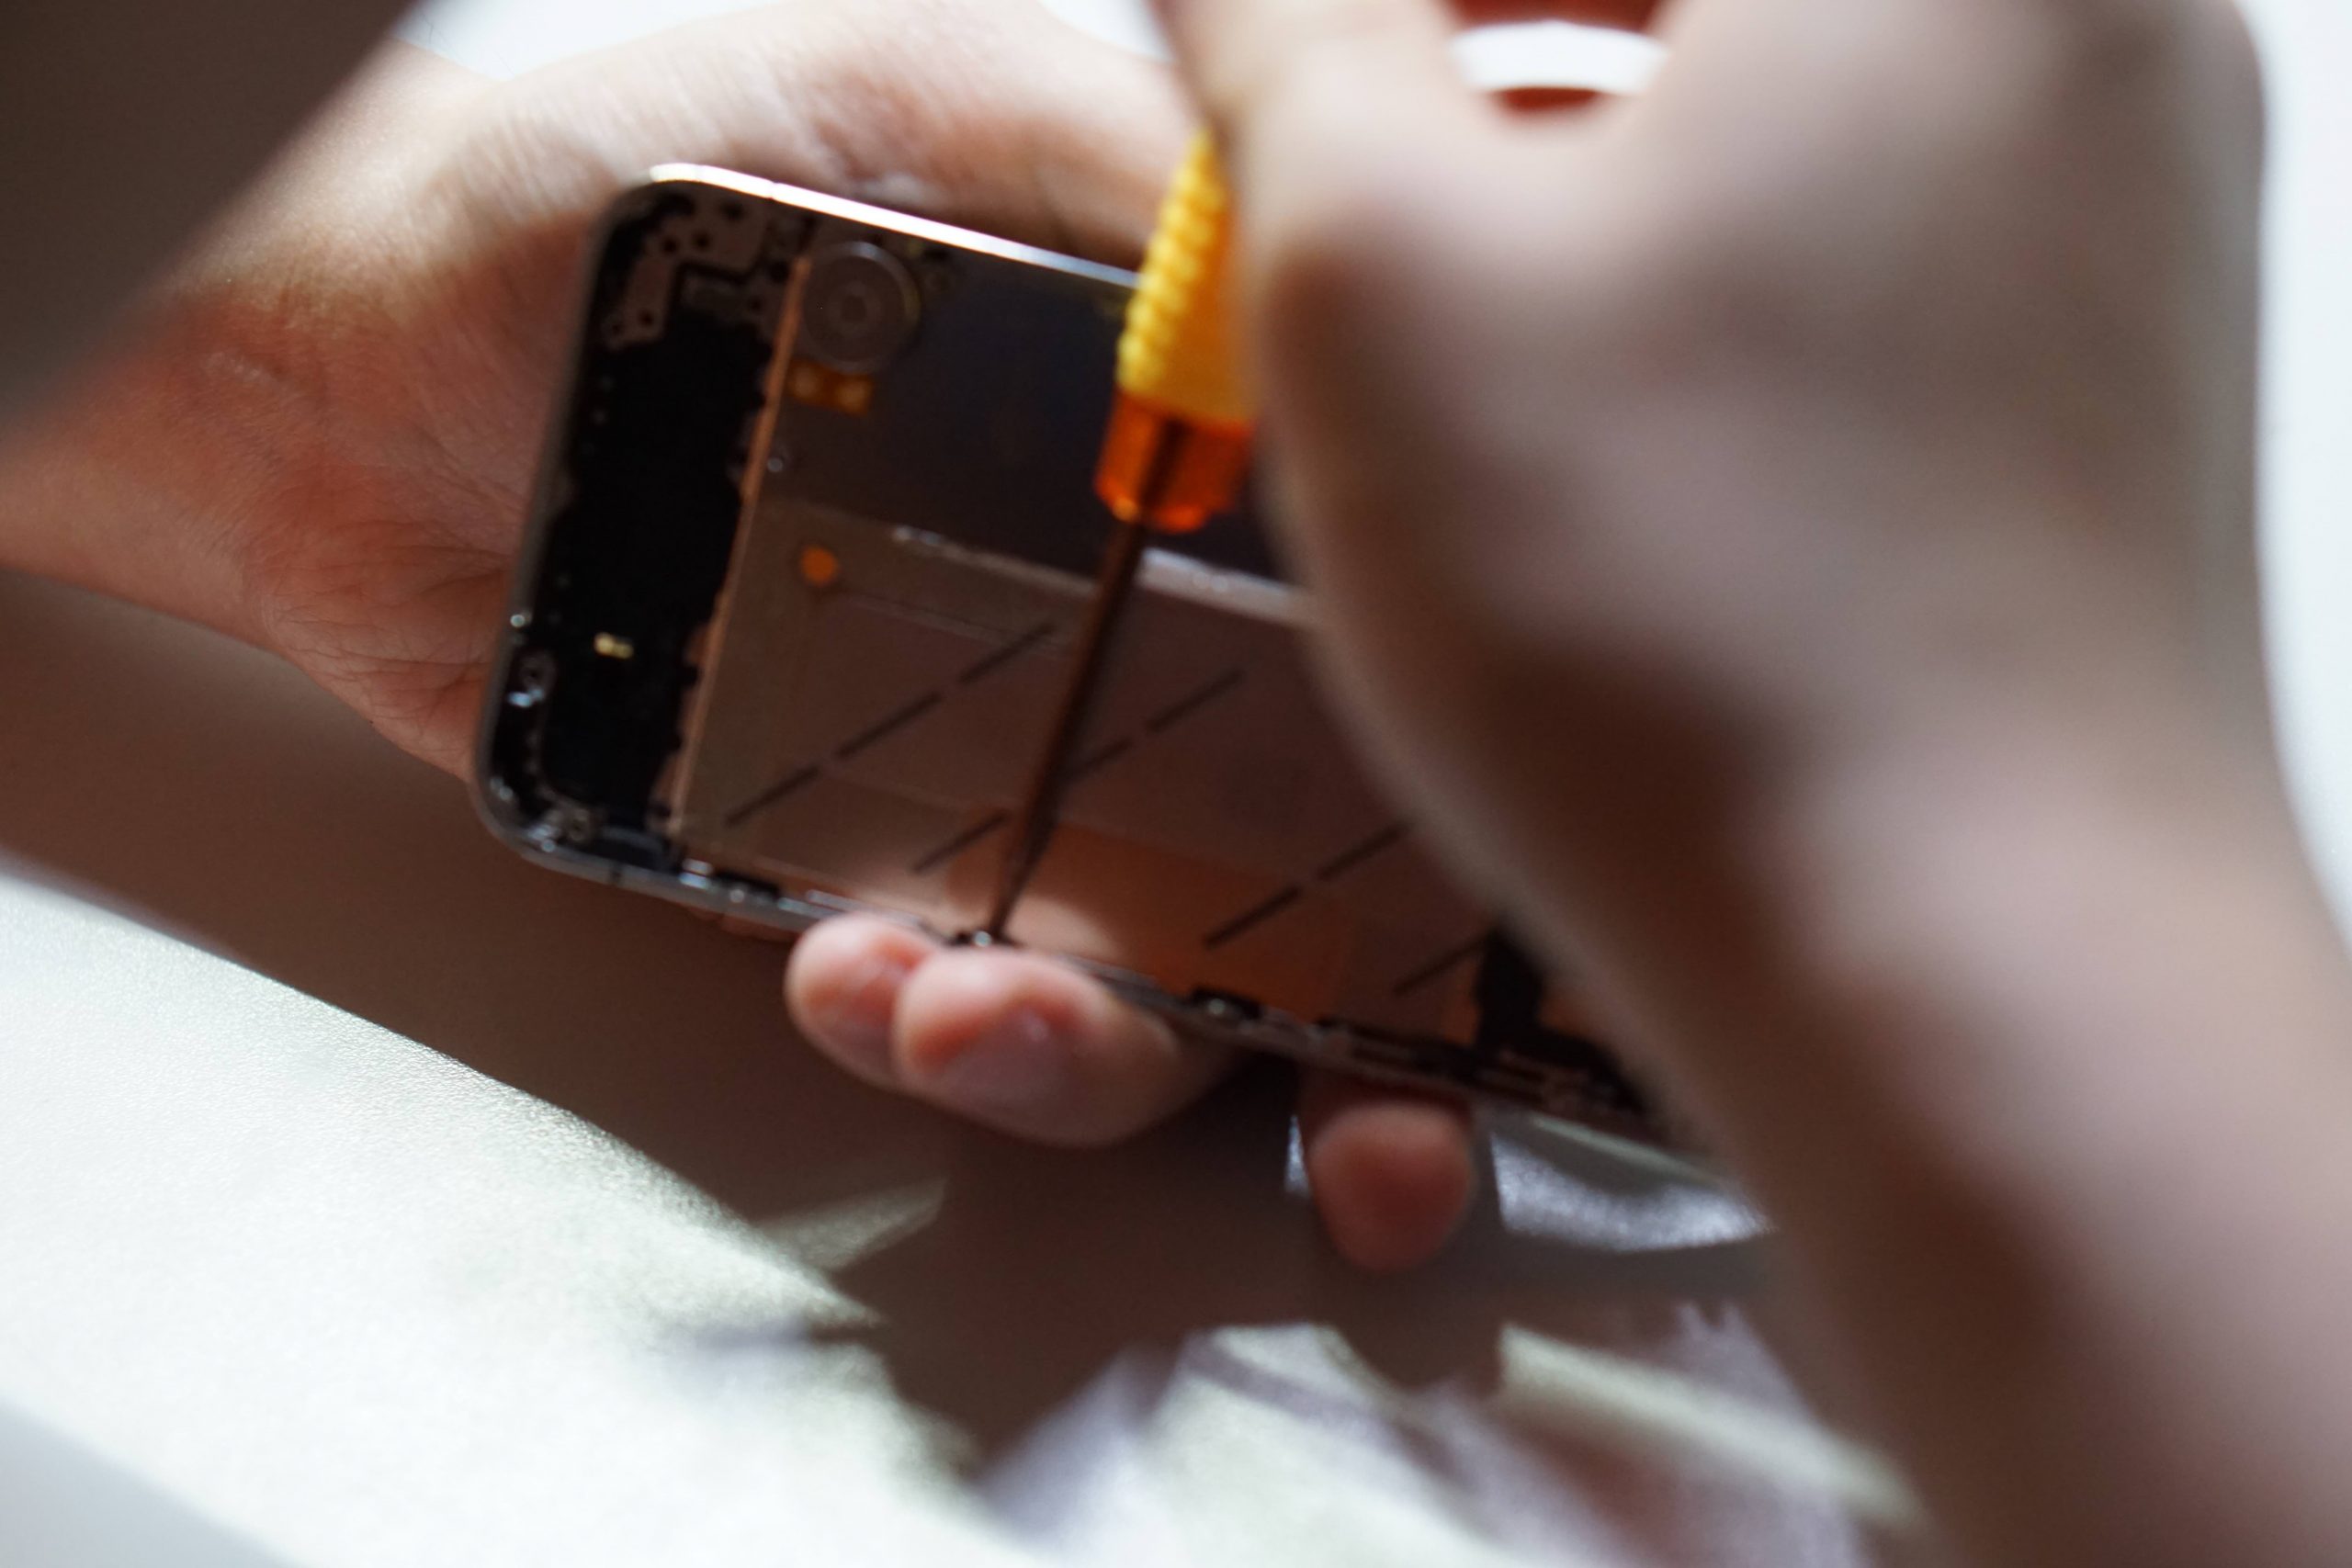
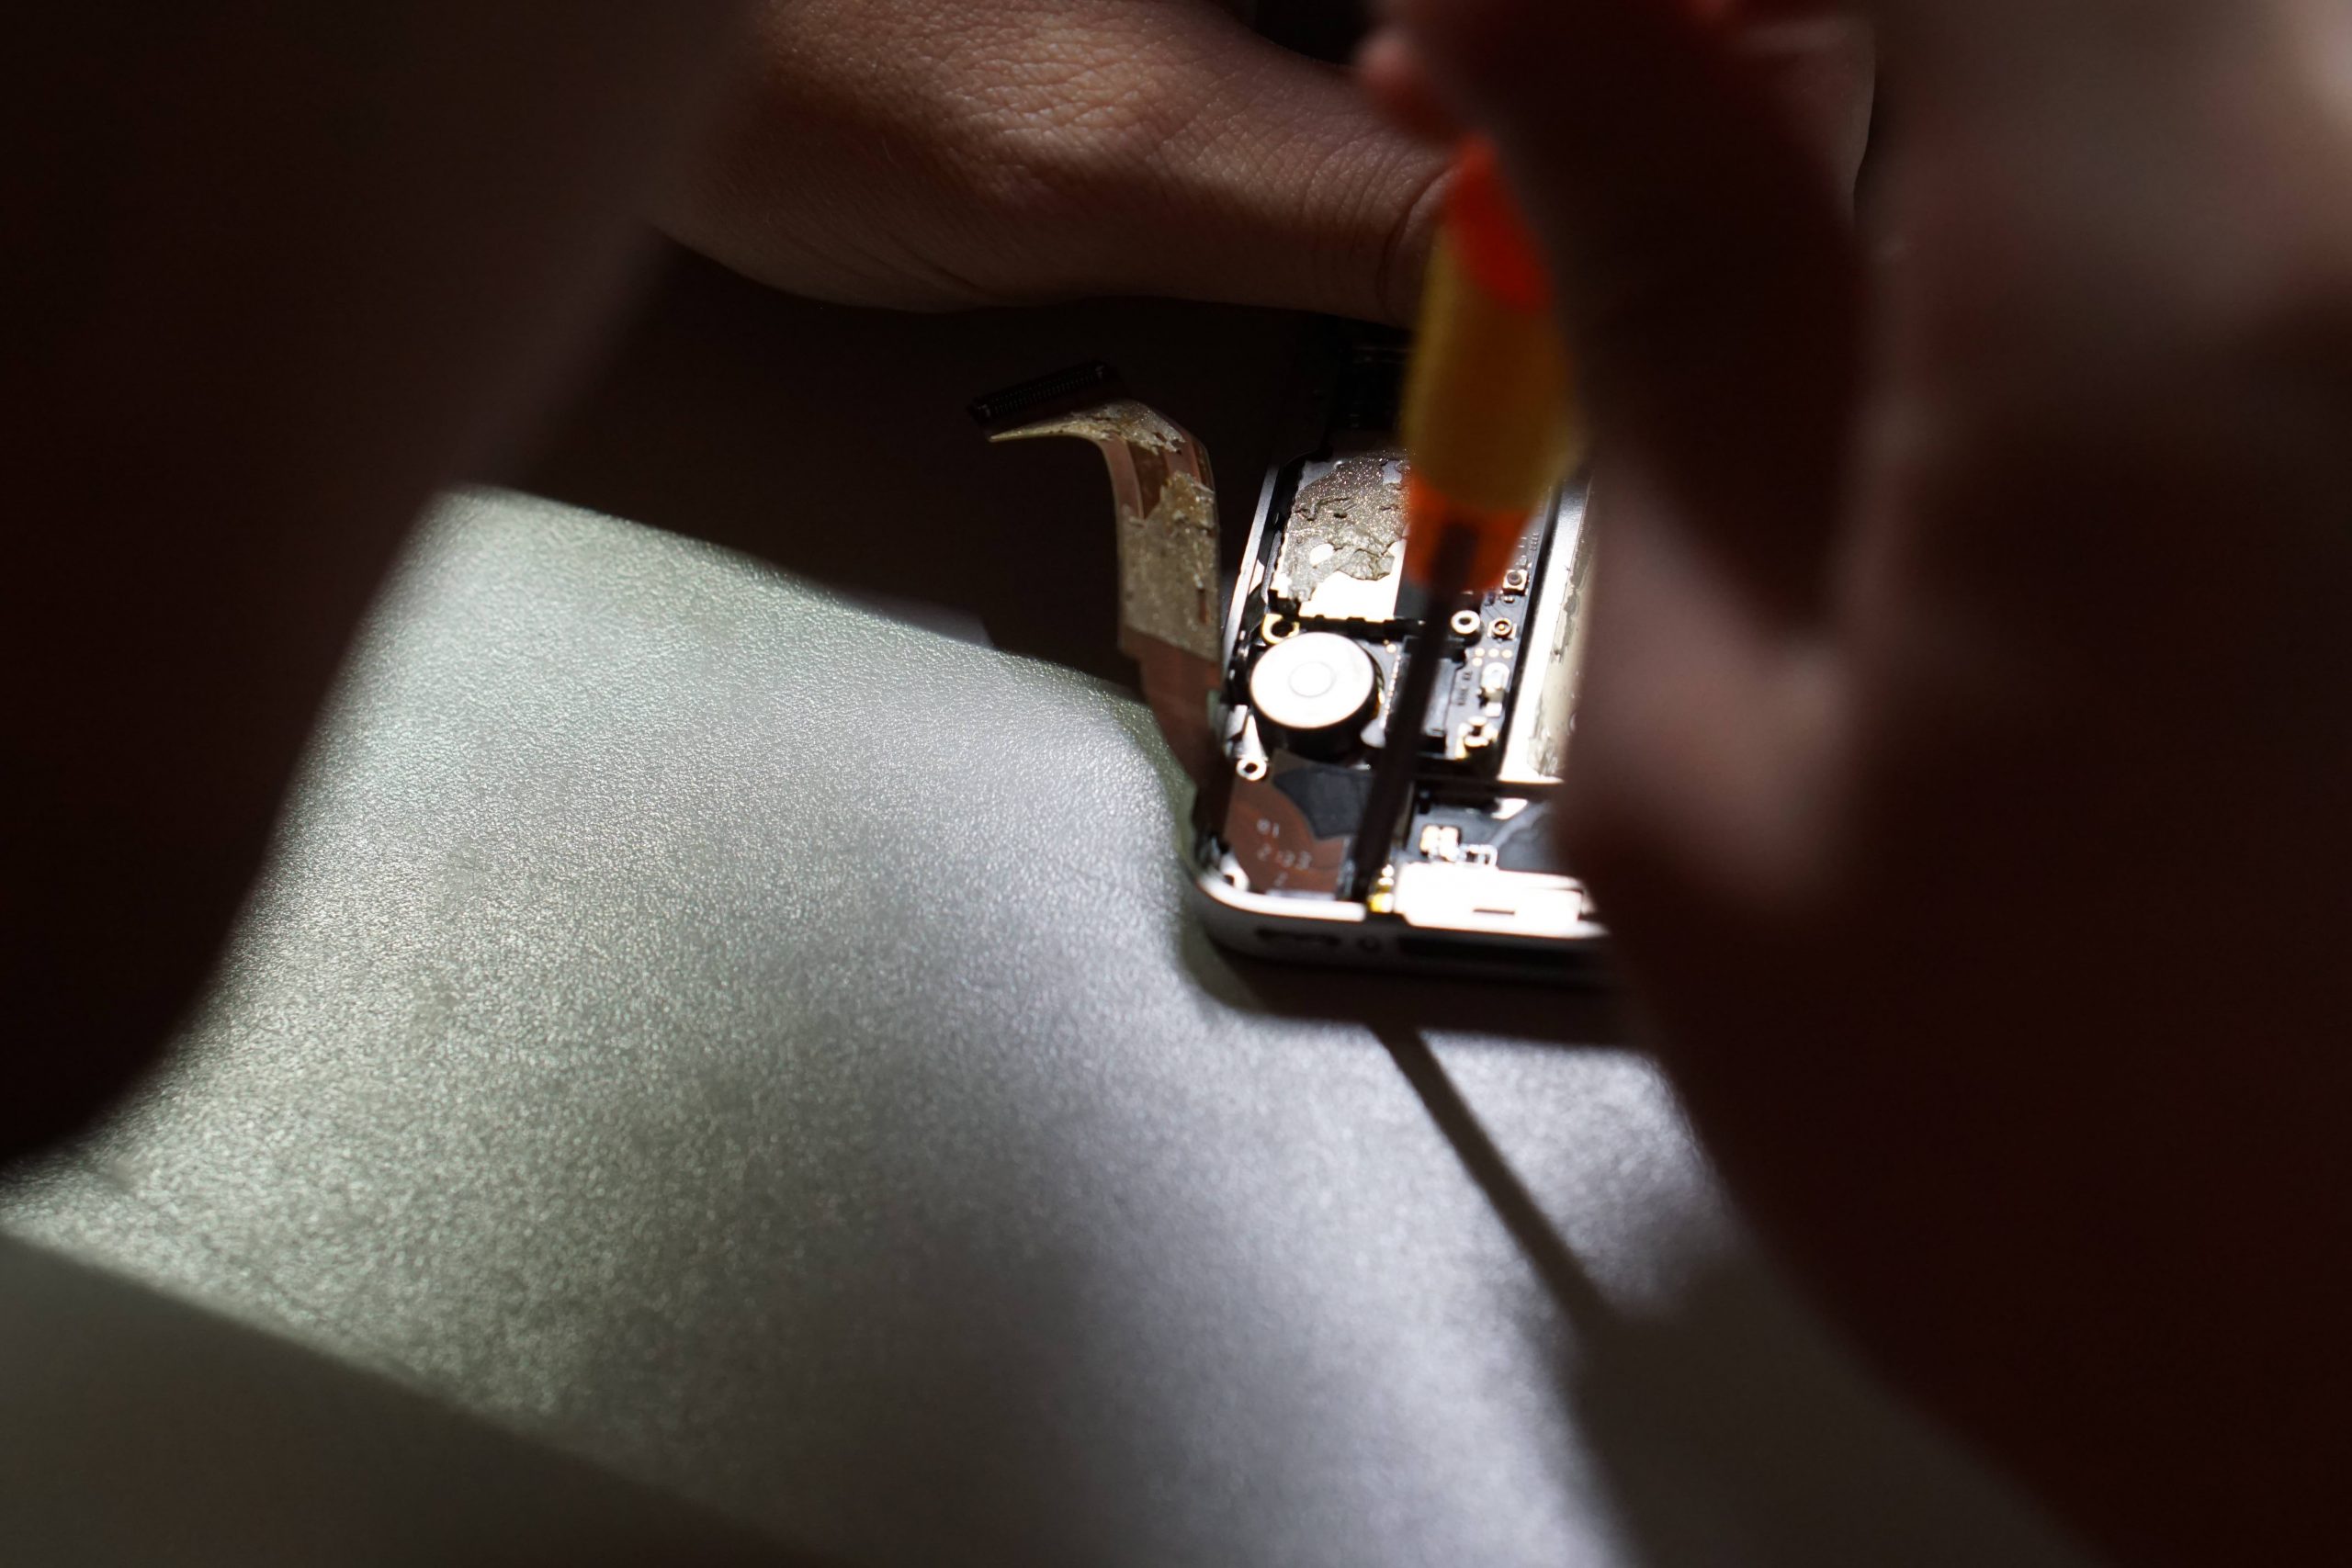
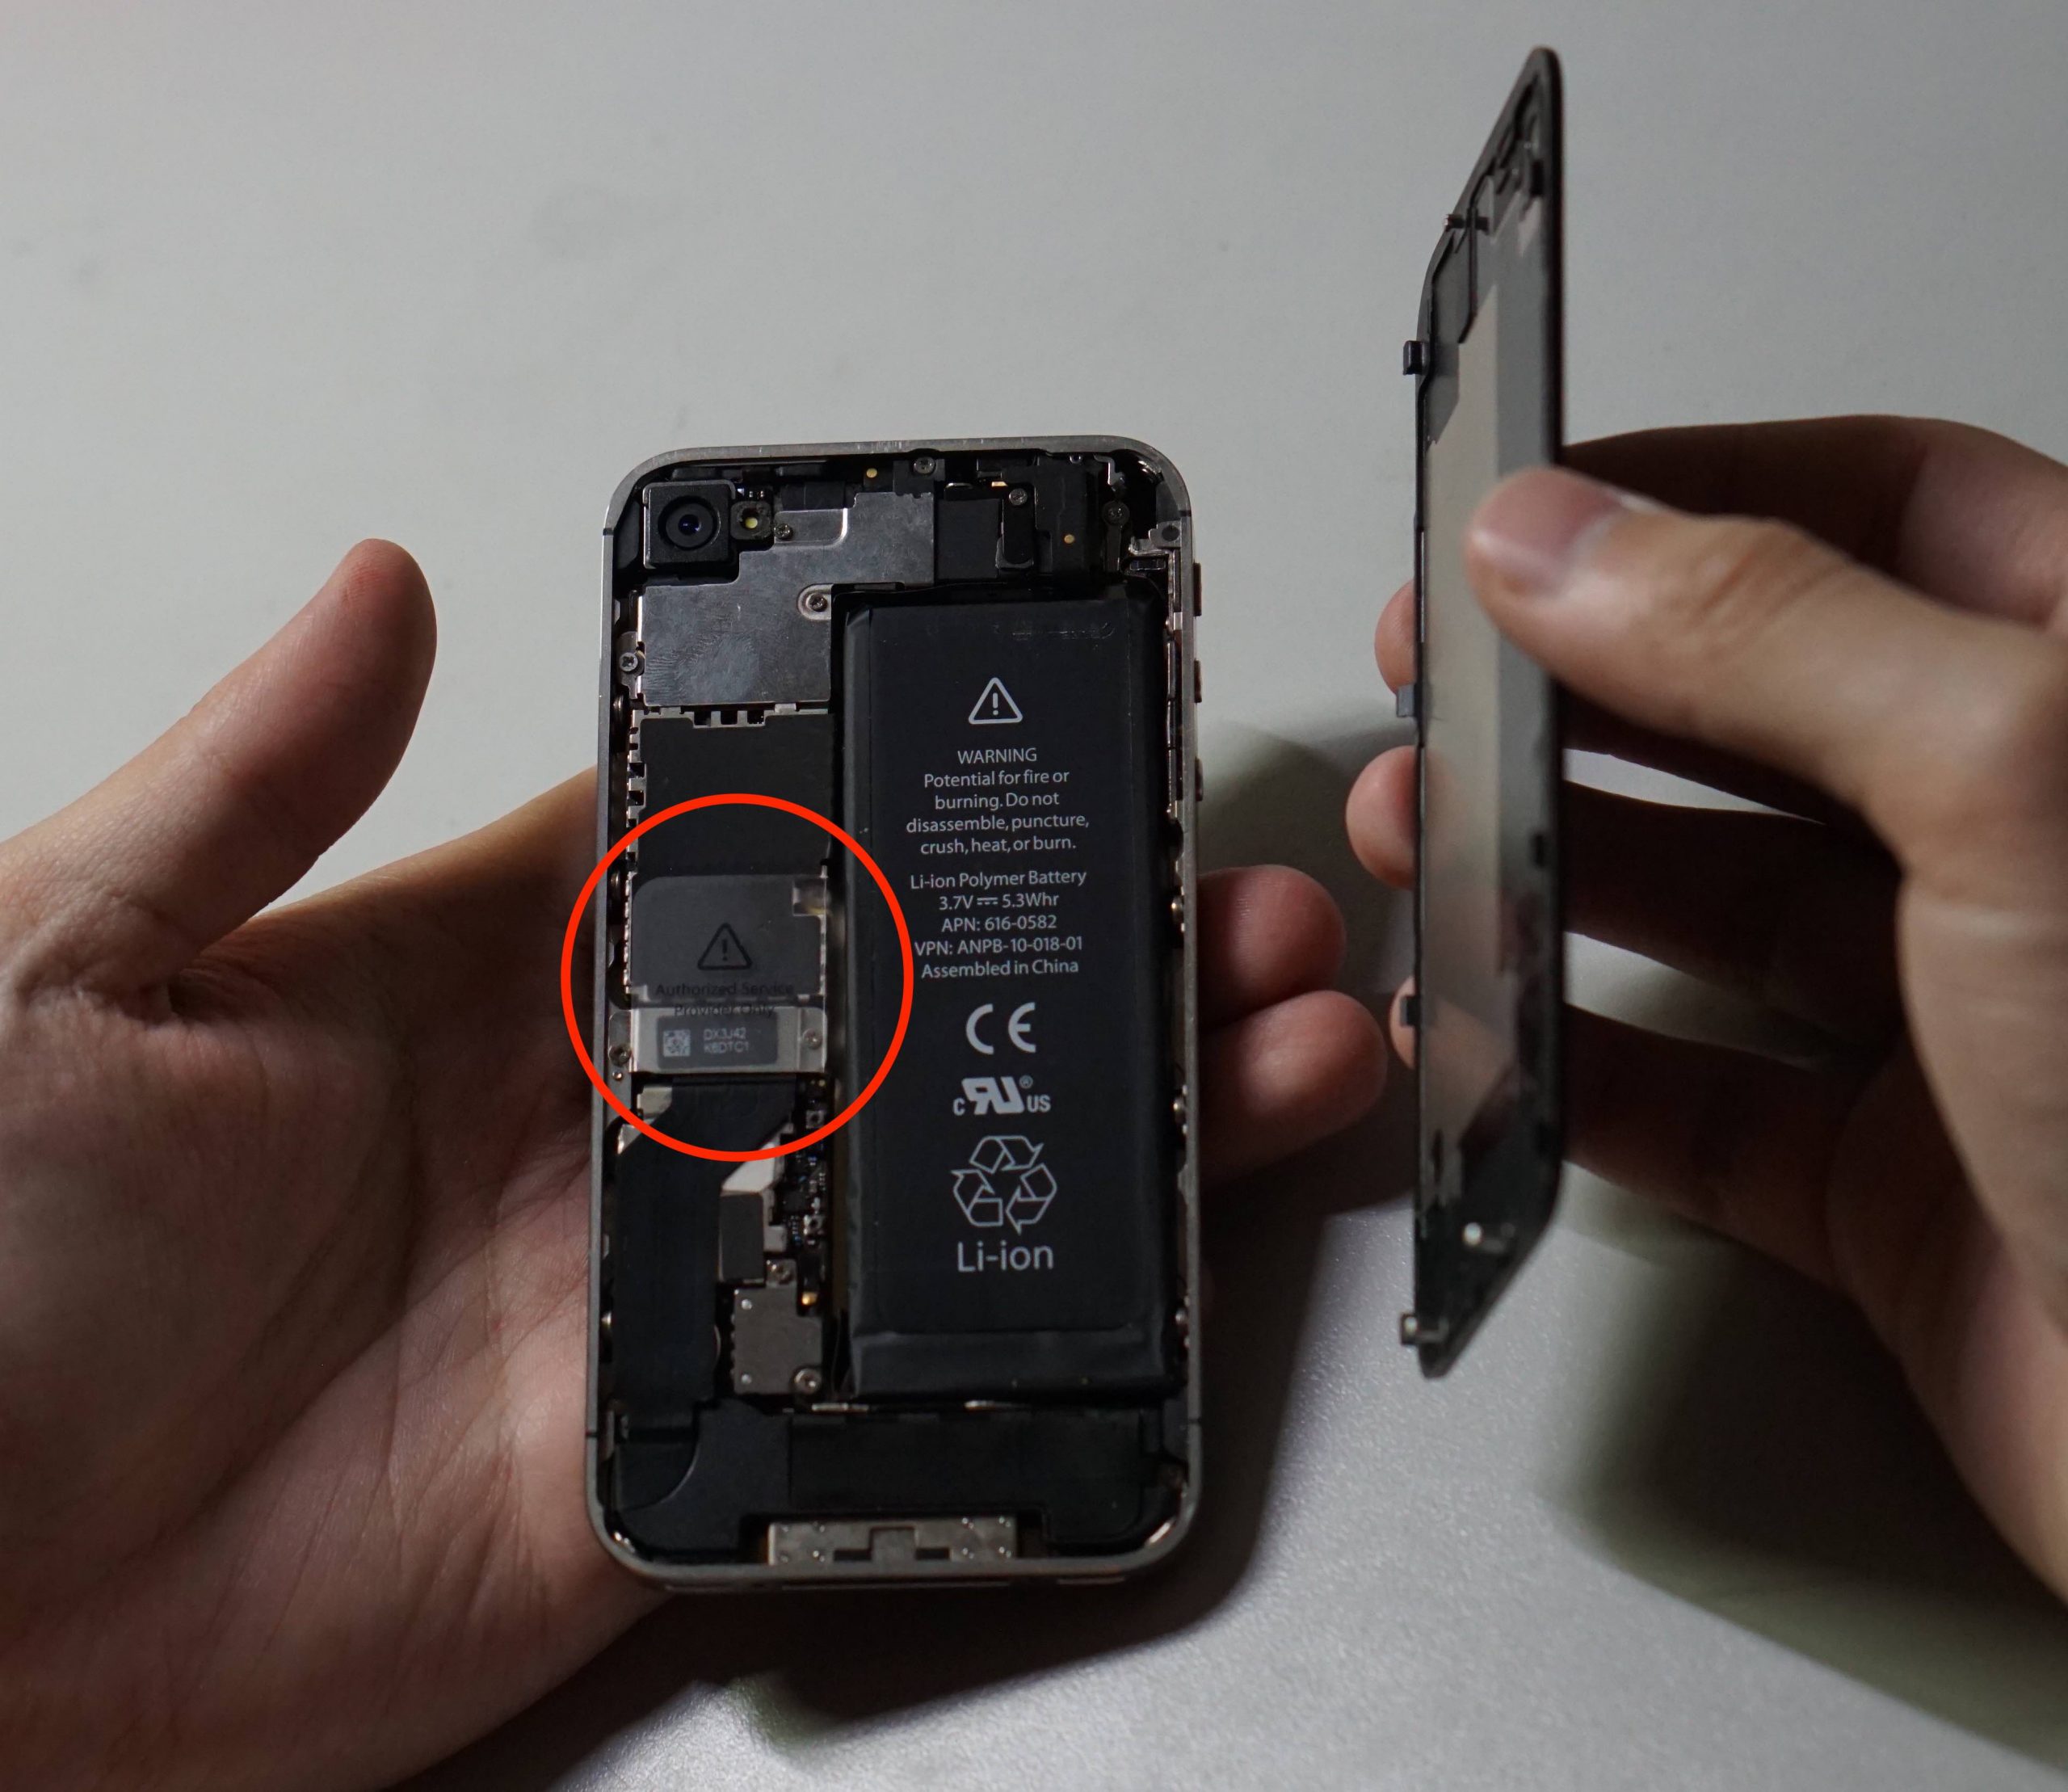
Some other process diagrams

When I decided to do this, I felt it was not so difficult in my mind but I found problems were coming towards me when really setting about to do it. I spent a lot of time watching videos to learn how to dismantle these cellphones, and I took very careful steps when dismantling. Fortunately, nothing beyond my control happened while taking the cellphone apart. The placement of parts refers to numerous layout drafts of interior decoration design. At the same time I have learned various layout designs. Although I can directly apply some layout formula, I believe what I am doing by myself is definitely what I am interested in and the purpose of graduation design is to create and sublimate myself. Through my graduation design, I learned a lot about the history and methods of interior decoration design. I can combine and improve them with my own aesthetic appreciation to invent some rat-fuck works of art. This process will bring a great help to my future study and work.